
5 Ways to Prevent Splinters in Laser-Cut Basswood (2026)
Prevent splinters when punching out laser-cut basswood parts with 5 habits: inspect below, support the cut, release it gradually, design kinder connections, and sand lightly. This guide explains why nearly cut 3mm plywood tears and how to remove parts without turning a clean outline into a small wooden disaster.
By Mike Dolan ·
Quick Answer: The 5 best habits are underside inspection, rear support, progressive breakout, forgiving tab design, and light cleanup.
| Material | Engraving Contrast | Cut Ease | Smoke / Odor | Cost | Beginner Score |
|---|---|---|---|---|---|
| Basswood (3 mm) | ★★★★★ | Excellent — 1 pass | Low | $ | ★★★★★ |
| Baltic Birch Plywood | ★★★★ | Good — 2–3 passes | Medium | $$ | ★★★★ |
| MDF | ★★★ | Good — 1–2 passes | High (formaldehyde) | $ | ★★ |
| Pine / Soft Plywood | ★★★ | Poor — resin deposits | Medium-High | $ | ★★ |
Why Thin 3-Ply Basswood Needs a Careful Break-Out
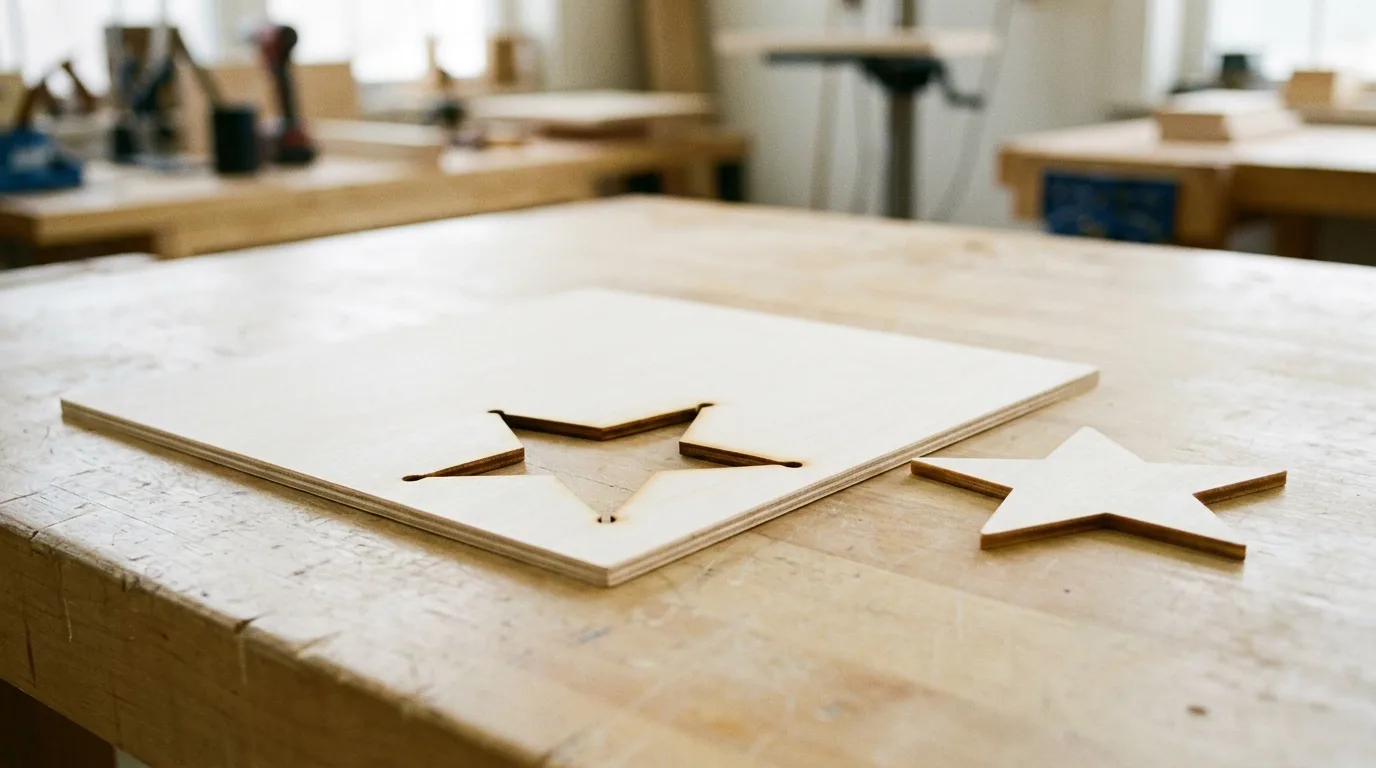
A 3mm basswood sheet is thin 3-ply plywood, so a thin uncut bottom layer is easy to miss and easy to splinter; consistent sheets make the underside check predictable. A $2.08 sheet is cheap, but a split part still wastes the engraving and cutting time.
- 3-ply construction — face veneers and glue layers mean a thin uncut bottom layer can hide under a clean-looking top
- Consistent sheets — the same layers sheet after sheet make the underside check predictable
- Low resin — clean kerf walls, so remaining fibers are easier to spot from below
- Light, even color — an uncut line on the bottom veneer shows up against the pale surface
- Affordable sheets — at $2.08 a sheet the material is cheap, but a split part still wastes your cutting time
Why Almost-Cut Basswood Splinters
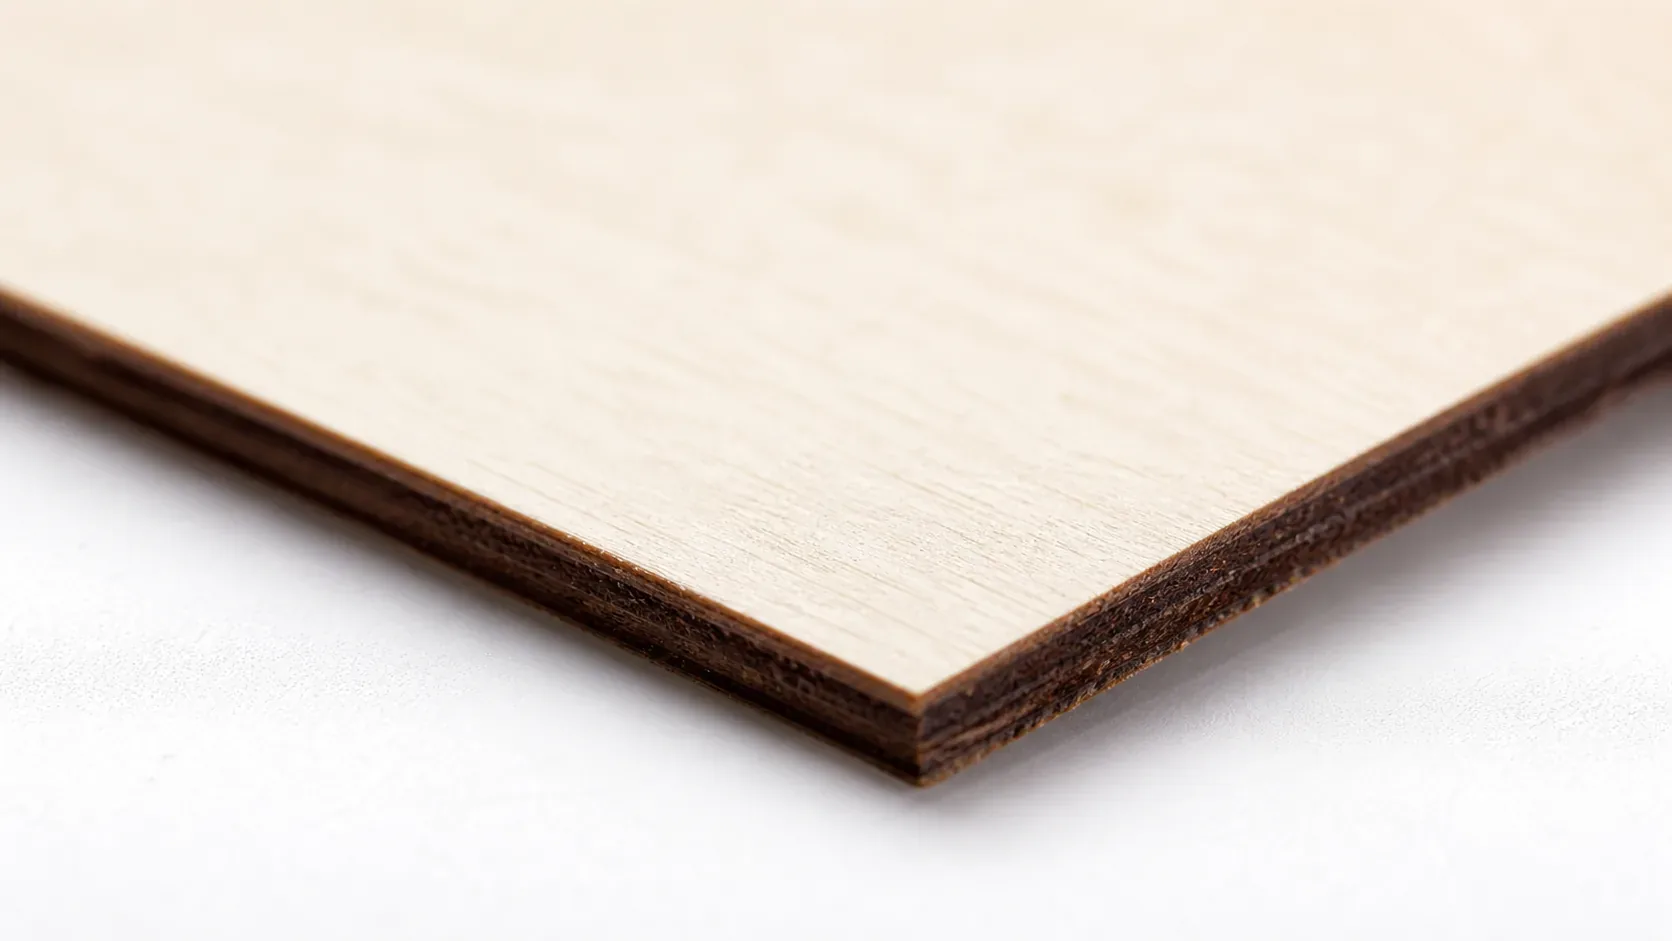
Almost-cut basswood splinters because a remaining fiber or thin glue-bound ligament still holds the part to the sheet. A 3mm sheet commonly contains face veneers, a core, and glue layers, with grain direction changing from ply to ply. The top can look separated while the lower veneer still grips the part.
When you push from above, the unsupported piece bends like a lever and pulls that hidden connection sideways out of the lower veneer. Grain direction makes narrow bridges, tiny tabs, hooks, long thin features, and short-grain necks more likely to tear. Sharp inside corners also concentrate stress instead of letting it spread.
I once pushed out a part that looked completely cut, heard the little crack under the lower veneer, and watched a splinter run into the edge. If a part is clearly not cut through, use the recut, knife, or scrap guide instead of forcing it out.
The First 3 Breakout Habits
These 3 breakout habits reduce splinters by keeping the sheet supported and releasing fibers gradually. I now turn every sheet over before touching the parts; that simple pause once showed me a nearly invisible bottom connection that would have torn a delicate tip.
- Inspect the underside first. Turn the sheet over and look for a continuous line on the bottom veneer. Identify every remaining fiber, tab, or bridge before applying pressure, because the underside often reveals the connection that the top face hides.
- Support the cut directly. Support the sheet and the part directly behind the cut, then release the part progressively around the perimeter with light pressure. Work from one connection to the next instead of making one hard push through the center.
- Keep the lever arm short. Never pry or twist. Place a fingertip close to the tab or remaining connection, press gently, release, and move to the next connection. The goal is to separate fibers, not bend the part until they surrender.
The 2 Design and Cleanup Fixes That Prevent Tear-Out
These 2 fixes prevent tear-out by reducing stress during breakout and limiting the cleanup force applied afterward. I once redesigned a delicate ornament with holding points moved away from its tips, and the next breakout felt calm instead of like a tiny woodworking ambush.
- Design for breakout. Use several modest tabs or bridges away from fragile tips, narrow necks, and visible edges. Avoid tiny short-grain necks, round sharp inside corners, and test the most delicate geometry on scrap first.
- Clean up lightly. Use fine sanding only for loose fibers and small burrs after removal, following the edge rather than grinding into it. Set aside parts with major tear-out; sanding cannot make a deep split disappear.
Distributing holding points reduces the force carried by any weak connection, while gentle sanding keeps a sound edge from becoming thin or uneven. Good design does much of the cleanup before the sheet reaches the workbench, which is a pleasant favor from past-you to present-you.
4 Breakout Mistakes That Invite Splinters
These 4 breakout mistakes invite splinters by bending unsupported parts, concentrating force, or sanding away evidence of damage. I learned this after trying to rescue a split edge with sandpaper; the edge got thinner, the split stayed, and my optimism left the shop before I did.
- Pushing from the top with no support behind the part. Support both the sheet and the area directly behind the cut before releasing the piece.
- Using one hard push instead of working around the perimeter. Release connections in small increments, moving around the edge rather than forcing the center.
- Prying with a fingernail or tool. Push close to the remaining connection, keep the pressure gentle, and never twist the part.
- Trying to sand away a deep split. Set the damaged part aside rather than thinning the edge further; sanding handles loose fibers and small burrs, not structural damage.
Parts that routinely fail to cut through have a cutting problem to fix first. Read one pass vs multiple passes and the laser not cutting through wood troubleshooting guide before blaming your fingers for a machine problem.
Where to Get Basswood That Breaks Out Clean
Crafteker 3mm basswood sheets are 12×12 inch, laser-grade, void-free, and pre-sanded – consistent layers make the underside check predictable and the break-out far less of a gamble. At $24.99 for 12 sheets ($2.08/sheet), it’s an affordable way to keep your cut parts intact.
Ready to pop out clean parts?
→ Buy Crafteker 12-Pack Basswood Sheets on Amazon – $24.99
Also available: 5-pack ($15.97) · 3-pack ($12.99)
Frequently Asked Questions
Why does a laser-cut part look free on top but still splinter?
A thin line of bottom fibers or a small ligament may still connect the part. Pushing from above bends it and pulls those fibers sideways from the lower veneer.
What is the safest way to remove a nearly cut basswood part?
Inspect the underside, support the sheet and part from behind, then apply light pressure near one connection at a time while working around the perimeter.
Should I use a knife or fingernail to pry out a laser-cut part?
Do not pry or twist with either one. If the part is clearly not cut through, stop and use a proper recut or knife method rather than forcing the breakout.
How can tab placement reduce laser-cut plywood tear-out?
Use several modest tabs away from fragile tips, narrow necks, and visible edges. Avoid tiny short-grain connections and round sharp inside corners.
Can sanding fix a splintered laser-cut basswood edge?
Fine sanding can remove loose fibers and minor burrs, but it cannot reliably repair major tear-out or a deep split. Set that part aside and protect the next breakout.
About the author: Mike Dolan is a laser maker and wood materials specialist with 8+ years cutting basswood, birch, and MDF on diode and CO₂ machines. He tests every Crafteker basswood batch before listing.
I now flip the sheet over before touching the parts and mark the connections I can still see in the bottom veneer. Supporting the back with a flat scrap and working around the edge has saved more tiny tabs than any heroic thumb push.