
254-300 DPI: Best Photo Engraving Settings for Basswood (2026)
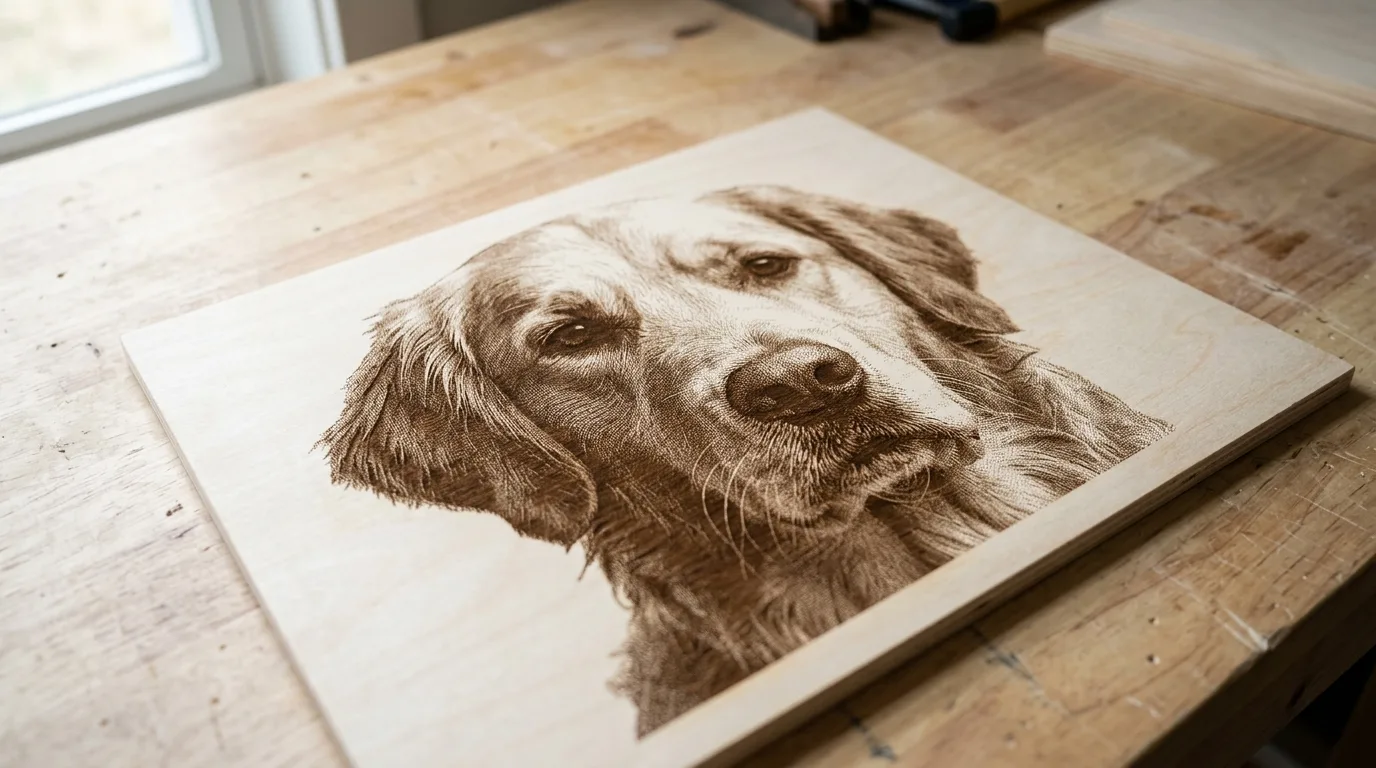
254-300 DPI is the tested starting point for diode laser photo engraving on basswood plywood, with error-diffusion dithering (Floyd-Steinberg or Stucki) creating smooth tonal transitions that show detail without muddy black blotches. This guide covers exact DPI ranges for diode and CO2 machines, image prep steps that actually move the needle, and the settings mistakes that turn portraits into charred disasters.
By Mike Dolan ·
Quick Answer: Best DPI for photo engraving on basswood: 254-300 DPI (diode), 300-500 DPI (CO2). Use Floyd-Steinberg or Stucki dithering, boost contrast in prep, test on scrap first.
| Material | Engraving Contrast | Cut Ease | Smoke / Odor | Cost | Beginner Score |
|---|---|---|---|---|---|
| Basswood (3 mm) | ★★★★★ | Excellent – 1 pass | Low | $ | ★★★★★ |
| Baltic Birch Plywood | ★★★★ | Good – 2-3 passes | Medium | $$ | ★★★★ |
| MDF | ★★★ | Good – 1-2 passes | High (formaldehyde) | $ | ★★ |
| Pine / Soft Plywood | ★★★ | Poor – resin deposits | Medium-High | $ | ★★ |
Why Basswood Is Ideal for Photo Engraving
Basswood’s pale ivory surface is the single biggest reason photo engravings land on it so well. Dark burn marks against a near-white background give you the full tonal range a dithered photo needs – the honey-browns and deep chocolates all read clearly instead of blending into a muddy mid-tone soup you get on darker species.
One thing that trips up new engravers: photo engraving is a completely different operating regime than cutting. Cutting 3mm basswood runs 8-12 mm/s on a 20W diode laser in 1-2 passes. Photo engraving runs much faster – 40-100 mm/s – laying down a fine dot pattern across the whole surface rather than tracing a single cutting line at low speed.
According to USDA Forest Products Laboratory data, basswood ranks among the lowest-resin domestic hardwoods, with a fine, uniform grain that makes it exceptional for detail work. That combination – low resin, tight grain – is exactly what photo engraving rewards. You can read more about choosing the right stock in our guide to the best basswood sheets for laser cutting, and about managing surface quality in our laser engraving wood blanks overview.
- Low resin – dots burn crisp and stay separate; resin-heavy woods smear burn residue across adjacent dots and collapse your highlight detail
- Consistent density – even burn depth across the whole photo, so a cheek and a forehead engrave at the same tone without random dark or light patches mid-face
- Minimal char – clean midtones instead of muddy black; basswood won’t over-carbonize at the low power levels photo engraving uses
- Fine grain – resolves fine detail like eyes, eyelashes, and hair strands that coarser-grained wood simply blurs over
- No toxic fumes – unlike MDF or treated plywoods, basswood is safe for indoor use with basic ventilation, which matters when a photo engrave job runs 20-40 minutes
Best DPI and Dithering Settings for Photo Engraving on Basswood
These settings cover the two main laser types used for photo engraving on basswood. DPI and dithering mode matter more here than anywhere else – get them wrong and your portrait looks like a smudged photocopy. Use the Laser Settings Calculator to dial in your specific machine from these starting points.
| Laser Type | DPI | Speed | Power | Dithering |
|---|---|---|---|---|
| Diode 10-20W (fine detail) | 250-318 DPI | 42-58 mm/s | 18-28% | Floyd-Steinberg |
| Diode 20W (higher contrast) | 254 DPI | 100 mm/s | 55% | Floyd-Steinberg or Jarvis |
| CO2 40W (general wood) | 300-400 DPI | 350-500 mm/s | 15-20% | Stucki |
| CO2 (photo-specific, well-tuned) | 500 DPI | 400 mm/s | 18% | Jarvis |
These are published starting points from maker guides and manufacturer references, not Crafteker’s own lab data for this specific technique – always run a test engrave on scrap basswood first.
Floyd-Steinberg, Stucki, and Jarvis are all error-diffusion dithering algorithms. They scatter dot placement across neighboring pixels to simulate smooth tonal gradients – the difference between a face that reads as a face and a face that looks like a checkerboard. Simple threshold or halftone dithering places dots on a rigid grid, which creates harsh, mechanical-looking patterns that basswood’s grain makes even more obvious.
Not sure where your machine lands in these ranges? The laser settings calculator lets you plug in your wattage and material and get a tuned starting point.
For photo engraving, your wood surface is doing real work – pale, consistent basswood gives your dithered dots somewhere clean to land. Crafteker 3mm basswood is laser-grade, void-free, and that ivory face gives photo engravings the full contrast range they need. 12×12 inch, $24.99 for 12 sheets ($2.08/sheet).
Step-by-Step: Prepping a Photo for Basswood Engraving
Image prep is where most photo engravings are won or lost before the laser ever fires. Six steps – skip any of them and you’ll know it the moment the job finishes.
- Start with a high-resolution source photo. You want 300 DPI or higher at the actual size you plan to engrave. Scaling up a 72 DPI phone screenshot doesn’t add detail – the laser faithfully reproduces every pixel, including the blurry ones.
- Convert to grayscale. Do this in your image editor before importing into your laser software. It strips color data so tonal values drive the burn, not whatever approximation your laser software makes of an RGB file on its own.
- Boost contrast harder than feels right on screen. Push midtones especially – the wood needs contrast to register separation between tones. What looks punchy on a backlit monitor will look flat and washed out burned into basswood. I ran three sheets before I stopped trusting my screen and started trusting the scrap test.
- Lift overall brightness slightly. Basswood reads dark fast. If you don’t compensate in prep, your subject will come out uniformly shadowed – especially in midtone areas like skin or fabric. A gentle brightness bump keeps those tones from collapsing.
- Apply an unsharp mask. This sharpens fine edges – eyes, hair, fabric texture – that otherwise blur slightly in the wood grain at engraving speed. Radius around 0.3-0.5px, amount 80-120% is a reasonable starting zone. Check edges look crisp before saving.
- Crop tight to your subject, then test on scrap. Remove dead space around the subject so the laser spends time on what matters. Then engrave a small section – a face corner, a hair detail – on a scrap piece of basswood before you commit a full sheet. Review it under good light. If it looks muddy or too dark, add contrast and brightness and test again. Checking your laser engraving wood blanks prep on scrap is the step that separates good results from great ones.
DPI Too High or Too Low? Fixing Muddy or Washed-Out Basswood Photos
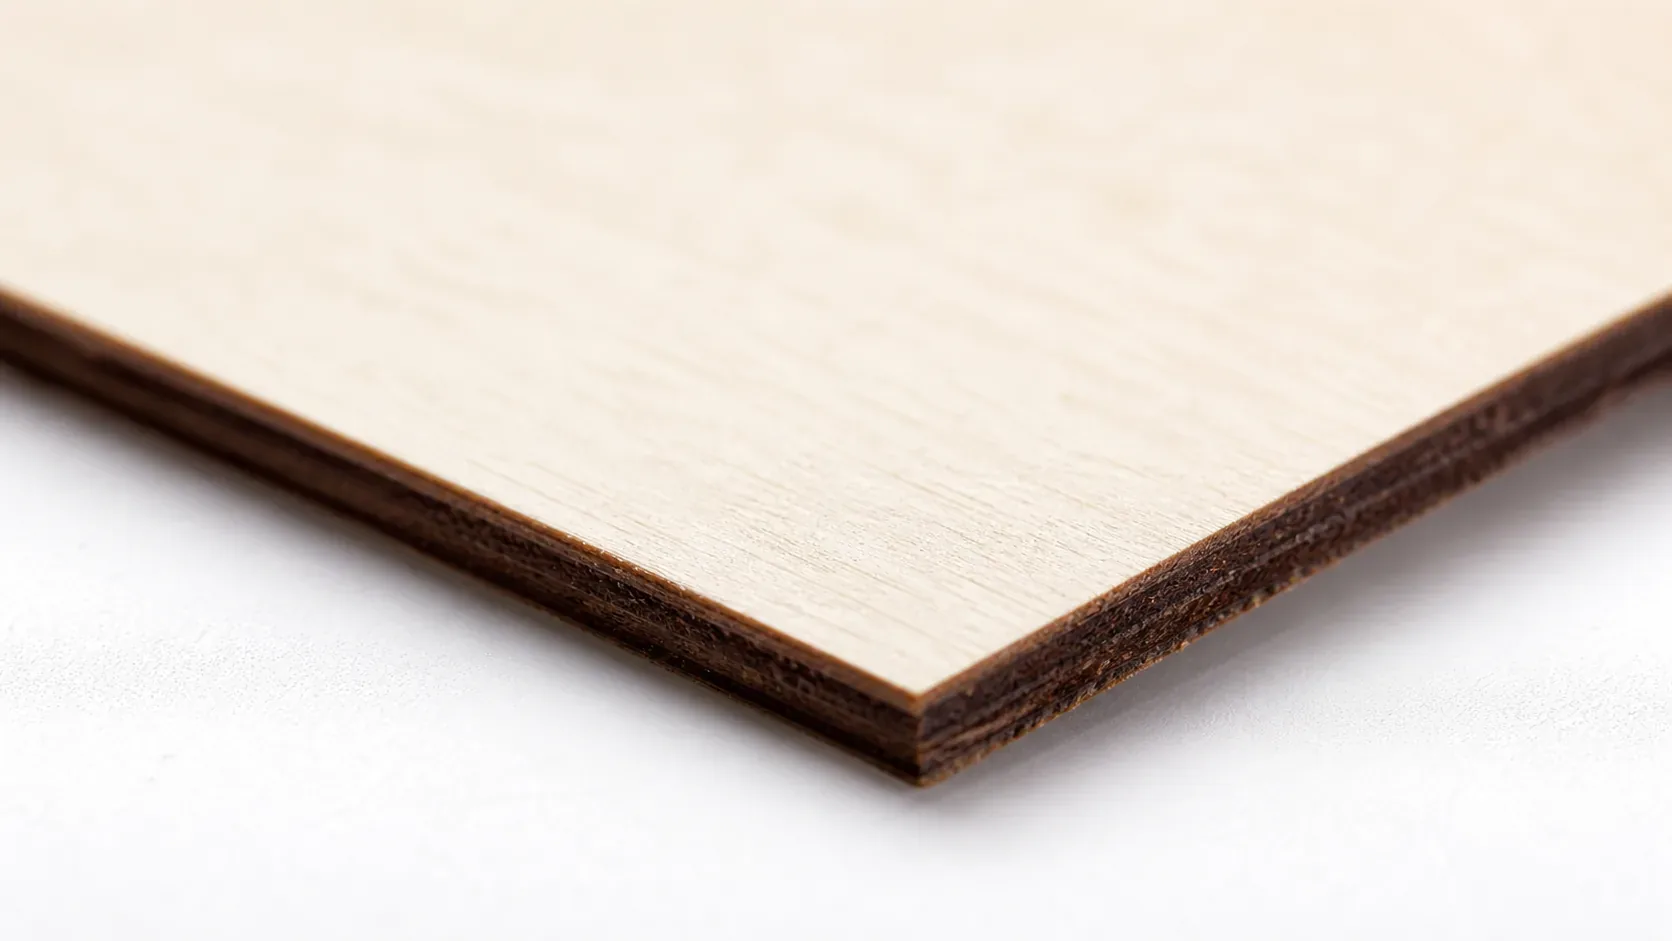
Start at 254 DPI if you’re unsure – it’s the sweet spot where most diode setups produce crisp dots without overlap. Go too high (400+ DPI) without pulling power and speed down to match, and those dots start merging into solid dark blotches. You lose all your highlight detail, and faces turn into dark smears.
Drop too low – under 200 DPI – and the opposite problem hits: blocky, pixelated results where fine details like eyes, hair, and texture disappear into coarse dot grids. CO2 machines can push 300-500 DPI because their finer beam control keeps individual dots distinct at higher densities. On a diode, 250-300 DPI is the range where detail and tonal range actually coexist.
The fix is always a test engrave, not a settings guess. Run a 2×2 inch crop of your actual photo at your target DPI before committing the full sheet. Adjust from there – one variable at a time.
Why Do My Basswood Photo Engravings Look Blotchy or Too Dark?
Blotchy photo engravings on basswood almost always trace back to one of these four causes – and the first one catches more people than you’d expect:
- Wrong dithering mode: Halftone and threshold dithering place dots in rigid, predictable grids. Error-diffusion modes like Floyd-Steinberg, Stucki, or Jarvis scatter dot placement to simulate smooth gradients. The difference on a finished piece is not subtle – halftone patterns look mechanical and harsh on wood grain.
- Power set too high: Basswood is low-resin and burns fast. My first attempt at 60% power turned every midtone solid black before I dialed it back. Drop to 18-28% on a diode, 15-20% on CO2, and the tonal range opens back up.
- Skipping the contrast boost: What looks punchy on your monitor will look flat and muddy burned into wood. Boost midtone contrast more than feels right on screen – basswood needs that extra push to read tonal difference as actual depth.
- DPI and speed mismatched: High DPI at slow speed means the laser revisits each area too long and dots overlap before they can stay crisp. If your laser settings calculator shows high DPI, your speed needs to go up proportionally – these two settings are coupled, not independent.
Getting the Right Basswood for Photo Engraving Projects
Crafteker 3mm basswood sheets are the best canvas for photo engraving work – pale ivory color free of resin streaks gives your engravings the widest possible contrast range. Void-free consistency means no random dark glue-pocket spots breaking up a face or subject mid-photo. At $24.99 for 12 sheets ($2.08/sheet), it’s the most cost-effective option for running the test engrave workflow this guide recommends.
Ready to engrave? Get the wood that works with these settings:
→ Buy Crafteker 12-Pack Basswood Sheets on Amazon – $24.99
Clip the 7% coupon on the listing page – buy 2 packs and save 20% automatically.
Also available: 5-pack ($15.97) · 3-pack ($12.99)
Frequently Asked Questions
What DPI should I use for photo engraving on basswood?
254-300 DPI is the tested starting point for diode lasers; CO2 machines can push 300-500 DPI thanks to finer beam control. Results vary enough between machines and software that a scrap test isn’t optional – it’s the step. Check the Crafteker laser settings calculator if you want a tuned starting point for your setup.
What dithering setting is best for photo engraving on wood?
Floyd-Steinberg, Stucki, or Jarvis – any error-diffusion mode beats threshold or halftone for wood photos. The difference is how dots get placed: error-diffusion scatters them to simulate smooth gradients, while halftone locks them into a regular grid that looks mechanical and harsh on grain. The default halftone setting in my software was the actual culprit, not my power – took a frustrating afternoon of test tiles to realize that.
Why do my basswood photo engravings look too dark or muddy?
Usually one of three things: power too high for basswood’s low resin (try 18-28% on diodes, 15-20% on CO2), DPI set too high without pulling speed and power down to match, or skipping contrast-boost in image prep so midtones collapse into solid black. Fix one variable at a time on scrap.
What image settings should I use before engraving a photo?
Convert to grayscale, boost contrast harder than looks right on screen (wood reads flatter than a monitor), lift brightness slightly, apply unsharp mask to recover edge detail, then crop tight to your subject. Run a small test engrave on scrap basswood before committing the full sheet – skipping that last step is how you waste a good piece of wood.
Where can I buy basswood sheets for photo engraving?
Crafteker sells on Amazon in three sizes: 3-pack at $12.99, 5-pack at $15.97, or 12-pack at $24.99 ($2.08 per sheet). The pale ivory color and void-free consistency matter for photo work – no resin streaks or glue pockets breaking up a face mid-engrave. Clip the 7% coupon on the listing page.
About the author: Mike Dolan is a laser maker and wood materials specialist with 8+ years cutting basswood, birch, and MDF on diode and CO₂ machines. He tests every Crafteker basswood batch before listing.
Good question we hear a lot. The DPI/dithering numbers above are aggregated from published maker guides and manufacturer references, not our own lab testing for this specific technique – results vary by machine and software, so always run a small test engrave on scrap basswood before committing a full photo to a sheet.