
Basswood Engraving Contrast: Sanding Grit & Grain Prep 2026
Finer sanding removes raised fibers that scatter the laser beam, and engraving with the grain rather than across it produces more even contrast – those are the two biggest levers for cleaner basswood engraving before you touch a single power setting. This guide gives you a repeatable prep routine, not a one-size-fits-all settings table, because the best result depends on how your machine, material, and surface finish work together.
By Mike Dolan ·
Quick Answer: Basswood laser engraving contrast sanding grain direction: pre-sand 220-320 grit to remove fiber, engrave with the grain for even char, mask to control smoke staining.
| Material | Engraving Contrast | Cut Ease | Smoke / Odor | Cost | Beginner Score |
|---|---|---|---|---|---|
| Basswood (3 mm) | ★★★★★ | Excellent – 1 pass | Low | $ | ★★★★★ |
| Baltic Birch Plywood | ★★★★ | Good – 2-3 passes | Medium | $$ | ★★★★ |
| MDF | ★★★ | Good – 1-2 passes | High (formaldehyde) | $ | ★★ |
| Pine / Soft Plywood | ★★★ | Poor – resin deposits | Medium-High | $ | ★★ |
Why Basswood Already Wins the Engraving Contrast Game Before You Prep Anything
Basswood wins on contrast before you’ve sanded a single fiber, because its grain is fine, tight, and unusually uniform for a domestic hardwood. There’s no big swing between earlywood and latewood the way you get in oak or pine, so the laser chars a more consistent tone across the surface from the start.
According to USDA Forest Products Laboratory data, basswood ranks among the lowest-resin domestic hardwoods, which matters here too – less resin means less uneven scorching and fewer dark blotches where sap pockets would otherwise flare up under the beam.
Quick clarification before we go further: this article is about contrast and appearance, not strength. If you’re chasing warp resistance or joint durability, that’s a different question – covered in our piece on grain direction and cutting strength. Here, I’m only talking about how dark and clean your engrave looks.
I learned that distinction the hard way. Early on I oriented a sign for strength across the grain, ignored contrast entirely, and ended up with blotchy text I had to re-engrave from scratch. Two separate problems, two separate fixes – and this article only tackles one of them.
How Sanding Grit Changes Engrave Contrast (and Where the Gains Stop)
Finer sanding gives the laser a smoother surface to burn, which is why grit matters more for contrast than most people expect. Raised wood fibers scatter the beam and char unevenly, leaving fuzzy edges and patchy dark spots instead of a clean, sharp line.
Strip those fibers with a finer grit and the beam hits flat, consistent wood. The char forms evenly across the surface, edges come out sharper, and the contrast between burned and unburned wood reads cleaner to the eye.
Here’s the catch: those gains don’t keep climbing forever. Sand past a certain point and you’re polishing wood that’s already smooth enough for the laser to handle – you’re not adding contrast, just adding sanding time.
Most makers settle into the 220-320 grit range as the sweet spot for basswood. If you’re doing fine detail work, like small text or thin line art, bumping up to 400 grit can help – but only if your specific setup responds well to it.
There’s no single “correct” grit that works everywhere. It interacts with your laser type, power, focus, and speed, so grit alone won’t guarantee darker burns. Think of sanding as removing obstacles, not as a settings dial.
6-Step Prep Routine I Use for Maximum Engrave Contrast on Basswood
This is the routine I run before every engrave job, and it doesn’t take long. I ruined 3 sheets early on skipping the tape step – ask me how I know masking tape can catch fire if you leave the laser lingering on one spot.
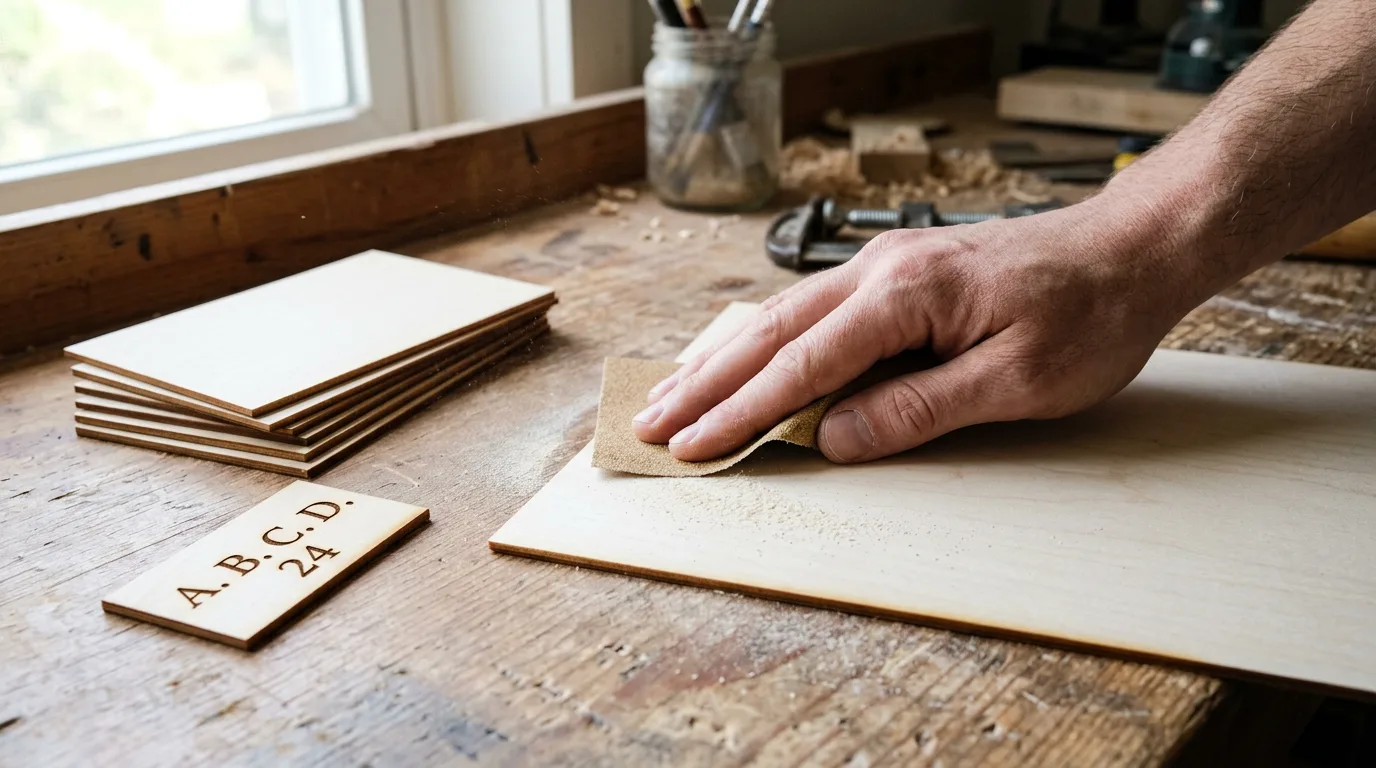
- Sand with the grain, not against it. Pick a grit in the 220-320 range and sand in the same direction the wood grain runs. Sanding across the grain digs tiny cross-grooves that show up as visual noise once the laser hits them.
- Wipe away the dust. A dry cloth works, or a lightly damp one if you want to be thorough. Leftover dust settles back into the grain and burns inconsistently, undoing the sanding work you just did.
- Orient your design with the grain. Rotate the file so the engrave direction runs parallel to the grain instead of across it. This is one of the easier habits to build into laser engraving wood blanks work, and it shows up as a visible difference in evenness.
- Apply masking or transfer tape. Cover the area before you engrave. It won’t change how deep the wood chars, but it keeps smoke residue off the surrounding surface so the finished piece looks sharper – see prevent charring when laser cutting for more on managing smoke buildup.
- Run a small test patch first. Engrave a corner or scrap piece at your intended settings before committing the full sheet. This catches focus or setup issues while they’re still cheap mistakes.
- Peel back the tape and inspect. Check the test patch contrast before running the rest of the job. If it looks right, go ahead. If not, adjust before you burn through a full sheet chasing the wrong approach.
Does Grain Direction Actually Change How Dark an Engrave Looks?
Yes – grain direction changes how even and clean an engrave looks, though not through the mechanism you might expect. That’s a different question than the one covered in our grain direction and cutting strength article, which deals with structural warping under load, not appearance or contrast at all.
Engrave with the grain and the char reads consistent from edge to edge. Engrave across it and earlywood and latewood bands absorb the beam differently, so you get streaky, uneven darkness running through letters and fine lines. It’s purely visual – your piece is exactly as strong either way, it just photographs better when the beam travels with the grain.
Three Prep Mistakes That Kill Engrave Contrast (I’ve Made All of Them)
These three mistakes explain most of the muddy, streaky engraves I get questions about, and I’ve personally made every one of them, more than once, usually right before a deadline.
- Relying on the wet paper towel trick: it’s popular advice for glass, but it’s not a reliable contrast booster on basswood. Moisture raises the grain instead, and I once soaked a test sheet expecting sharper burns and ended up with fuzzy, swollen fibers instead.
- Chasing higher grit past the point of return: gains taper off hard around 320-400 grit, and there’s no single universal number that works for every laser and every setup. Past that range, you’re not improving contrast, you’re just sanding for the sake of sanding.
- Skipping the test patch: settings that looked great on last week’s sheet, or even the other half of this one, don’t always repeat exactly on a new piece. Run a small patch first, every single time, before you commit the whole piece to the burn.
Crafteker Basswood: Already Pre-Sanded, Ready to Engrave With Better Contrast Out of the Box
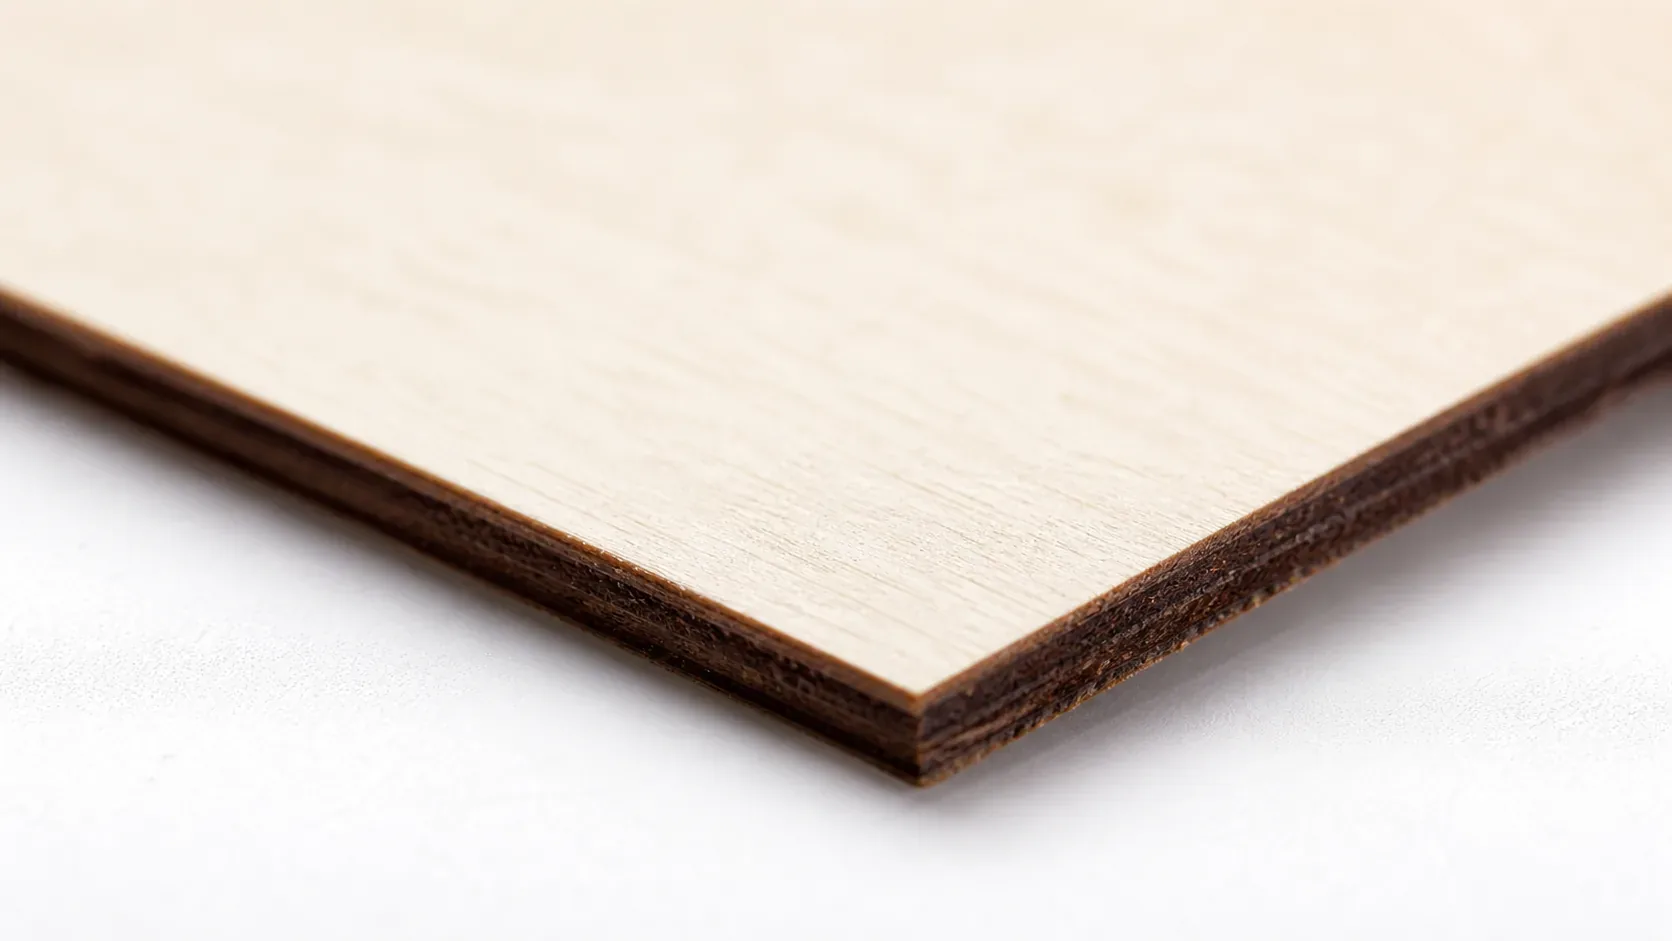
Crafteker basswood ships pre-sanded from the mill, so a good chunk of this prep routine is already handled before the sheet even reaches your machine. Each sheet is 3mm thick, 12×12 inches, laser-grade, and void-free, with a consistent surface that engraves evenly with noticeably less setup work on your end.
All three pack sizes are available: 3-pack at $12.99, 5-pack at $15.97, and 12-pack at $24.99, which comes out to $2.08 per sheet. Once your prep is dialed in, pair this routine with our best DPI settings for photo engraving guide to lock in your actual machine settings.
Ready to cut? Get the wood that works with these settings:
→ Buy Crafteker 12-Pack Basswood Sheets on Amazon – $24.99
Also available: 5-pack ($15.97) · 3-pack ($12.99)
Frequently Asked Questions
Does sanding basswood before engraving improve contrast?
Yes – sanding to 220-320 grit removes raised fibers, giving the laser a flatter surface to char and noticeably sharper edges on fine text and small details. Gains taper off fast past 320-400 grit, so don’t chase higher numbers hoping for darker burns – you’ll just spend more time sanding. There’s no single universal grit – it depends on your laser, power, focus, and speed.
Should I engrave with or across the wood grain for better contrast?
With the grain, generally – the burn stays more consistent because the laser is charring similar fiber the whole pass. Across the grain, earlywood and latewood absorb heat differently, and I once engraved a portrait across the grain that came out looking like TV static instead of a face. This is a contrast issue only, separate from the grain-direction-for-cutting-strength and warping topic covered elsewhere.
Does masking tape actually make engravings look darker?
No – masking tape doesn’t change how dark the wood actually chars underneath it. What it does is control smoke staining and keep the surrounding surface clean, so the finished engrave looks sharper by comparison once you peel it off. Char depth is identical with or without tape – the tape just makes cleanup dramatically easier and the reveal way more satisfying every single time.
Does the wet paper towel trick work for basswood engraving?
No – the wet paper towel trick isn’t a reliable contrast booster on basswood, despite being popular advice for glass engraving and cleanup work on other materials entirely. On wood, moisture raises the grain and can create new problems instead of solving them. Light sanding first, then masking before you engrave, is the more commonly supported approach for clean basswood engraving results.
Where can I buy pre-sanded basswood sheets for engraving?
Crafteker basswood sheets on Amazon come already pre-sanded from the mill, so there’s noticeably less prep work before you engrave anything. They’re 3mm thick, 12×12 inch, laser-grade, and void-free. The 3-pack is $12.99, the 5-pack is $15.97, and the 12-pack is $24.99, which works out to $2.08 per sheet at the best value size for anyone comparing pack options.
About the author: Mike Dolan is a laser maker and wood materials specialist with 8+ years cutting basswood, birch, and MDF on diode and CO₂ machines. He tests every Crafteker basswood batch before listing.
I switched to a finer sanding grit before engraving and noticed way cleaner edges on fine text, then started rotating my sheets so I engrave with the grain instead of across it and the burn pattern looks way more even now. Crafteker sheets are already smooth out of the pack so I usually just hit them lightly before masking.