
Photo Engraving on Basswood: 2026 Image Prep & Dithering Guide
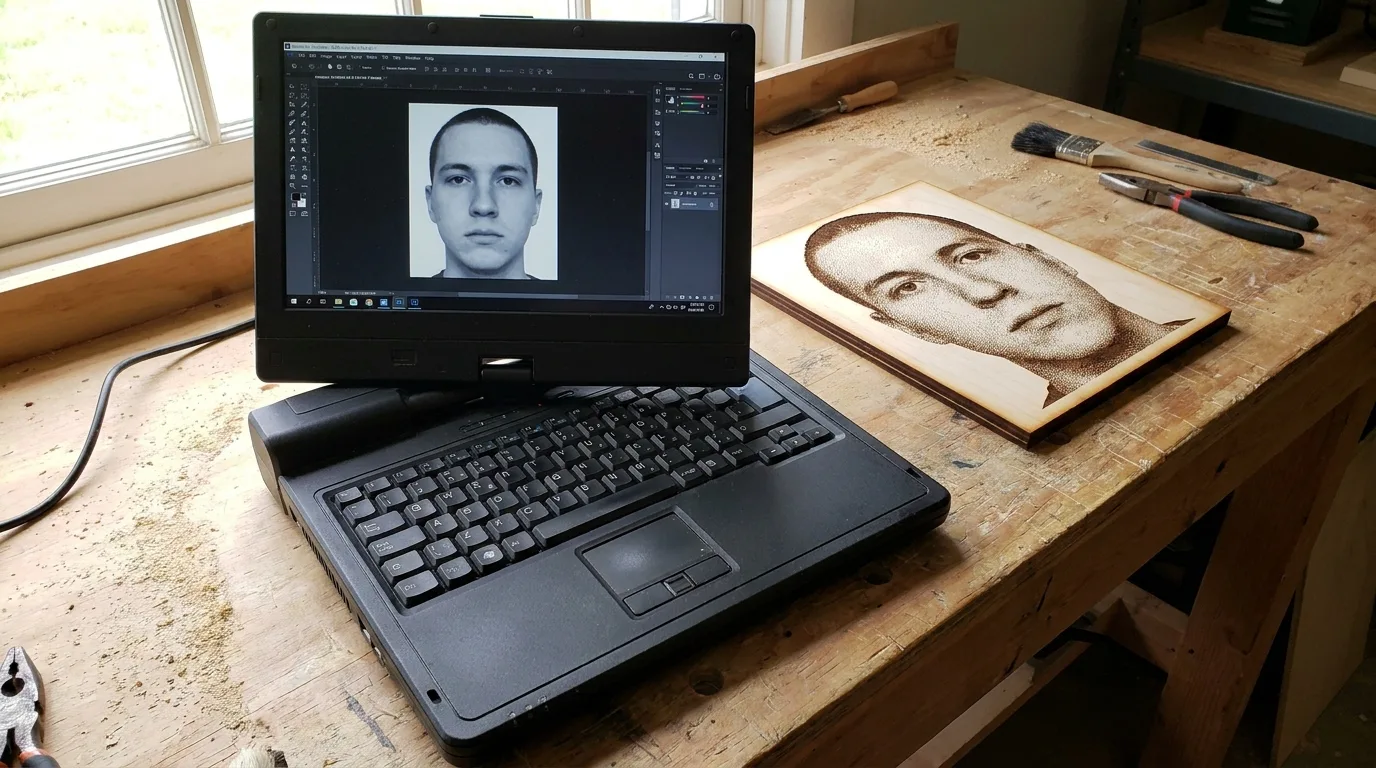
Clean photo engraving results on basswood come down to two levers you control before power and speed ever matter: prepping your photo’s contrast and sharpness properly, and choosing a dithering algorithm that turns grayscale tones into a pattern your laser can actually burn. This article walks you through the image prep workflow – crop, levels, sharpening, grayscale conversion, and dithering – not another table of machine settings.
By Mike Dolan ·
Quick Answer: Photo engraving on basswood image prep workflow: crop and compose, adjust levels for full tonal range, apply moderate sharpening, convert to grayscale, then apply error-diffusion dithering like Stucki or Floyd-Steinberg for smooth portrait tones.
| Material | Engraving Contrast | Cut Ease | Smoke / Odor | Cost | Beginner Score |
|---|---|---|---|---|---|
| Basswood (3 mm) | ★★★★★ | Excellent – 1 pass | Low | $ | ★★★★★ |
| Baltic Birch Plywood | ★★★★ | Good – 2-3 passes | Medium | $$ | ★★★★ |
| MDF | ★★★ | Good – 1-2 passes | High (formaldehyde) | $ | ★★ |
| Pine / Soft Plywood | ★★★ | Poor – resin deposits | Medium-High | $ | ★★ |
Why Basswood Works for Photo Engraving (and What This Article Covers)
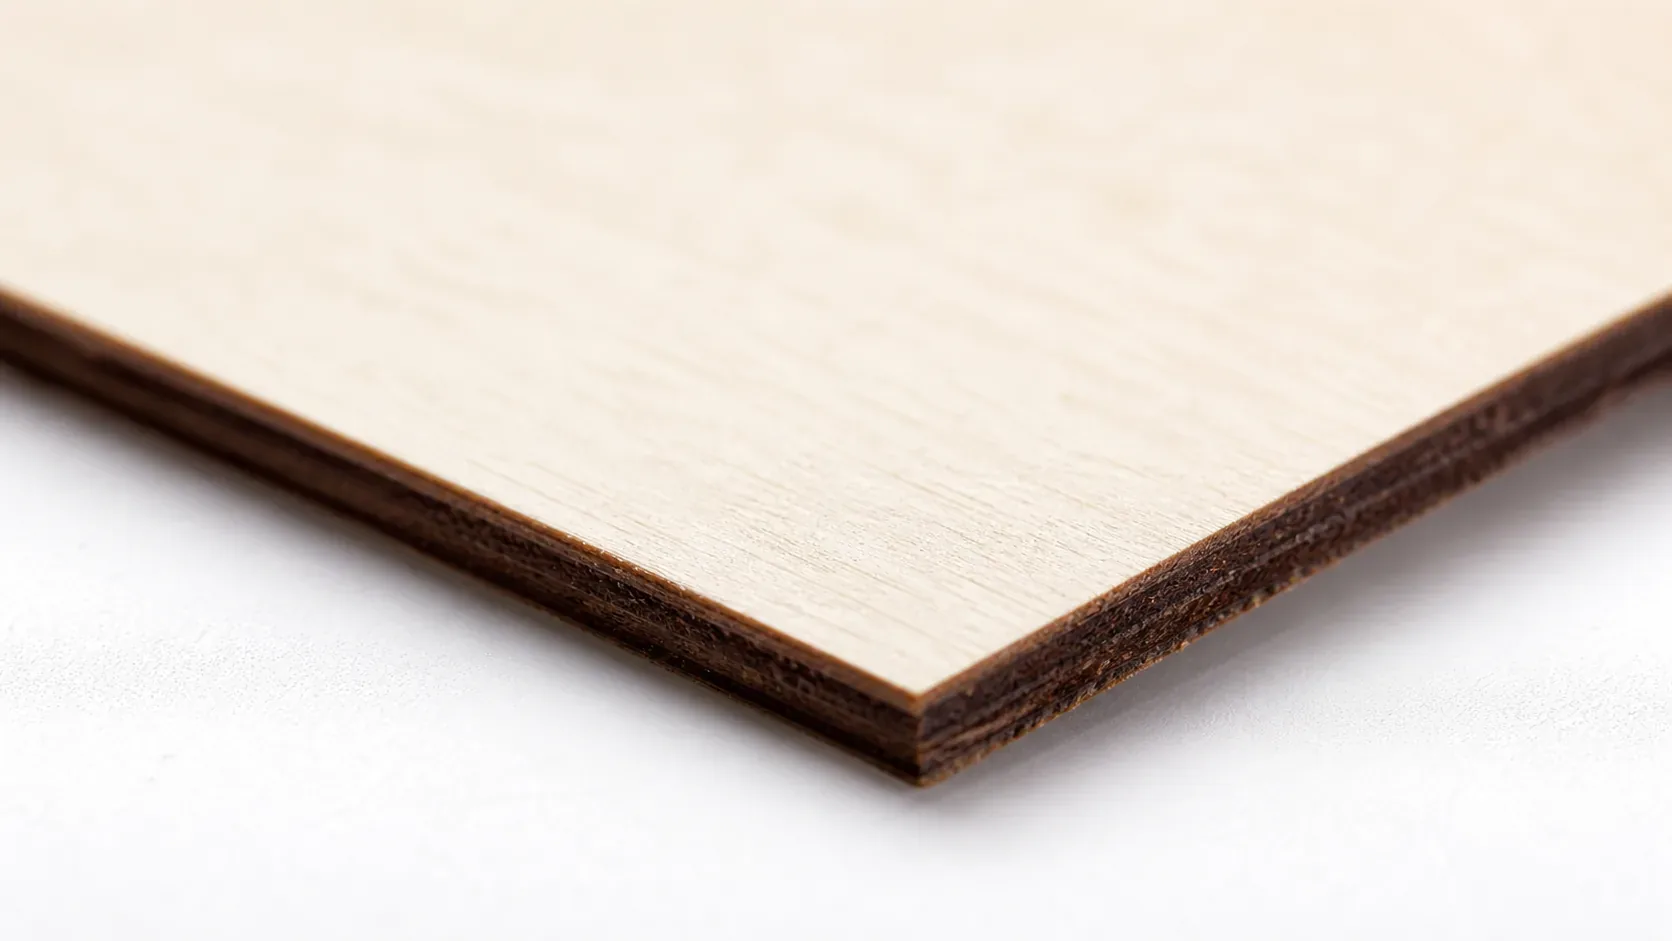
Basswood gives you a pale, uniform, fine-grained surface that reads like a blank canvas for photographic work. The laser burns it to a warm brown, so you get a wide usable contrast range from near-white to deep chocolate without fighting pronounced grain lines or color variations that obscure fine tonal detail.
This article covers the image prep workflow: cropping and composition, adjusting levels and contrast, applying moderate sharpening, converting to grayscale, and then choosing and applying a dithering algorithm. It does not repeat best DPI for photo engraving on basswood settings – that companion piece addresses the actual resolution number once your image is prepped and ready to send to the laser.
I ruined a family portrait on my first attempt because I skipped the levels adjustment and sent a flat, low-contrast photo straight to the dithering step. The histogram was a narrow hump in the middle, and the final engraving looked washed-out and gray on the wood – no readable blacks, no true highlights, just muddy mid-tones. Backing up and spreading the tonal range before dithering fixed it completely.
The order matters. Dithering an unprepped photo bakes in flatness and muddy contrast. Prep first – crop, levels, sharpen, grayscale – then dither last. That sequence gives the algorithm a full tonal range to work with, and the laser gets clean blacks, whites, and smooth gradients to burn.
According to USDA Forest Products Laboratory data, basswood ranks among the lowest-resin, most uniform-density domestic hardwoods – which is exactly why it engraves so predictably batch after batch, letting you focus on image prep instead of fighting inconsistencies caused by the material itself.
The Image Prep Workflow: Crop, Levels, Sharpen, Grayscale, Then Dither
The order you prep your photo matters more than most people realize. Crop and compose first so you’re working with the exact frame you intend to engrave – no wasted effort adjusting pixels that won’t make it to the final piece.
Next, adjust levels or curves. Open your histogram and look at where the tones cluster. If they’re bunched in the middle with empty space on both ends, you’re leaving contrast on the table. Drag the black point and white point inward until they kiss the edges of the histogram mountain – this spreads your tonal range across the full spectrum without clipping highlights or crushing shadows.
I had a flat family photo once where the histogram looked like a sad little hump in the middle third. I adjusted the levels, watched that hump stretch out to span the full range, and the difference in the final engraving was night and day – went from washed-out gray mush to readable contrast with actual dimensionality in the faces.
After levels, apply a moderate unsharp mask sharpening pass. You want edges and fine details to read clearly on wood, but don’t crank it – halos and noise will show up in the burn. Keep it subtle.
Convert to grayscale using the luminosity method, not a simple desaturate. Luminosity preserves the perceptual brightness differences between color channels, which matters for skin tones and fabric texture.
Dither last. If you dither an unprepped photo, you bake in the flatness and muddiness. The dithering algorithm can’t invent contrast that isn’t there – it just turns whatever grayscale values you feed it into a dot pattern. Prep the photo properly first, then dither.
Choosing a Dithering Algorithm for Portraits on Light Wood
Dithering converts continuous grayscale tones into a pattern of on/off burn dots. Your laser can only fire or not fire at each pixel – it has no concept of “50% gray.” The dithering algorithm decides how to arrange those dots so your eye perceives smooth mid-tones and gradients instead of solid black or white.
For portraits on basswood and other light woods, Stucki and Floyd-Steinberg are the two error-diffusion modes you’ll see recommended most often. Both produce smooth tonal transitions and handle skin tones well. Jarvis is another error-diffusion mode, but it’s typically suggested for larger formats or metal and coated surfaces – less common for the typical basswood portrait.
There’s no single best mode. It depends on your specific photo, your machine’s actual spot size and power delivery, and what looks right to your eye. Test on scrap first.
I engraved the same portrait twice on Crafteker basswood scrap once, side by side – once with Stucki, once with Floyd-Steinberg. Stucki held finer detail in the hair and held sharp transitions better. Floyd-Steinberg looked slightly softer in the skin tones, almost painterly. Neither was wrong. They just rendered mid-tones differently, and I picked Stucki for that particular client piece because the hair detail mattered more than softness.
Run your own comparison on a single sheet before you commit to the final. The pale surface of basswood sheets shows the difference between dithering modes clearly enough that you’ll know which one suits your photo.
3 Prep Mistakes That Ruin Photo Engravings on Basswood
Most washed-out or muddy photo engravings trace back to these three prep errors before the laser ever fires:
- Pushing contrast too high: Cranking the contrast slider feels productive until you watch skin tones collapse to pure white and hair merge into solid black. I burned a sheet that way once – too impatient to check the histogram – and the portrait looked like a bad photocopy. Back off the slider until you can still see detail in the highlights and shadows, then test on scrap.
- Leaving the photo too flat: If your histogram is a narrow hump in the middle, the engraving will look gray and muddy on wood. Adjust levels or curves so the tonal range spans close to full black-to-white without clipping. The laser needs contrast to work with.
- Resolution mismatch: Importing a photo at the wrong resolution relative to your engraving DPI causes blur or blocky pixelation. Check the best DPI settings for photo engraving to match your image prep workflow to your machine’s actual output resolution.
Does the Dithering Algorithm Actually Change How a Portrait Looks on Wood?
Yes – dithering mode visibly changes how mid-tones and gradients render on wood. Stucki tends to produce finer, slightly more structured patterns; Floyd-Steinberg leans softer and smoother in skin tones. The difference is subtle but real.
That said, dithering can’t rescue a badly prepped photo. Contrast and sharpening matter more than the algorithm alone. I engraved the same portrait twice on basswood scrap – once with Stucki, once with Floyd-Steinberg – and Stucki held finer detail in the hair while Floyd-Steinberg looked gentler in the skin. Neither was wrong, just different. I picked Stucki for that client piece because the hair detail mattered more for that particular image.
Crafteker Basswood: Pale, Uniform Surface for Testing Prep Workflows
Crafteker 3mm basswood sheets are laser-grade, void-free, and pale enough to show tonal differences clearly – exactly what you need for testing prep workflows and dithering modes before committing to a final piece. At 12×12 inches, one sheet gives you room to burn three test squares side-by-side and compare Stucki, Floyd-Steinberg, and Jarvis in real time.
I do this every time I’m dialing in a new portrait: burn three small test squares on one Crafteker sheet, pick the dithering mode that looks right for that photo, then move to the full engraving. The pale surface shows the difference between modes clearly enough to choose confidently, and at about $2.08 per sheet in the 12-pack, the cost of testing is negligible.
Pair this image prep workflow with the best DPI settings for photo engraving and you have both halves of clean photo work on wood: prepped images and matched resolution.
Ready to test your prep workflow? Get the wood that shows tonal detail clearly:
→ Buy Crafteker 12-Pack Basswood Sheets on Amazon – $24.99
Also available: 5-pack ($15.97) · 3-pack ($12.99)
Frequently Asked Questions
What is dithering in laser photo engraving?
Dithering converts continuous grayscale tones into a pattern of on/off burn dots so a laser – which can only fire or not fire at each pixel – can visually simulate mid-tones and smooth gradients on wood. Without dithering, you would only get solid black or solid white, no in-between shades.
Which dithering mode is best for portraits on basswood?
Stucki and Floyd-Steinberg are commonly recommended starting points for light wood portraits because they produce smooth tonal transitions, but there is no single best mode – it depends on your specific photo, machine, and personal taste. I burned the same portrait twice on scrap, once with each, and Stucki held finer hair detail while Floyd-Steinberg looked softer in the skin. Test both on scrap and pick what looks right to you.
Do I need to sharpen a photo before laser engraving it?
Yes, applying a moderate unsharp mask sharpening pass before grayscale conversion and dithering helps edges and fine details read clearly on wood. Avoid overdoing it or you will introduce halos and noise that the dithering algorithm will amplify into distracting speckles across the engraving.
Why does my photo engraving look muddy or gray on basswood?
Usually the source photo has low contrast. Adjust levels or curves so the histogram spans close to full black-to-white without clipping highlights or shadows, then convert to grayscale and dither – that spreads the tonal range and gives the laser something to work with. Ask me how I know: I burned a flat family photo once without fixing the levels first, and the result was a washed-out gray blob that looked like fog on wood.
Where can I buy basswood sheets for practicing photo engraving?
Crafteker on Amazon sells laser-grade 3mm basswood: 3-pack $12.99, 5-pack $15.97, 12-pack $24.99 ($2.08/sheet). The pale, uniform surface shows dithering and tonal detail clearly, making it good for test pieces before committing to a final engraving. I burn three test squares on one sheet to compare dithering modes side-by-side – cheap insurance before wasting material on a client piece.
About the author: Mike Dolan is a laser maker and wood materials specialist with 8+ years cutting basswood, birch, and MDF on diode and CO₂ machines. He tests every Crafteker basswood batch before listing.
Switched from Floyd-Steinberg to Stucki after noticing the hair detail looked sharper on test burns, and adjusting levels before converting to grayscale made a huge difference – the histogram was bunched in the middle and the engraving looked washed out until I spread it out. Crafteker sheets are cheap enough that I can burn three dithering tests side-by-side on one piece before committing to the final.