
3 Laser-Cut Wood Inlay Methods for 3mm Basswood (2026)
Inlay on 3mm basswood works best with 3 methods that avoid a deep carved recess: a cut-through window, a shallow engraved pocket, or a kerf-compensated push-fit sandwich. This guide compares them, then covers kerf-fit tests, gluing, sanding, and fixes for the four problems that wreck most inlays.
By Mike Dolan ·
Quick Answer: Inlay 3mm basswood with one of 3 methods – a cut-through window, a shallow pocket, or a push-fit sandwich – and test the fit on scrap before gluing.
| Material | Engraving Contrast | Cut Ease | Smoke / Odor | Cost | Beginner Score |
|---|---|---|---|---|---|
| Basswood (3 mm) | ★★★★★ | Excellent — 1 pass | Low | $ | ★★★★★ |
| Baltic Birch Plywood | ★★★★ | Good — 2–3 passes | Medium | $$ | ★★★★ |
| MDF | ★★★ | Good — 1–2 passes | High (formaldehyde) | $ | ★★ |
| Pine / Soft Plywood | ★★★ | Poor — resin deposits | Medium-High | $ | ★★ |
Why Pale, Even Basswood Makes a Good Inlay Base
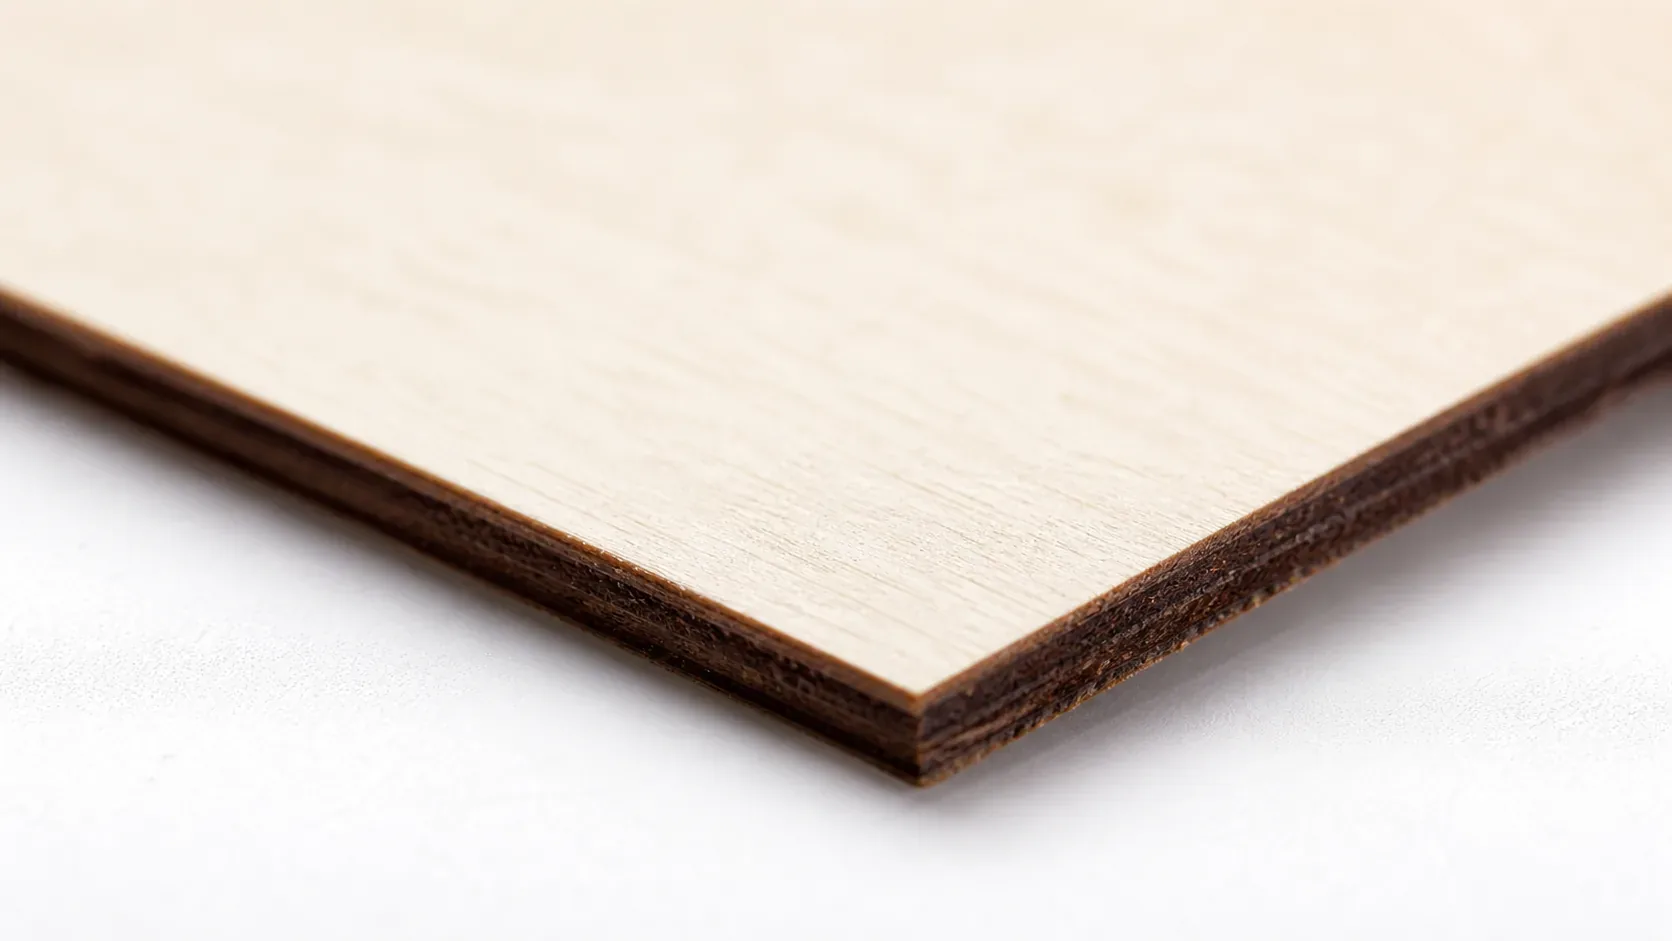
Pale, even, fine-grained basswood makes a good inlay base and contrasts well with darker inserts, a different grain direction, or paint. Its consistent 3mm thickness helps the insert and base match, keeping flush sanding minimal, and a 12-pack at $24.99 works out to $2.08 per sheet for affordable scrap fit tests.
- Pale, even surface — darker inserts, paint or a different grain direction stand out clearly against it
- Consistent 3mm thickness — base, backing and insert match, which keeps flush sanding to a minimum
- Low resin — clean cut edges, so tight-fitting openings and inserts stay crisp
- Fine, even grain — small details and thin lines hold their shape better than in coarse woods
- Affordable sheets — at $2.08 a sheet, scrap fit tests cost almost nothing
Why 3mm Basswood Needs a Different Inlay Plan
3mm, 3-ply basswood works best for layered inlay designs, not a deep carved recess in a single sheet. There simply is not much material available for a traditional pocket, and aggressive engraving can weaken the top layer or break through it.
I once treated a thin basswood panel like thicker stock, and the pocket broke through in a few small areas. Adding a backing layer made the design flatter, stronger, and far less fussy. Way 1 and Way 3 use that layered approach, while Way 2 offers only a shallow recess.
3 Ways to Inlay 3mm Basswood
The most practical ways to inlay 3mm basswood are a cut-through window, a shallow engraved pocket, and a push-fit sandwich. Each can produce clean contrast, but each also asks you to respect the limited thickness of the sheet.
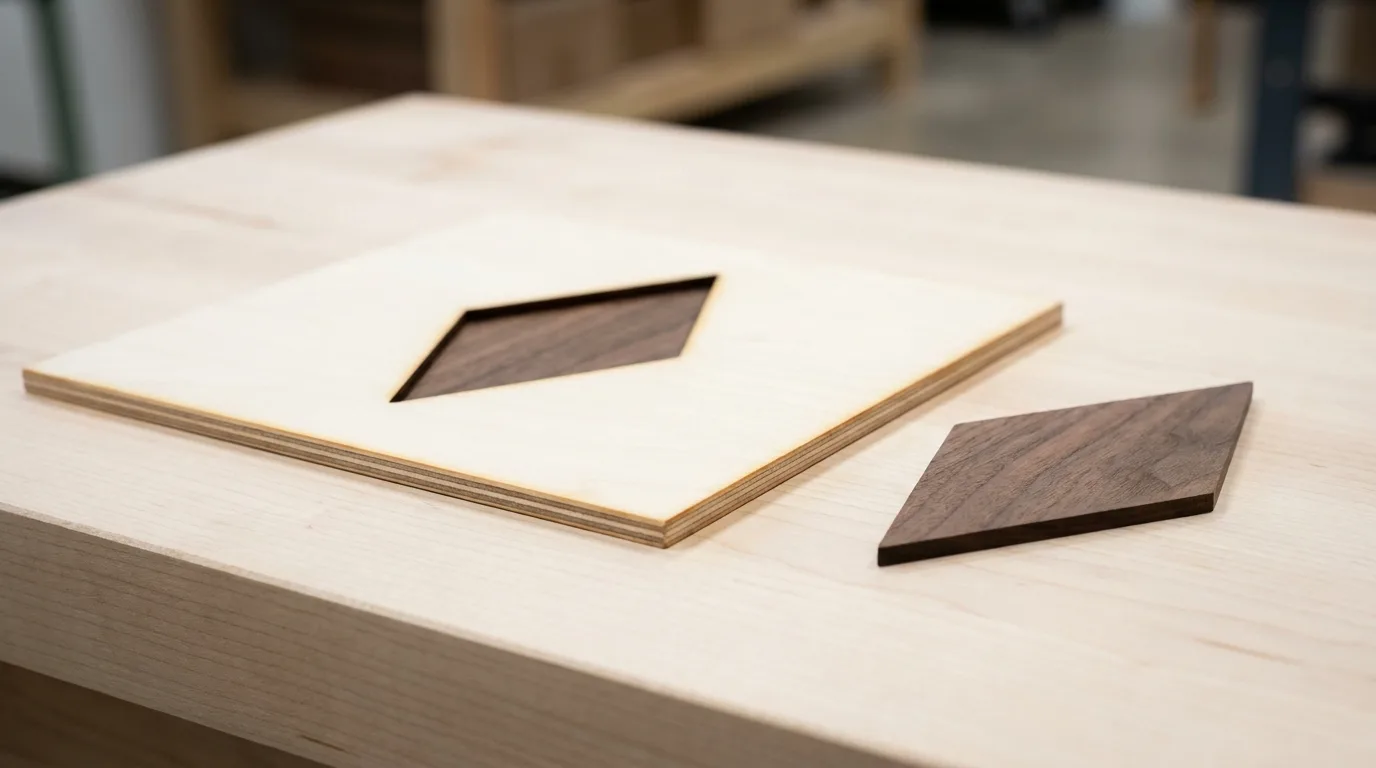
- Way 1: Cut-through window with a backing layer. Cut the design outline through a top 3mm sheet, glue it to a backing sheet, and add a contrasting insert from another sheet. This is the most dependable choice for flat signs, panels, ornaments, and geometric artwork. Its limit is simple: it is a layered construction, not a pocket within one sheet.
- Way 2: Engraved shallow pocket with insert. Engrave a recessed version of the design into a base, cut the contrasting insert separately, dry-fit it, glue it in place, and sand it flush. Use this method for a more traditional inlay appearance. Its limit is pocket depth: engraving too far can weaken or cut through the base.
- Way 3: Push-fit sandwich inlay. Cut the opening and matching insert from separate sheets, apply opposite kerf compensation, dry-fit the parts, glue them, keep the assembly flat, and sand the insert flush. It suits repeatable geometric designs especially well. Its limit is that accurate alignment, flat support, and a backing or surrounding layer still matter.
Kerf Offsets and the Scrap Fit Test
Kerf offsets make an opening effectively smaller and its matching insert effectively larger, creating a closer fit. The laser beam removes material, so a hole often cuts larger than its drawn shape while a separately cut insert cuts smaller. That tiny difference is where loose inlays like to hide.
In LightBurn, offset controls move closed cutting paths inward or outward. Move the opening path inward to reduce the opening, and move the insert path outward to enlarge the insert. Confirm the direction in your own file and machine before committing to a full design.
There is no universal kerf value. Results change with the laser, lens, focus, material, thickness, masking, and cut process. A common starting point is to offset each path by half of your own measured kerf, but treat that as a first guess to test, not a promise. For more context on fit-sensitive designs, see this laser kerf compensation guide.
Measure and test on scrap from the same material before cutting project parts. Clean char and debris from edges before judging the fit, because residue can make good geometry seem too tight.
- Draw a representative test. Create a small opening and matching insert that include the smallest details from the final design.
- Cut matching material. Use the same basswood, focus, masking, and cut process planned for the project.
- Dry-fit the parts. Note whether the insert drops in, enters with light pressure, or binds at the edges.
- Adjust opposite offsets. Change the opening and insert paths in opposite directions, then cut another small test.
- Repeat before full production. Stop only when the fit matches the look and assembly method you want.
Glue, Clamp, Sand, and Add Contrast
Thin glue, even clamping pressure, and patient sanding produce the cleanest basswood inlay. Apply wood glue sparingly to hidden mating surfaces rather than flooding the face. Keep it away from visible basswood, then wipe squeeze-out promptly without smearing it across the porous grain.
Assemble on a flat surface and apply even pressure with clamps, weights, or a caul. Let the assembly cure fully before leveling it. A flat sanding block removes material evenly, while fingertip sanding can dish a thin top layer faster than you expect.
Sand gradually and check the surface often. The insert should finish flush with the surrounding wood, not below it. Apply finish only after the surface is clean and level, since finish can make stray glue marks and uneven sanding much easier to spot.
- Pair pale basswood with a darker wood species.
- Rotate grain direction between layers for a subtle visual shift.
- Use a dyed or painted insert for bolder contrast.
- Choose simple geometric shapes when clear contrast matters most.
4 Common Inlay Problems
Most 3mm basswood inlay problems come from fit, glue control, sanding, or uneven assembly pressure. A small scrap test catches many of them before a full panel reaches the glue bottle. The test card playbook can help you build a repeatable starting process.
- Visible gaps around the insert. Cause: The opening is too large, the insert is too small, compensation is insufficient, or the sheet shifted. Fix: Measure your process-specific result, make the opening effectively smaller or the insert effectively larger, and repeat the scrap fit test.
- Insert will not enter. Cause: The insert is too large, the opening is too small, compensation is excessive, or char and debris remain on the edges. Fix: Reduce the offset (a smaller outward offset on the insert, or a smaller inward offset on the opening), clean the edges, and sand lightly only where the design allows before retesting.
- Glue squeeze-out stains the wood. Cause: Too much glue or delayed cleanup can mark porous basswood. Fix: Use a thin, even glue layer, keep it off exposed faces, and wipe excess promptly without spreading it.
- Insert sands below the surface or the sandwich warps. Cause: Unequal stock thickness, an overly deep pocket, excess sanding, uneven glue, moisture, heat, or concentrated clamping pressure can cause it. Fix: Match stock thicknesses, control pocket depth, use a flat sanding block, and assemble flat with even pressure. For edge residue or burn marks, see masking tape on basswood.
Where to Get Basswood for Inlay Projects
Crafteker 3mm basswood sheets are 12×12 inch, laser-grade, void-free, and pre-sanded – consistent thickness means your base, backing and insert match, so there is less flush sanding and fewer surprises. At $24.99 for 12 sheets ($2.08/sheet), scrap fit tests cost almost nothing.
Ready to try your first inlay?
→ Buy Crafteker 12-Pack Basswood Sheets on Amazon – $24.99
Also available: 5-pack ($15.97) · 3-pack ($12.99)
Frequently Asked Questions
Can I make a deep pocket in one 3mm basswood sheet?
Not reliably. A 3mm sheet has limited usable depth, and aggressive engraving can weaken the top layer or cut through it. Use a shallow pocket or build the inlay with a window, backing, and insert.
Which 3mm inlay method is most reliable?
The cut-through window with a backing layer is usually the most forgiving because it avoids deep engraving. It still needs careful alignment and a flat assembly.
How do I calculate laser inlay kerf compensation?
Do not rely on a universal value. Cut a representative opening and insert from the same material and process, dry-fit them, then adjust the opening inward or the insert outward in LightBurn. Half the measured kerf can be a starting point, but the result must be tested.
Why is my laser-cut insert too loose?
The opening may be too large, the insert too small, or identical nominal paths may have ignored material removed by the beam. Use opposite offsets, keep the material flat, and verify the change with a scrap fit test.
How do I sand a basswood inlay flush without damaging it?
Let the glue cure fully, use a flat sanding block, and remove material gradually while checking the surface often. Matching the base and insert thicknesses reduces the amount of sanding needed.
About the author: Mike Dolan is a laser maker and wood materials specialist with 8+ years cutting basswood, birch, and MDF on diode and CO₂ machines. He tests every Crafteker basswood batch before listing.
I get better results when I test a tiny window and insert before committing a full panel. A flat caul also saves me from chasing a warped sandwich after the glue dries.