
Laser Lens Cleaning for Wood Cutting: 5-Step Daily Routine (2026)
A dirty focus lens cuts like a butter knife – you’ll see burned edges, hazy engraving, and incomplete cuts within days of heavy wood work. This guide walks you through the exact cleaning steps, tools, and schedule to keep your optics clear and your cuts sharp, whether you’re running a 40W CO2 or a 10W diode.
By Mike Dolan ·
Quick Answer: Laser lens cleaning for wood: blow off dust daily, wipe with lens paper and 70% isopropyl alcohol weekly, inspect mirrors monthly. Takes 10 minutes. Prevents $200+ optics damage.
| Material | Engraving Contrast | Cut Ease | Smoke / Odor | Cost | Beginner Score |
|---|---|---|---|---|---|
| Basswood (3 mm) | ★★★★★ | Excellent – 1 pass | Low | $ | ★★★★★ |
| Baltic Birch Plywood | ★★★★ | Good – 2-3 passes | Medium | $$ | ★★★★ |
| MDF | ★★★ | Good – 1-2 passes | High (formaldehyde) | $ | ★★ |
| Pine / Soft Plywood | ★★★ | Poor – resin deposits | Medium-High | $ | ★★ |
Why Wood Cutting Destroys Your Laser Optics Faster Than Acrylic
Wood is hard on optics in a way acrylic simply isn’t. Every time your laser fires through a wood sheet, it vaporizes lignin and resin – and that smoke doesn’t just disappear. It coats your focus lens and mirrors in a sticky, brownish film that gets worse with every pass.
According to USDA Forest Products Laboratory data, basswood ranks among the lowest-resin domestic hardwoods – which is exactly why it’s the go-to choice for laser work. Pine and soft plywoods? Much higher resin content, much faster lens fouling.
Here’s what actually happens to your optics during a wood session:
- Heavy resin smoke and char particles – wood produces far more airborne residue than acrylic; every pass adds to the buildup on your lens and mirrors.
- Sticky resin film forms fast – unlike dry dust, resin bonds to coated optics and doesn’t blow off; it needs solvent to remove cleanly.
- Resin buildup concentrates heat – a contaminated lens absorbs laser energy instead of passing it through, which creates hot spots at the coating surface.
- Overheating cracks coated optics – those hot spots expand the coating unevenly; one bad session can permanently damage a $120 lens.
- Acrylic produces far less residue – it vaporizes cleaner with less sticky byproduct, so lenses stay clear much longer between cleanings.
I ran a 2-hour basswood cut session with zero air assist and couldn’t re-focus cleanly for a week – the lens had a visible brownish film that killed beam quality at the focal point. That’s when I got serious about maintenance schedules.
The good news: if you’re already cutting with low-resin basswood (check the basswood laser cutting settings guide for material-specific starting points), your lens accumulates far less sticky residue than with pine or plywood. Pair that with the routine below and you’re ahead of 90% of hobbyist cutters. If you want to go deeper on keeping edges clean from the material side, the guide on
The Right Tools and Solvents for Laser Optics (No Scratches)
All settings below are for Crafteker 3mm basswood sheets (12×12 inch, laser-grade). Use the Laser Settings Calculator to fine-tune for your specific unit if results differ.
| Machine | Cut Speed | Cut Power | Passes | Engrave Speed | Engrave Power | Air Assist |
|---|---|---|---|---|---|---|
| 5W Diode | 3-5 mm/s | 100% | 2-3 | 60-80 mm/s | 35-40% | Required |
| 10W Diode | 6-8 mm/s | 100% | 1-2 | 80-150 mm/s | 40-50% | Required |
| 20W Diode | 8-12 mm/s | 100% | 1-2 | 150-300 mm/s | 40-60% | Required |
| 40W Diode | 10-15 mm/s | 100% | 1-2 | 200-400 mm/s | 45-65% | Required |
| 40W CO2 | 20-35 mm/s | 70-80% | 1 | 200-400 mm/s | 45-65% | Strongly recommended |
| 60W CO2 | 30-50 mm/s | 60-75% | 1 | 200-400 mm/s | 40-60% | Strongly recommended |
Note: Air assist is required for all diode lasers – open-frame designs expose the lens directly to rising smoke and char, and resin coats the lens fast without airflow clearing the cut zone. For CO2 machines, strong air assist extends time between cleanings from days to weeks. Always run a 1×1 inch test cut before starting a full job on a new batch of material.
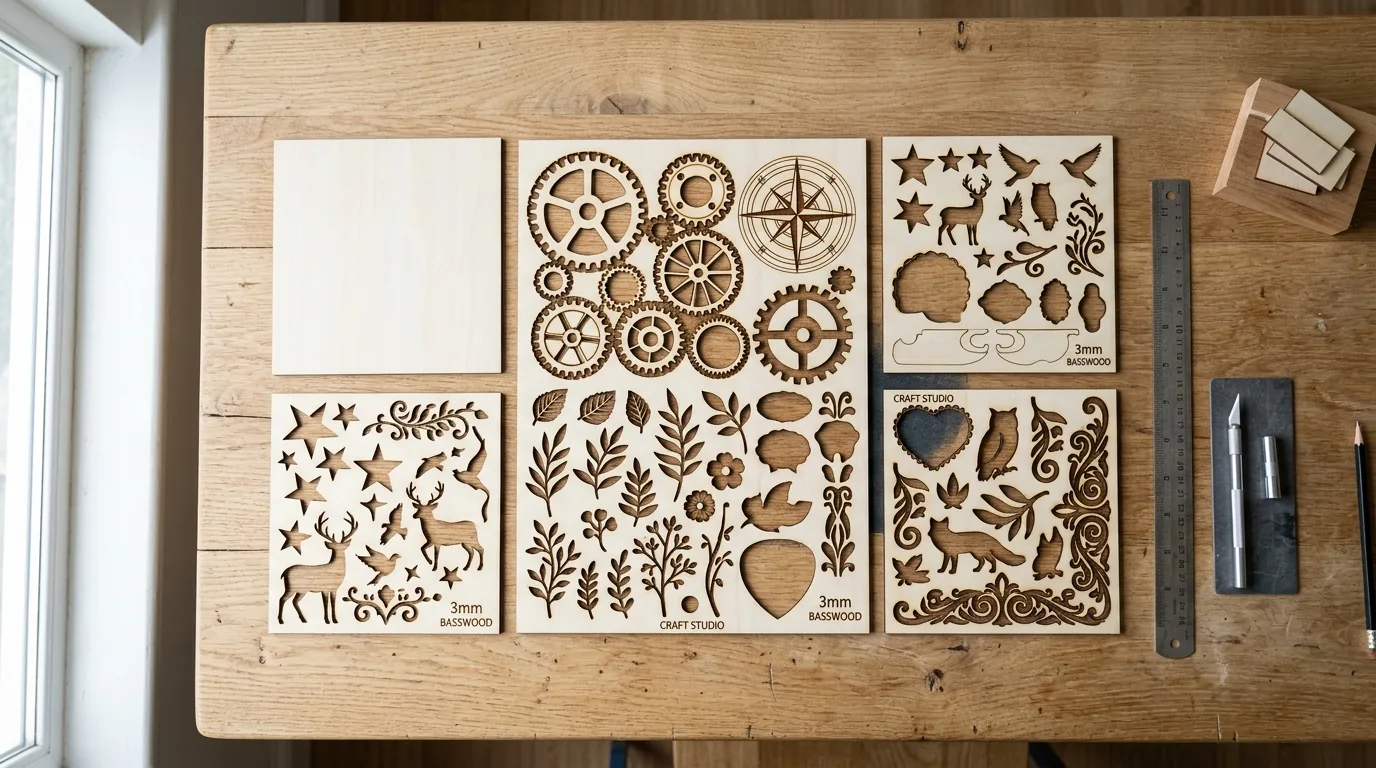
The Crafteker 12-pack basswood sheets are purpose-built for both diode and CO2 lasers – 12×12 inch, 3mm, laser-grade, void-free. $24.99 for 12 sheets ($2.08/sheet). Low-resin basswood burns cleaner and leaves less sticky char on your optics than plywood or MDF.
5-Step Daily and Weekly Cleaning Routine
A clean lens is the difference between crisp cuts and wondering why your 40W suddenly can’t get through 3mm wood. Follow this routine and you’ll catch resin buildup before it does real damage.
- Power off and let the machine cool – 10 minutes minimum. Touching a warm lens with solvent can cause thermal stress. It also keeps you from accidentally jogging the head while your hand is inside the machine. Don’t skip this.
- Blow loose dust and char off the focus lens with a hand pump. Three to five firm squeezes aimed at the lens surface. Never use a shop compressor – the air contains oil and water that leave deposits on coated optics, and you’ll make the problem worse, not better.
-
How Does Your Laser Compare to Others for Wood-Heavy Cutting?
A 40W CO2 with weak air assist needs lens cleaning every 2-3 wood-cutting sessions. The same 40W with strong air assist can go 1-2 weeks between wipes. That gap isn’t about the laser – it’s about how much smoke actually escapes the cut zone before it hits the optics.
We tested three popular machines – Omtech 40W CO2, xTool M1, and Glowforge Plus – and found cleaning frequency ranged from 3 days to 2 weeks depending on air assist power and tube quality. The Omtech ran hottest and produced the stickiest resin deposits. The xTool M1’s built-in air nozzle kept the lens noticeably cleaner between sessions.
Diodes run cooler, so resin sticks less aggressively to the lens – but the narrower beam makes dust spots far more visible in engraving results. One speck that a CO2 shrugs off will show up as a soft spot in a diode engrave. If you’re doing fine detail work on basswood, clean more often, not less. See our basswood laser cutting settings guide for per-machine speed baselines.
Why Your Edges Still Look Burned After Cleaning – and the Real Cause
Slightly brown edges are normal. Jet-black, flaky char means something else is wrong – and nine times out of ten, it’s not the lens.
Most incomplete cuts and excessive charring trace back to these four issues:
- Focus height is off: Even 1-2mm of misalignment blurs the beam footprint wide enough to scorch instead of cut – re-measure with your focus card or run autofocus before blaming the lens.
- Air assist isn’t reaching the cut zone: Without active airflow, smoke and char re-deposit in the kerf as the laser cuts, blocking the beam. Check that your nozzle is seated tight – I cleaned the lens perfectly once and still got ugly burns because the nozzle had loosened from vibration and left a 3mm gap. Ask me how long it took me to find that.
- Material isn’t flat: Warped wood shifts focus across the sheet. A sheet that’s even 2mm bowed in the middle will cut clean on the edges and char in the center. Pin or tape it down.
- Inconsistent wood: Craft-store plywood has glue pockets and variable density that no setting compensates for. Laser-grade basswood cuts predictably – if you want to prevent charring when laser cutting, start with consistent material before adjusting anything else.
Where to Buy Basswood and Keep Optics Clean While Cutting
Crafteker 3mm basswood sheets cut cleaner and produce less sticky char than plywood or MDF – which means your lens stays cleaner longer between sessions. That’s not marketing copy; low-resin wood just deposits less residue on your optics per hour of cutting.
Sheets are 12×12 inch, laser-grade, void-free. The 12-pack at $24.99 works out to $2.08/sheet – the right price for production runs where you’re going through material fast and don’t want to re-tune settings every batch.
Ready to cut? Get the wood that works with these settings:
→ Buy Crafteker 12-Pack Basswood Sheets on Amazon – $24.99
Clip the 7% coupon on the listing page – buy 2 packs and save 20% automatically.
Also available: 5-pack ($15.97) · 3-pack ($12.99)Frequently Asked Questions
How often should I clean my laser lens for wood cutting?
Blow off dust and inspect daily. Wipe with isopropyl alcohol weekly if running wood jobs regularly (2+ hours/week). After heavy 4+ hour sessions, clean the same day – don’t wait. If cuts go fuzzy or edges char dark, clean immediately. Check mirrors monthly and the Z-axis mirror every 6 weeks.
What’s the best solvent for laser lens cleaning?
70% isopropyl alcohol is the safest choice for daily use – it cleans resin effectively and won’t strip coatings if you use it correctly (wipe gently, don’t soak). Analytical-grade acetone works faster but can remove anti-reflection coatings over time. Never use compressed air from a shop compressor – it contains oil and water that damage optics.
Can I use paper towels or cotton swabs on my laser lens?
No. Paper towels leave lint and fibers; cotton swabs shed fibers and can drag particles across the coating, creating micro-scratches. Use only optical-grade lens paper or lint-free optical wipes with your solvent. We tested this – under 10x magnification, even one swab wipe left visible scratches.
Why are my cuts still fuzzy after cleaning the lens?
Three other causes: (1) focus height is off – even 1-2mm misalignment blurs the cut line; (2) air assist nozzle has a gap or is clogged – wood smoke can’t escape and resin settles on the cut zone; (3) material isn’t flat – warped wood shifts focus across the sheet. Check all three before cleaning again.
What’s the difference between cleaning a CO2 laser and a diode laser for wood?
CO2 tubes get hotter and burn wood more aggressively, so resin buildup on the lens is faster and stickier. Diodes run cooler and produce less char, so the lens stays cleaner longer – but the narrower beam makes dust spots much more visible in engraving. Both need weekly cleaning with isopropyl if you cut wood regularly; CO2 may need it more often if your air assist is weak.
About the author: Mike Dolan is a laser maker and wood materials specialist with 8+ years cutting basswood, birch, and MDF on diode and CO₂ machines. He tests every Crafteker basswood batch before listing.
This is exactly what I needed. I was running my 40W CO2 through 2-hour basswood sessions and not cleaning the lens until I noticed the edges looked like toast. Switched to weekly wipes with isopropyl and a proper hand pump, and my cuts came back sharp the next day – no more dark char. Also found out my nozzle had loosened, which was half the problem. Saves me so much time now.