
Laser + 3D Print + CNC: 3-Process Hybrid Builds (2026)
Laser kerf runs about 0.1-0.3mm and FDM printing needs roughly 0.3-0.4mm of clearance to mate cleanly – stack both wrong in the same joint and your hybrid build just won’t close. This guide breaks down which process to use for which part and how to plan tolerances so your laser-cut basswood panels actually fit your 3D-printed or CNC-machined pieces the first time.
By Mike Dolan ·
Quick Answer: Hybrid maker workflows that combine laser-cut basswood with 3D-printed or CNC parts fit best when you account for laser kerf (0.1-0.3mm) and FDM clearance (0.3-0.4mm) together, not one side alone.
| Material | Engraving Contrast | Cut Ease | Smoke / Odor | Cost | Beginner Score |
|---|---|---|---|---|---|
| Basswood (3 mm) | ★★★★★ | Excellent – 1 pass | Low | $ | ★★★★★ |
| Baltic Birch Plywood | ★★★★ | Good – 2-3 passes | Medium | $$ | ★★★★ |
| MDF | ★★★ | Good – 1-2 passes | High (formaldehyde) | $ | ★★ |
| Pine / Soft Plywood | ★★★ | Poor – resin deposits | Medium-High | $ | ★★ |
Why Combine Laser-Cut Basswood with 3D-Printed or CNC Parts?
Because no single process does everything well, and pretending otherwise is how you end up fighting the material instead of the design. Laser-cut basswood owns the flat panel, the engraved face, the enclosure wall. 3D printing owns the curved bracket, the foot, the connector – anything with geometry a flat sheet physically can’t become. CNC steps in for thick structural parts, pockets, and embedded inserts that need more meat than a 3mm sheet can offer.
I learned the boundary the hard way. I tried to laser-cut a curved bracket out of basswood once, figuring I’d just bend it into place after cutting. It split clean along the grain the second I applied pressure. Wood doesn’t flex like plastic, and basswood in particular has zero patience for being coaxed into a curve it wasn’t cut to hold. I switched that one part to a 3D print and never looked back – same enclosure, different job for a different process.
The reason basswood earns the flat-panel role in the first place comes down to the wood itself. According to USDA Forest Products Laboratory data, basswood ranks among the lowest-density domestic hardwoods, which tracks with why it runs low on resin and cuts so consistently sheet to sheet. That consistency is exactly what you need once a wood part has to register precisely against a printed or machined counterpart – check the basswood laser cutting settings that keep kerf predictable, and read up on how to prevent charring when laser cutting so your mating edges stay dimensionally honest.
- Low resin – keeps laser-cut edges and flat faces clean, the trait that earns basswood the “flat panel” role in a hybrid build
- Consistent density – predictable kerf and cut quality sheet to sheet, which matters more when a wood part has to mate precisely with a printed or machined part
- Light, workable surface – easy to sand or finish a laser-cut panel face without touching or affecting the separate printed or CNC part next to it
- No toxic fumes – safe to cut indoors alongside a 3D printer running in the same shop
- Not suited to curved or organic geometry – the honest limit that’s exactly why 3D printing exists as a complementary process here, not a competitor
Which Process for Which Part?
Match the part to the process, not the other way around. Flat panels go to the laser, curved or oddly-shaped parts go to the printer, and anything thick or structural goes to the CNC. Here’s the quick-reference split.
| Part Type | Best Process |
|---|---|
| Flat panels, engraved faces, enclosure walls | Laser-cut basswood |
| Curved brackets, feet, connectors, custom-shape hardware | 3D printing (FDM) |
| Thick structural parts, pockets, embedded inserts | CNC machining |
Plenty of real builds use all three in one project. A split-flap clock is a good example: laser-cut basswood flap spools, a 3D-printed flap stopper for the exact catch geometry, and a CNC-cut wood enclosure to hold the whole mechanism square.
I learned this the hard way on a lamp base build. The panels were laser-cut basswood, no problem there. But the diffuser fitting needed a curved lip to seat the shade, and trying to cut that from a flat sheet just looked wrong and never sat right. Swapped that one part to a 3D print and it snapped into place.
Why Tolerances Matter When Mixing Processes
Tolerances matter because a design that looks perfect in CAD can still refuse to fit once two different processes each shave their own margin off the part. Laser kerf removes roughly 0.1-0.3mm of material on every cut (some services cite +/-0.13mm for wood specifically), and that’s material gone from the wood side of any joint, not just a rounding error.
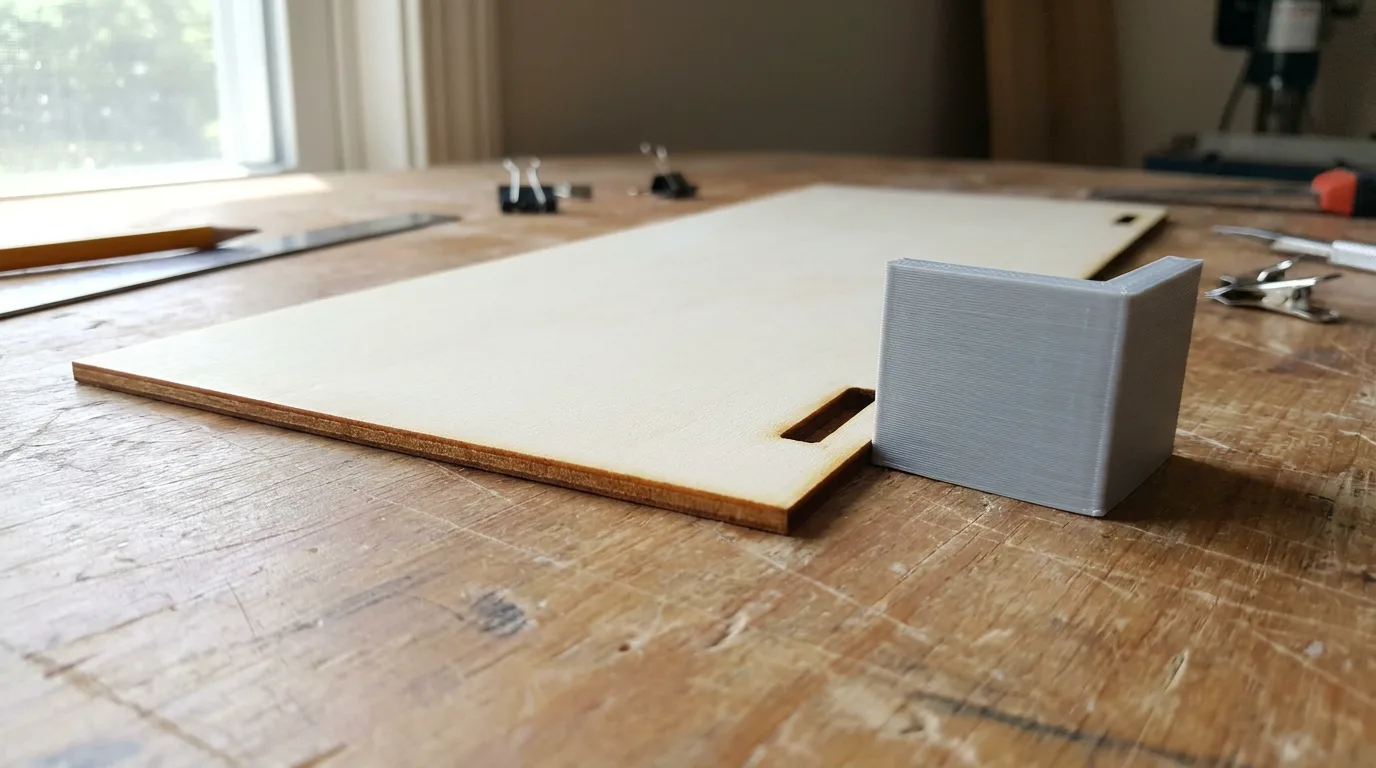
FDM printing has its own tolerance stack, commonly around 0.3-0.4mm of general clearance for two mating parts to slide together without binding. A tab-and-slot joint between a laser-cut panel and a 3D-printed bracket has to account for both numbers at once. Design around the print tolerance alone and ignore kerf, and the wood side comes up short. This is where the general press-fit approach earns its keep: tab width = slot width + 2x kerf + 2x overlap (overlap usually 0.001-0.002in), which turns tolerance planning into arithmetic instead of guesswork.
I found this out on a printed tab that measured fine on its own, seated cleanly in a test slot cut in scrap plastic, no drama. Slid it into the actual laser-cut basswood slot and it jammed about halfway. I’d sized the tab off the printer’s tolerance and completely forgot the wood side loses its own sliver of material to kerf every time the laser passes through.
How to Design a Reliable Hybrid Build
The fix is planning for both processes’ tolerances before you cut or print anything, not patching a bad fit afterward. A few habits make hybrid builds go together clean on the first try instead of the third.
- One file, all parts: design mating pieces in the same CAD or vector file so shared dimensions stay locked across exports, instead of redrawing a slot in one program and a tab in another.
- Account for both sides of the stack: oversize or undersize a slot for laser kerf and printer clearance together – sizing around only one process is the most common reason joints bind or wobble.
- Test coupons first: cut and print a small sample of the actual joint before committing to the full part. It costs you a scrap of wood and a few minutes of print time.
- Alignment pins: add dowel or pin holes wherever two parts need to register to each other precisely, rather than relying on a friction fit to hold position.
- Label exports by process: keep laser, print, and CNC files clearly named. Sending the wrong file to the wrong machine wastes material and your afternoon.
I printed a small test coupon for a tab-and-slot joint before cutting the full enclosure panel. It came out a hair too tight, so I nudged the slot width slightly in the file and ran the real cut – the test coupon paid for itself in one skipped re-cut. A laser settings calculator can help sanity-check kerf assumptions before you commit to a slot width.
Common Mistakes in Hybrid Laser/3D-Print/CNC Builds
Most bad-fitting hybrid joints come down to one of four habits, and all of them are easy to fix once you know to look for them.
- Designing a tab-and-slot joint without accounting for laser kerf at all, then wondering why the slot comes out wider than drawn.
- Assuming a printed part will match its CAD dimensions exactly and ignoring FDM printer tolerance in the mating design.
- Skipping a small test-fit coupon and only discovering the fit is off after cutting the full-size panel – see basswood laser cutting settings for how kerf shifts depending on setup.
- Reaching for CNC on a part that would work just as well, and far cheaper, as a simple laser cut.
Where to Buy Basswood for Hybrid Maker Projects
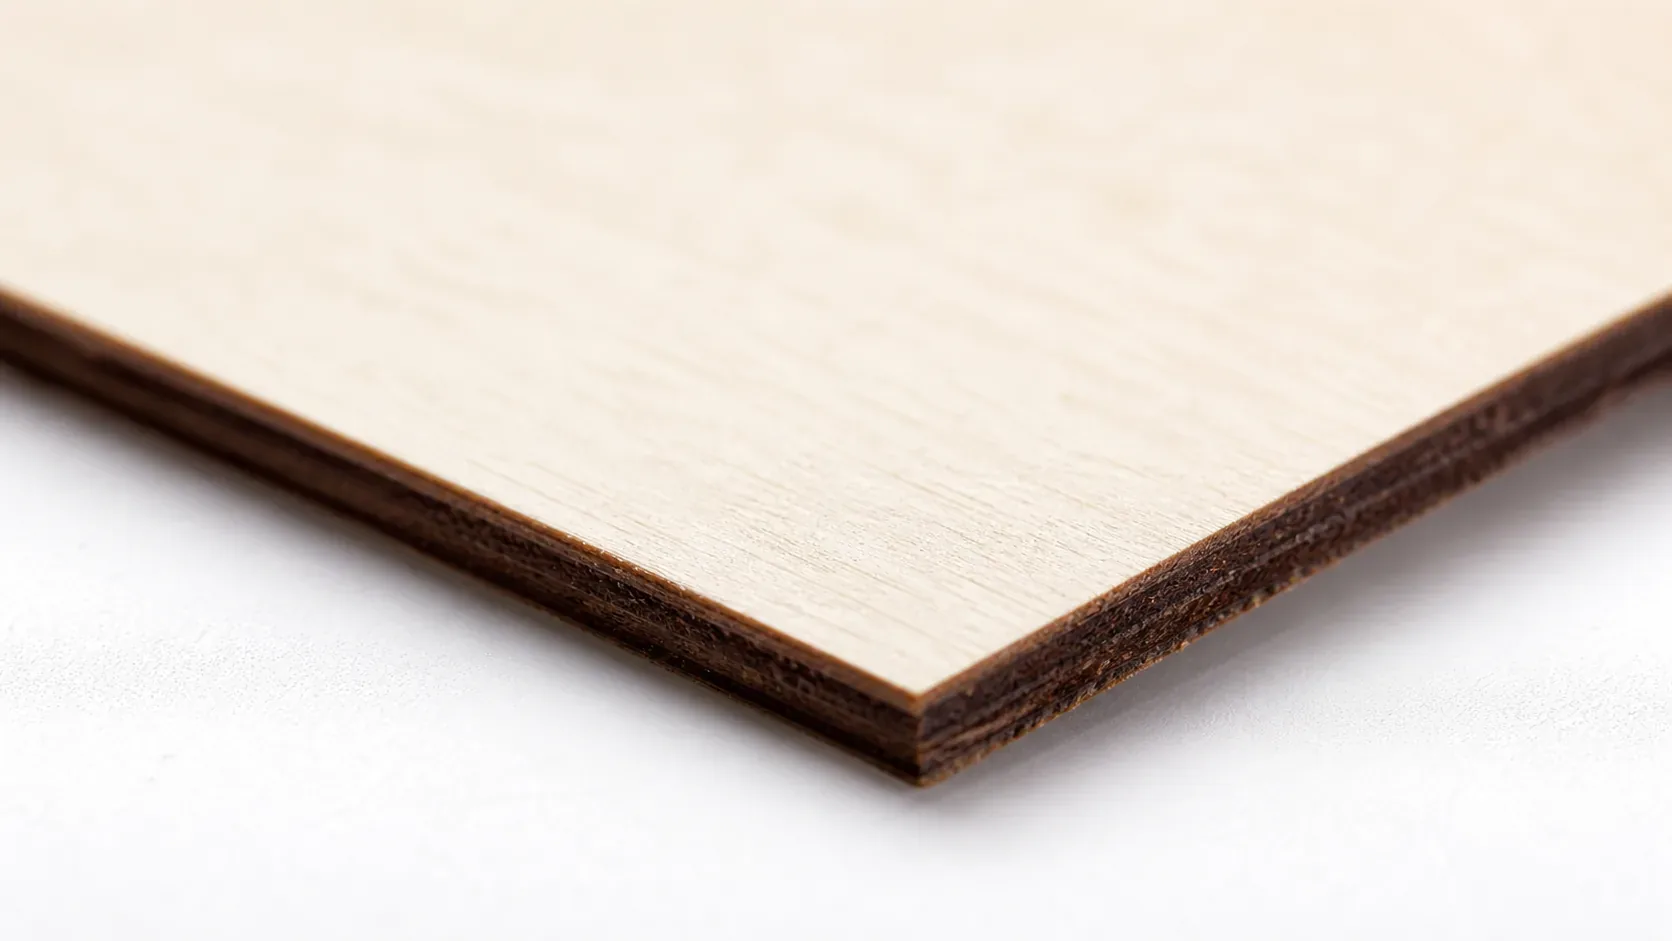
Crafteker’s 3mm basswood sheets hold consistent thickness and a clean laser-cut kerf sheet to sheet, which matters more in a hybrid build than a laser-only one – the wood side of your tolerance stack needs to be predictable, or the print side can’t compensate. Sheets are void-free and laser-grade, no glue pockets to throw off a cut mid-panel.
Pick the size that fits your build: 3-pack at $12.99 for testing a joint design, 5-pack at $15.97 for a single project, or the 12-pack at $24.99 ($2.08/sheet) for repeat builds. Clip the 7% coupon on the Amazon listing page before you check out.
Ready to cut? Get the wood that works with these settings:
→ Buy Crafteker 12-Pack Basswood Sheets on Amazon – $24.99
Clip the 7% coupon on the listing page – buy 2 packs and save 20% automatically.
Also available: 5-pack ($15.97) · 3-pack ($12.99)
Frequently Asked Questions
Why combine laser-cut basswood with 3D-printed parts?
Because each process is good at a different shape. Laser-cut basswood nails flat panels and engraved faces thanks to its consistent density and low resin content, while 3D printing handles curved brackets, feet, and connectors a flat sheet simply can’t produce. Use both and you’re not fighting the material’s grain.
What tolerance should I use for laser-cut slots that mate with 3D-printed tabs?
Account for both sides: laser kerf (roughly 0.1-0.3mm) and FDM printer clearance (commonly 0.3-0.4mm) in the same joint. Designing around only one – usually the print side, since it’s easier to check in CAD – is the most common reason a tab-and-slot fit ends up too tight or embarrassingly loose.
When should I use CNC instead of laser cutting or 3D printing?
Reach for CNC when a part needs more depth or strength than a 3mm laser-cut sheet or a printed piece can deliver. Thicker structural members, pockets, and embedded inserts are where CNC earns its keep – everything else is usually cheaper and faster laser-cut or printed.
What real projects combine laser-cut basswood with 3D-printed or CNC parts?
Plenty. Enclosures with printed corner brackets or feet, lamp bases with printed diffuser fittings, jigs, fixtures, and split-flap clocks built from laser-cut spools, a printed flap stopper, and a CNC-cut wood enclosure all in one machine. Three processes, one part list, zero drama once the tolerances line up.
Where can I buy basswood sheets for hybrid maker projects?
Crafteker sells directly on Amazon: 3-pack $12.99, 5-pack $15.97, 12-pack $24.99 – that last one works out to $2.08 a sheet, the best value if you’re running repeat builds. Clip the 7% coupon on the listing page before you check out.
About the author: Mike Dolan is a laser maker and wood materials specialist with 8+ years cutting basswood, birch, and MDF on diode and CO₂ machines. He tests every Crafteker basswood batch before listing.
Made an enclosure with Crafteker basswood panels for the sides and a 3D-printed corner bracket to hold it all together, and the wood was so consistent sheet to sheet that the slots lined up the same on every panel I cut. Had to sand the printed tabs down just slightly to slide into the kerf, but after that first test piece the rest of the build went together clean.