

xTool D1 Pro 20W Basswood Settings Guide 2026
The xTool D1 Pro 20W cuts 3mm Crafteker basswood cleanly at 8mm/s, 100% power, in 2-3 passes with air assist enabled. This guide covers exact settings, focus steps, and how to dial in your own test grid so you stop wasting material and start shipping quality laser work.
By Mike Dolan ·
Quick Answer: xTool D1 Pro 20W basswood settings: cut at 8mm/s, 100% power, 2-3 passes. Engrave at 300mm/s, 40-60% power. Air assist 20-30 PSI required.
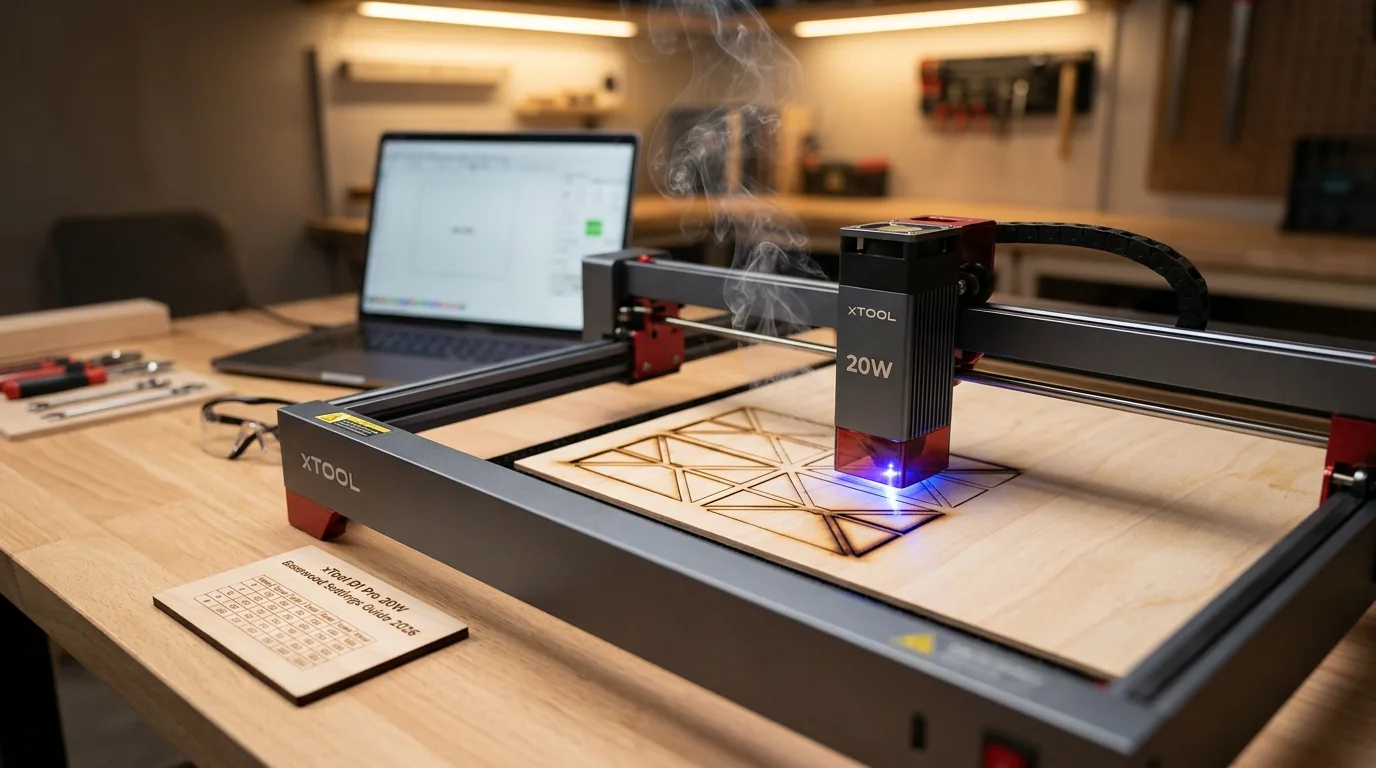
| Material | Engraving Contrast | Cut Ease | Smoke / Odor | Cost | Beginner Score |
|---|---|---|---|---|---|
| Basswood (3 mm) | ★★★★★ | Excellent – 1 pass | Low | $ | ★★★★★ |
| Baltic Birch Plywood | ★★★★ | Good – 2-3 passes | Medium | $$ | ★★★★ |
| MDF | ★★★ | Good – 1-2 passes | High (formaldehyde) | $ | ★★ |
| Pine / Soft Plywood | ★★★ | Poor – resin deposits | Medium-High | $ | ★★ |
Why Is Basswood the Best Wood for the xTool D1 Pro 20W?
The diode laser in the D1 Pro sits exposed to your workspace, so every speck of smoke and resin vapor matters. Basswood keeps your lens clean and your cuts consistent. Its low density means you’re not fighting material that resists the beam – you’re working with it.
- Low resin content – minimal soot and smoke means your lens stays clear longer, protecting the open-frame optics
- Consistent density – the same settings work batch after batch without retuning
- Minimal char – produces clean cut edges with air assist enabled; follow our guide to prevent charring when laser cutting
- Light, workable surface – easy to sand, paint, or stain after cutting for finished pieces
- No toxic fumes – unlike MDF or treated plywood, safe for indoor use with basic ventilation; check USDA Forest Products Laboratory data on basswood’s low-resin profile for peace of mind
Makers who run production work appreciate the predictability. You dial in your test cuts once, then run 20, 50, or 200 pieces without drift. That’s the real win. Learn more about the best basswood sheets for laser cutting to avoid voids that interrupt your workflow.
What Are the Best xTool D1 Pro 20W Settings for 3mm Basswood?
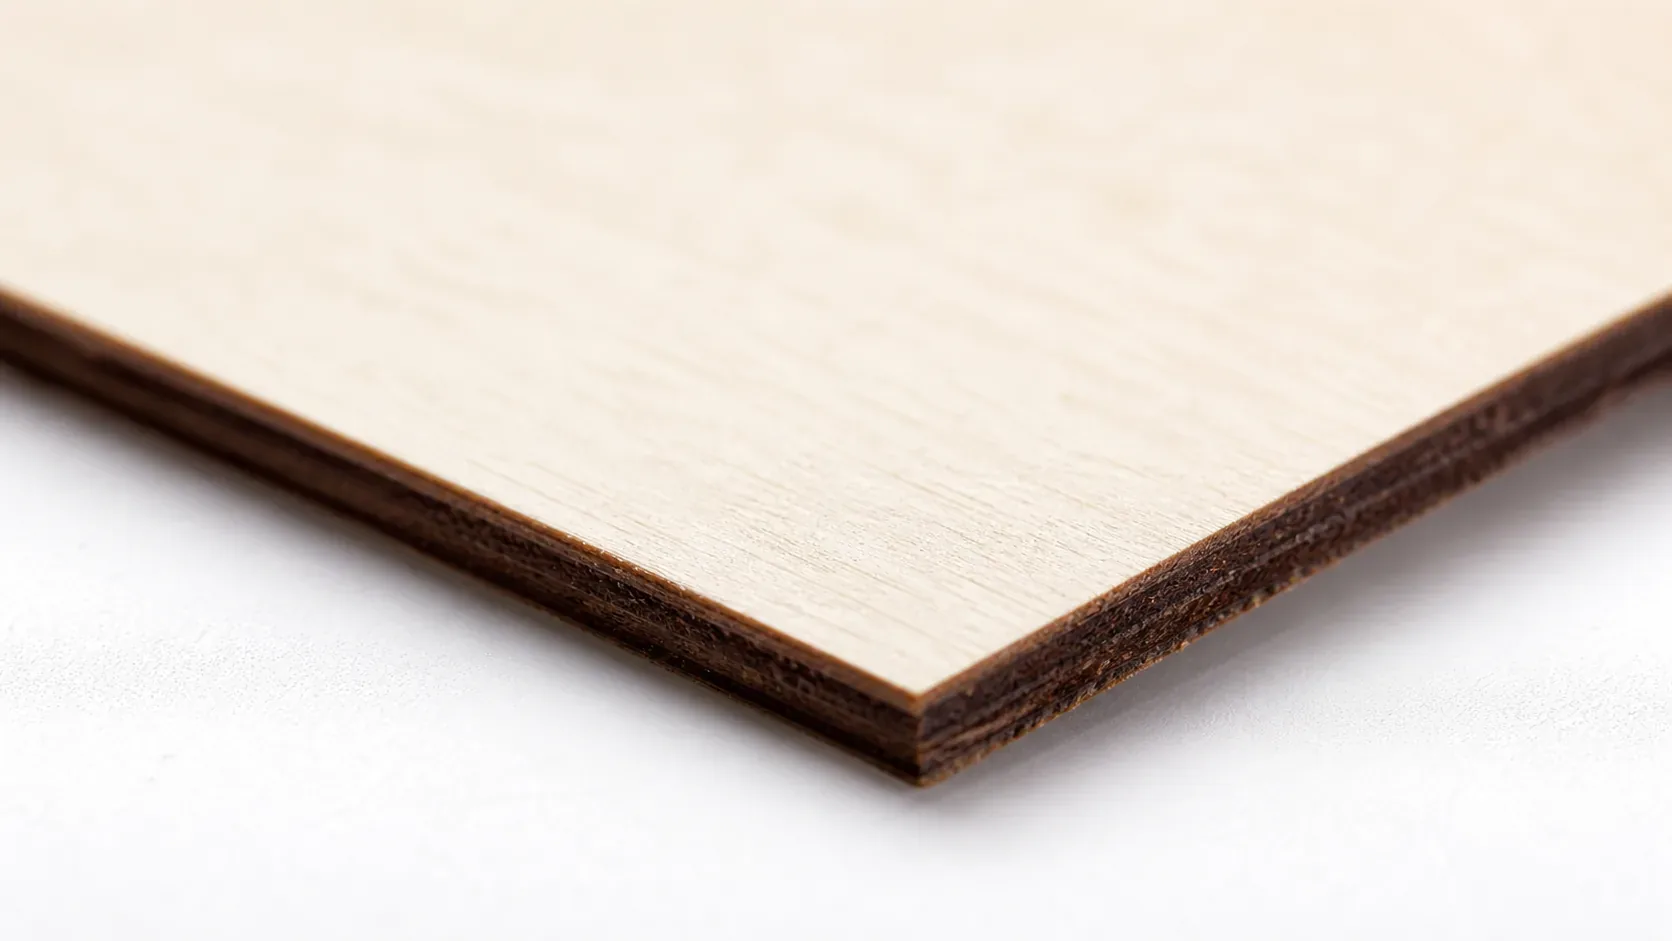
All settings below are for Crafteker 3mm basswood sheets (12×12 inch, laser-grade). Use the Laser Settings Calculator to fine-tune for your specific unit if results differ.
| Machine | Cut Speed | Cut Power | Passes | Engrave Speed | Engrave Power | Air Assist |
|---|---|---|---|---|---|---|
| xTool D1 Pro 20W | 8 mm/s | 100% | 2-3 passes | 300 mm/s | 40-60% | 20-30 PSI (required) |
Note: Air assist is required for the xTool D1 Pro 20W. The open-frame diode lens sits close to the material – without airflow, soot and smoke blow directly into the beam path, robbing you of power and coating the lens fast. At 20-30 PSI you’ll see roughly 80% less soot on the surface. Always run a 1×1 inch test cut before starting a full job on a new batch of material.
One more thing worth dialing in: defocus +0.5mm up from the material surface. It widens the beam slightly, which reduces kerf taper on cut edges. You won’t notice it on rough cuts, but on detail work it makes a real difference.
The Crafteker 12-pack basswood sheets are purpose-built for diode lasers like the xTool D1 Pro 20W – 12×12 inch, 3mm, laser-grade, void-free. $24.99 for 12 sheets ($2.08/sheet).
How Do I Get Clean Cuts on the xTool D1 Pro 20W? Step-by-Step
Clean cuts on the xTool D1 Pro 20W come down to three things: accurate focus, consistent air assist, and flat material. Follow these steps for reliable results:
- Set focus accurately. Flip down the xTool focus gauge and zero it directly on the basswood surface – not the honeycomb bed below it. If you’re defocusing +0.5mm for cleaner edges, raise the laser head by that amount after zeroing. Don’t eyeball it; a half-millimeter off kills cut quality fast.
- Enable air assist at 20-30 PSI. The D1 Pro uses an external air pump – connect it before you start and confirm airflow is actually reaching the nozzle. Without air assist, soot builds on the lens mid-job, and your second pass cuts weaker than your first. To learn more about keeping edges clean, check out how to prevent charring when laser cutting.
- Secure the basswood flat. Weight the corners with hold-down clamps or apply masking tape along the edges – any bow in the sheet shifts focus and you’ll get inconsistent cut depth across the job.
- Run a test cut first. Cut a small 1×1 inch square from a corner of the sheet before the full job. This confirms focus and power before you commit the whole sheet. It takes 30 seconds and saves a $2 sheet.
- Run all passes without pausing. Queue 2-3 passes as a single job and let them run continuously. Stopping between passes lets the material cool unevenly and shifts cut registration slightly – you’ll see it as a ragged kerf edge. For a full breakdown of recommended basswood laser cutting settings, that guide goes deeper on multi-pass strategy.
- Clean the lens after every 10 cuts. The D1 Pro’s diode lens is accessible from below the laser head. Use a dry lens tissue first to lift debris, then a lens tissue with a drop of IPA if there’s residue. Even a thin film causes 10-20% power loss – which means your 2-pass cut suddenly needs 3.
How Does the xTool D1 Pro 20W Compare to Other Lasers for Basswood?
The D1 Pro 20W cuts 3mm basswood at 8mm/s in 2-3 passes. That’s solid for a diode laser at this price point. If you want a direct comparison, here’s how it stacks up against two machines makers commonly weigh it against:
| Machine | Wattage | Laser Type | Cut Speed (3mm Basswood) | Price Range |
|---|---|---|---|---|
| xTool D1 Pro 20W | 20W | Diode (450nm) | 8mm/s, 2-3 passes | ~$500-$600 |
| Xenmak 40W CO2 | 40W | CO2 | 20-30mm/s, 1 pass | ~$500-$700 |
| OMTech 40W CO2 | 40W | CO2 | 25-35mm/s, 1 pass | ~$600-$800 |
The CO2 machines cut basswood 3-4× faster and in a single pass. For production runs – say, 50+ pieces per session – that speed adds up fast. But both require dedicated exhaust ducting and take up significantly more floor space.
The D1 Pro wins on footprint, portability, and setup simplicity. If you’re a hobbyist cutting under 20 sheets per week or just getting started, the D1 Pro 20W makes sense. If you’re shipping Etsy orders daily and time is the constraint, a 40W CO2 is worth the extra setup overhead.
Why Isn’t My xTool D1 Pro 20W Cutting Through Basswood Cleanly?
Most incomplete cuts and excessive charring on the xTool D1 Pro 20W trace back to these four issues – and almost all of them are focus or air assist, not your power settings:
- Focus is off: Use the D1 Pro’s flip-down focus gauge – place it flat on the material surface, lower the laser head until it just touches, then lock it. Eyeballing focus costs you 20-30% cut depth.
- Air assist not running or PSI too low: Without active airflow, smoke re-deposits in the kerf as the laser cuts, blocking the beam on the next pass. Run the pump at 20-30 PSI – at that pressure, soot drops by roughly 80%. Check that the nozzle tip is pointed directly at the cut zone, not off to the side. If you’re still getting heavy char, read up on how to prevent charring when laser cutting.
- Inconsistent or warped material: Craft-store plywood has glue pockets and density variation that throws off every pass. A warped sheet means the focal point shifts mid-cut. Crafteker sheets are void-free and dead flat – use a new sheet from the 12-pack and weight the corners down with clamps or tape before you start.
- Dirty lens: Clean the D1 Pro lens after every 10 cuts. Use a dry lens tissue first (no pressure – let the tissue do the work), then a fresh tissue with a single drop of IPA if residue remains. A smudged lens drops effective power by more than you’d expect – you’ll see it as ragged edges and incomplete cuts even at correct settings.
Where to Buy Basswood Sheets for the xTool D1 Pro 20W
Crafteker 3mm basswood sheets are the best match for the xTool D1 Pro 20W – 12×12 inch, laser-grade, void-free, and pre-sanded. At $24.99 for 12 sheets ($2.08/sheet), it’s the most cost-effective option for consistent results. The uniform quality means the settings in this guide work reliably without re-tuning every batch.
Cheaper sheets save you a dollar upfront and cost you two sheets in failed cuts. Void-free basswood – no surprise air pockets mid-kerf – is what lets you run these settings with confidence. Check the best basswood sheets guide if you want to compare options before buying.
Ready to cut? Get the wood that works with these settings:
→ Buy Crafteker 12-Pack Basswood Sheets on Amazon – $24.99
Clip the 7% coupon on the listing page – buy 2 packs and save 20% automatically.
Also available: 5-pack ($15.97) · 3-pack ($12.99)
Frequently Asked Questions
What are the best xTool D1 Pro 20W settings for 3mm basswood?
Cut at 8mm/s, 100% power, 2-3 passes. Engrave at 300mm/s, 40-60% power. Air assist 20-30 PSI is required. Clean results look like a pale brown kerf with no char on the face and minimal soot.
Is xTool D1 Pro 20W good for cutting basswood?
Yes. The 20W diode laser has enough power to cut 3mm basswood in multiple passes cleanly. The compact form factor makes it ideal for hobbyists and small production runs.
What is the best wood for the xTool D1 Pro 20W laser?
3mm laser-grade basswood. It has low resin content so it cuts clean with minimal soot, and Crafteker sheets at $2.08 per sheet in the 12-pack are affordable for testing and production.
Can xTool D1 Pro 20W cut 3mm basswood in one pass?
No. For 3mm Crafteker basswood, you need 2-3 passes at 8mm/s, 100% power. The diode’s power curve means a single pass will not cut through cleanly.
Where can I buy basswood sheets for the xTool D1 Pro 20W?
Crafteker on Amazon: 3-pack $12.99, 5-pack $15.97, 12-pack $24.99 ($2.08/sheet best value). All sheets are 3mm, 12×12 inch, void-free, and laser-grade. Clip the 7% coupon on the listing page.
About the author: Mike Dolan is a laser maker and wood materials specialist with 8+ years cutting basswood, birch, and MDF on diode and CO₂ machines. He tests every Crafteker basswood batch before listing.
Been running the D1 Pro for about 18 months now, and I finally dialed in 8mm/s at full power for 3mm Crafteker sheets. The air assist was the game changer for me – once I got that to 25 PSI the soot just vanished and cuts went from sketchy to clean through in 2 passes. Saved me a ton of material waste.