
Color-Block Basswood Without Soot Bleed-Through: 3 Fixes (2026)
Char and soot from the laser cut bleed through light-colored acrylic paint unless you sand it off and seal the edge first – three fixes (sand, seal, two thin coats) get you the crisp, saturated color-block look that’s trending in 2026 home decor without muddy edges. This article walks through the technique and the paint-tape method for sharp geometric boundaries.
By Mike Dolan ·
Quick Answer: Sand laser-cut edges with fine-grit paper to remove char, seal lightly, then paint in 2 thin coats of acrylic rather than one heavy coat. Use painter’s tape for sharp color-block boundaries, pulling it while paint is still slightly tacky.
| Material | Engraving Contrast | Cut Ease | Smoke / Odor | Cost | Beginner Score |
|---|---|---|---|---|---|
| Basswood (3 mm) | ★★★★★ | Excellent – 1 pass | Low | $ | ★★★★★ |
| Baltic Birch Plywood | ★★★★ | Good – 2-3 passes | Medium | $$ | ★★★★ |
| MDF | ★★★ | Good – 1-2 passes | High (formaldehyde) | $ | ★★ |
| Pine / Soft Plywood | ★★★ | Poor – resin deposits | Medium-High | $ | ★★ |
Why Your First Color-Block Attempt Looked Muddy Instead of Bold
I painted a pale yellow block straight onto a fresh laser-cut panel expecting a clean saturated color, and got a grayish, uneven patch instead – the char from the cut was bleeding right through a single coat of light acrylic. The color itself was fine. The surface underneath it wasn’t ready for it.
Laser-cut basswood carries a thin layer of soot and char right at the cut edge, and on the face near dense detail. Light, translucent paint colors don’t have the opacity to fully hide that dark residue in one coat, so it shows through as a muddy cast instead of the crisp saturated block you’re going for. Darker colors mask it more easily, which is exactly why this problem catches people off guard on their first attempt with a light palette.
This is a prep problem, not a paint quality problem, and it’s completely fixable before you pick up a brush.
- Low resin – paint bonds evenly without resin bleeding through over time
- Consistent density – predictable sanding and paint absorption sheet after sheet
- Minimal char – less soot to sand away than resin-heavy softwoods in the first place
- Light, workable surface – pale base color makes light block colors easier to get true
- No toxic fumes – unlike MDF or treated plywood, safe for indoor use with basic ventilation
According to USDA Forest Products Laboratory data, basswood’s fine, even grain structure gives it a naturally smooth surface for finishing work, which is part of why it takes paint more evenly than coarser-grained hardwoods once the surface is properly prepped.
Fix 1 and 2: Sand the Char, Then Seal Before You Paint
Light sanding with fine-grit paper (220-320 grit is plenty) removes the surface char and knocks down any raised grain from the cutting heat. This is the single biggest factor in whether a light color block reads clean or muddy – skipping it is the most common reason first attempts disappoint.
A thin sealer coat after sanding, fully dried before you paint, gives the acrylic a more uniform surface to grip and further blocks any remaining char from migrating into the paint layer as it dries. This is a different step from the pre-engrave masking we cover in our pre-engrave surface treatments guide – that’s about protecting the wood from smoke damage during the cut itself, this is prepping an already-cut surface for paint afterward.
Fix 3: Two Thin Coats Beat One Heavy Coat
Acrylic craft paint is the practical default for this – opaque enough to cover in a couple of light passes, fast-drying, and easy to clean up with water. One heavy coat pools at edges, shows brush marks, and often still doesn’t fully hide char if the surface prep was skipped. Two thin coats, each fully dried before the next, consistently give a flatter, more even, more saturated result.
Getting Sharp Color-Block Edges With Painter’s Tape
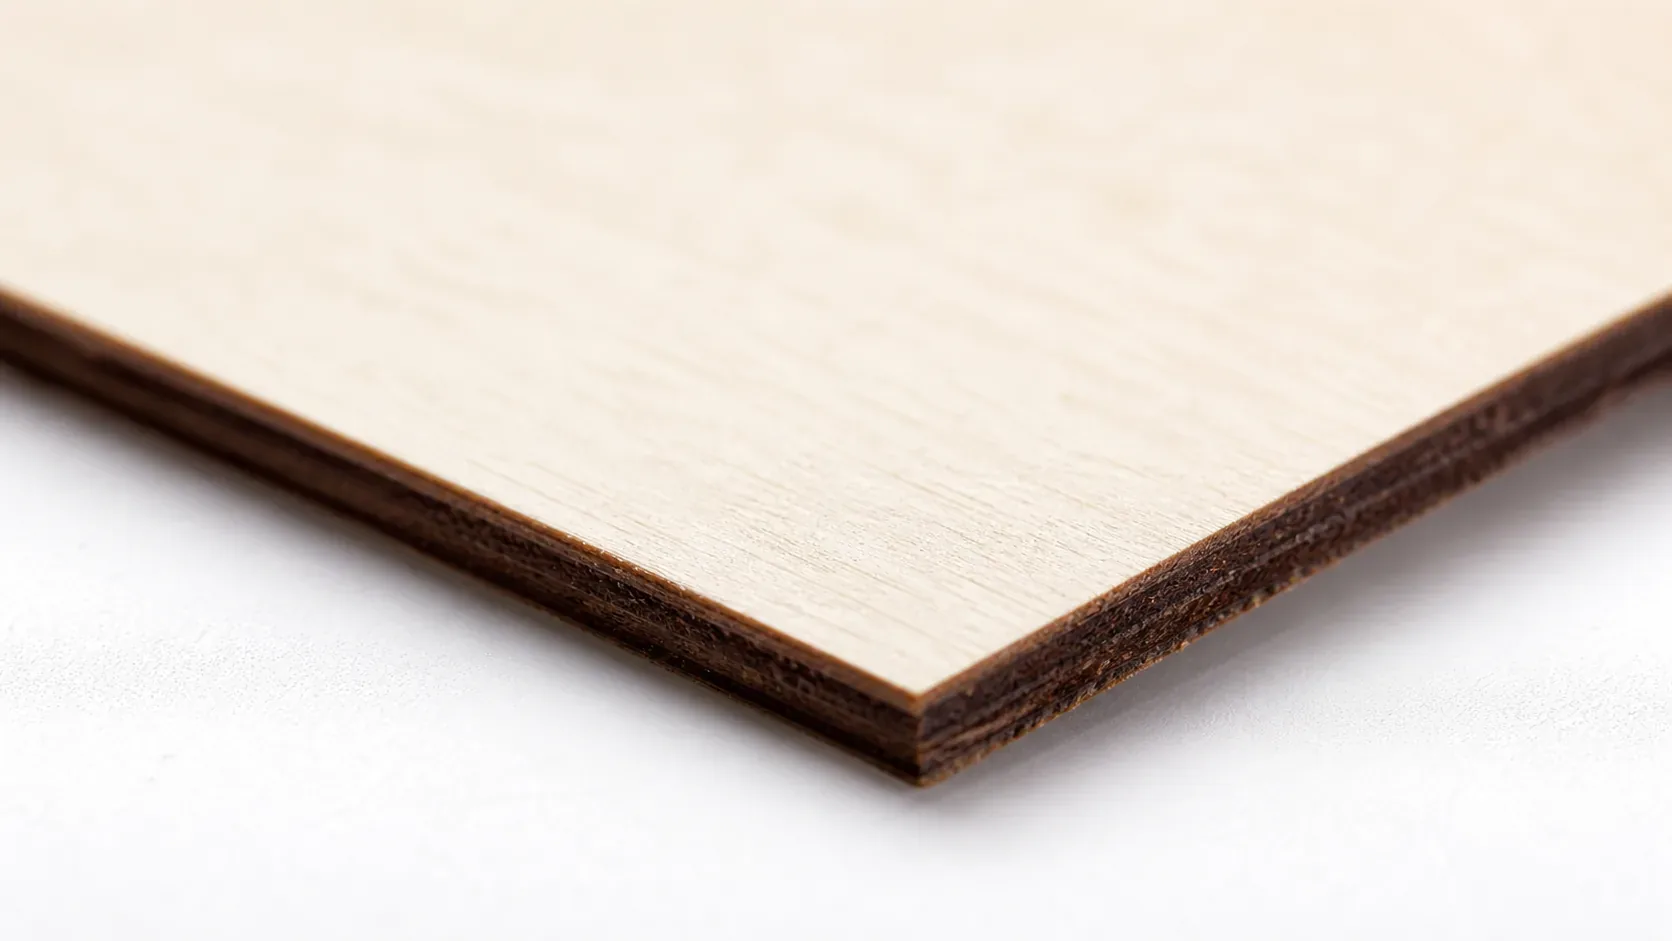
Painter’s tape is what turns a rough paint job into a crisp geometric color block. Press the tape edge down firmly along your intended boundary line before painting – any gap lets paint bleed underneath and blurs the line you’re trying to create.
Pull the tape while the paint is still slightly tacky rather than waiting for it to fully dry. Fully cured paint tends to chip or tear along the tape line when you remove it, leaving a ragged edge instead of the clean boundary that makes color-blocking look intentional rather than accidental.
The 2026 maximalist trend leans into saturated, contrasting palettes and layered geometric shapes – visible wood grain left exposed next to bold painted blocks is part of the look, so you don’t need to cover every surface. Letting some natural basswood show through the design is a feature, not a gap in coverage.
Where to Buy Basswood That Takes Color-Block Paint Evenly
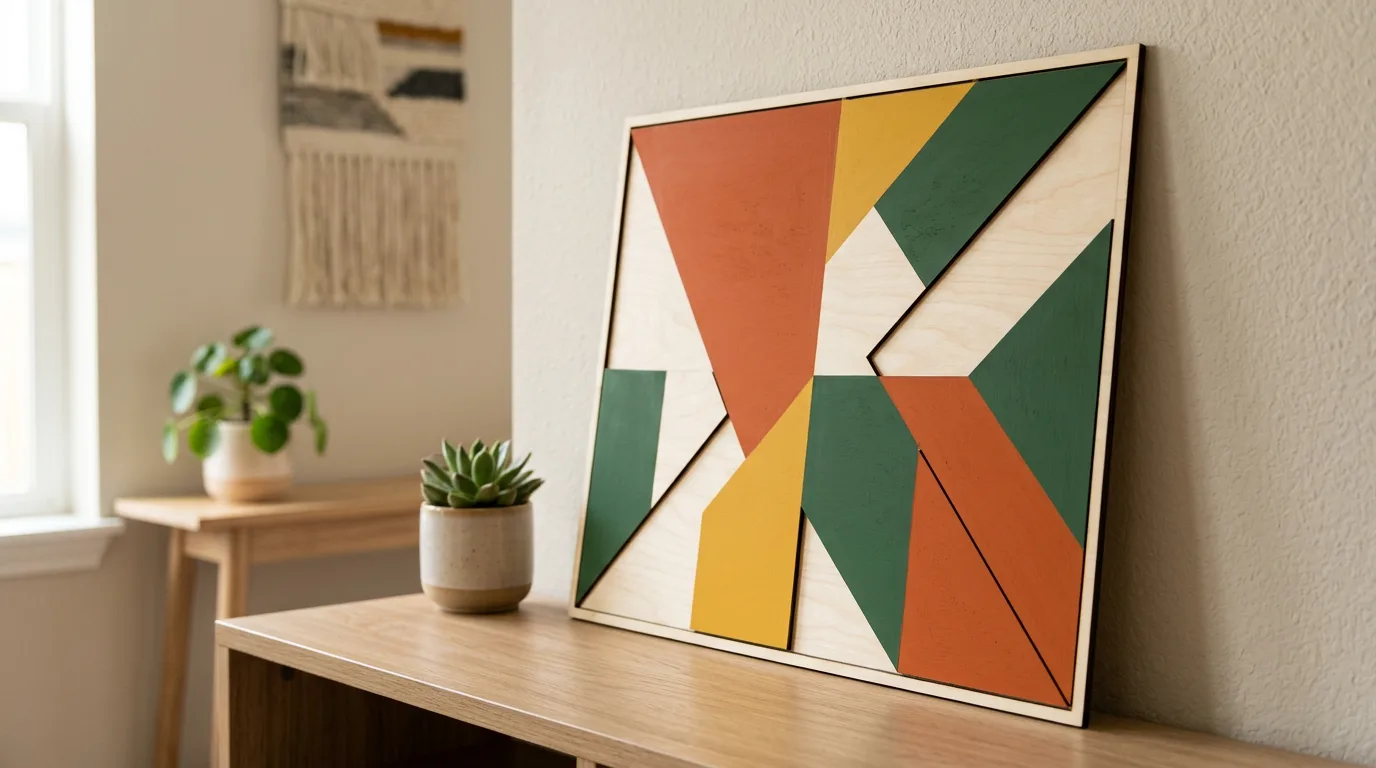
Crafteker 3mm basswood sheets give you a consistent, low-resin surface that sands and paints evenly, which matters more for a color-block project than for a simple engrave since every surface variation shows through a flat painted color.
At $24.99 for 12 sheets ($2.08/sheet), it’s the most cost-effective option for basswood sheets that give color-block paint an even, predictable surface to bond to.
Ready to paint? Get the wood that takes color evenly:
→ Buy Crafteker 12-Pack Basswood Sheets on Amazon – $24.99
Also available: 5-pack ($15.97) · 3-pack ($12.99)
Frequently Asked Questions
Why does char show through light-colored paint on laser-cut wood?
Laser-cut edges carry a thin layer of soot and char from the cutting process, and light acrylic colors are translucent enough at one coat that the dark residue bleeds through, muddying the color. Sanding the char off first and sealing the edge before painting stops this.
What paint works best for color-blocking basswood?
Acrylic craft paint is the practical default – it’s opaque enough in light coats, dries fast, and cleans up with water. Two thin coats consistently look better than one heavy coat, which tends to pool at edges and show brush marks.
How do I get clean, sharp color-block edges on wood?
Painter’s tape laid down before painting creates crisp geometric boundaries – press the tape edge down firmly to prevent bleed underneath, and pull it while the paint is still slightly tacky rather than fully dry to avoid chipping the edge of the color block.
Should I sand laser-cut basswood before painting a color-block design?
Yes – light sanding with fine-grit paper removes surface char and knocks down raised grain, giving paint a more even surface to grip. Skipping this step is the most common reason color blocks look patchy or let dark char show through lighter shades.
Where can I buy basswood that takes paint evenly for color-block projects?
Crafteker on Amazon: 3-pack $12.99, 5-pack $15.97, 12-pack $24.99 ($2.08/sheet best value) – consistent density and low resin give paint an even surface to bond to.
About the author: Mike Dolan is a laser maker and wood materials specialist with 8+ years cutting basswood, birch, and MDF on diode and CO₂ machines. He tests every Crafteker basswood batch before listing.
First color-block panel I made looked gray and muddy under the yellow section until someone told me to sand the char off first – night and day difference after that, plus pulling the tape while the paint was still a little tacky instead of fully dry.