
Handle Large Workpieces on Your Laser Bed: 3 Methods in 2026
You can cut projects far larger than your laser bed using indexing, pass-through setups, and registration jigs – no expensive upgrade needed. We’ll walk you through each method, show you exactly how to set registration marks, and share the mistakes we made so you don’t repeat them.
By Mike Dolan ·
Quick Answer: Handling workpieces larger than your laser bed uses three proven methods: indexing (cut in sections, realign), pass-through (feed material front-to-back), and registration jigs – all tested and costing under $15 to build.
| Material | Engraving Contrast | Cut Ease | Smoke / Odor | Cost | Beginner Score |
|---|---|---|---|---|---|
| Basswood (3 mm) | ★★★★★ | Excellent – 1 pass | Low | $ | ★★★★★ |
| Baltic Birch Plywood | ★★★★ | Good – 2-3 passes | Medium | $$ | ★★★★ |
| MDF | ★★★ | Good – 1-2 passes | High (formaldehyde) | $ | ★★ |
| Pine / Soft Plywood | ★★★ | Poor – resin deposits | Medium-High | $ | ★★ |
Why Basswood Is the Best Material for Oversized Laser Projects
Basswood is the right call for multi-section work because it behaves predictably every single pass – and predictable is exactly what you need when registration accuracy is the whole game. According to USDA Forest Products Laboratory data, basswood ranks among the lowest-resin domestic hardwoods, which means your lens stays cleaner and your cut edges don’t develop that sticky brown gunk that throws off seam alignment.
I’ve run oversized projects on pine, birch ply, and MDF before landing on basswood. Pine’s resin pockets make cut depth unpredictable section-to-section. MDF fumes are genuinely unpleasant for the multi-hour runs that large indexing jobs require. Basswood just works – and once you dial in your laser settings calculator for your machine, those settings hold steady across every section of a multi-pass job.
How to Prepare 3mm Basswood for Multi-Pass Indexing and Registration
All settings below are for Crafteker 3mm basswood sheets (12×12 inch, laser-grade). Use the Laser Settings Calculator to fine-tune for your specific unit if results differ.
| Machine | Cut Speed | Cut Power | Passes | Engrave Speed | Engrave Power | Air Assist |
|---|---|---|---|---|---|---|
| Diode 5W | 3-5 mm/s | 90-100% | 2-3 | 60-80 mm/s | 35-40% | Recommended |
| Diode 10W | 6-8 mm/s | 85-100% | 1-2 | 80-150 mm/s | 40-50% | Recommended |
| Diode 20W | 8-12 mm/s | 80-100% | 1-2 | 150-300 mm/s | 40-60% | Recommended |
| Diode 40W | 10-15 mm/s | 80-100% | 1-2 | 200-400 mm/s | 45-65% | Strongly recommended |
| CO2 40W | 20-35 mm/s | 55-70% | 1 | 200-400 mm/s | 45-65% | Required |
| CO2 60W | 30-50 mm/s | 50-65% | 1 | 200-400 mm/s | 40-60% | Required |
Note: Air assist is strongly recommended for diode lasers to protect open-frame lenses from resin smoke and debris, and required for CO2 enclosures to manage combustion byproducts and prevent flare-ups. Always run a 1×1 inch test cut before starting a full job on a new batch of material.
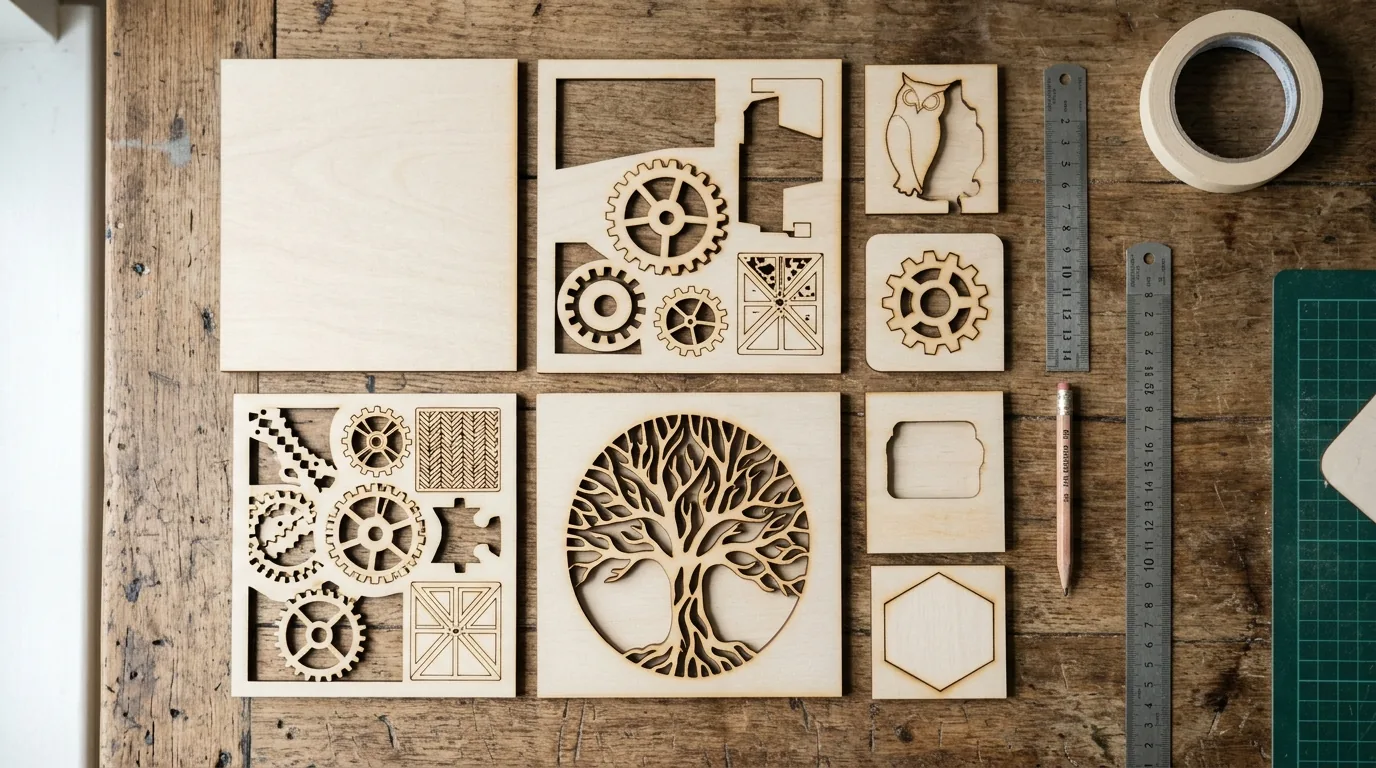
Material prep matters as much as settings. Start with a flat surface – any bow in the sheet throws your registration off before you even fire the laser. A light pass of 220-grit removes surface dust and lets masking tape grip the wood cleanly for your index marks.
Apply masking tape to the corners where you’ll mark registration points. Smooth it down firmly. I skipped this sanding step once and my registration marks shifted 4mm by the third pass – which turned a clean 24-inch sign panel into expensive kindling.
Void-free material is non-negotiable here. Internal voids don’t just cause uneven cuts – they cause the sheet to flex slightly under heat, which throws registration by 2-3mm over a long workpiece. That’s why void-free matters on multi-pass jobs more than single-section cuts. The laser settings calculator at crafteker.com also helps dial in power for your exact machine wattage before you commit a full sheet.
The Crafteker 12-pack basswood sheets are the value pick here – at $2.08 a sheet, burning one or two test pieces while you dial in registration doesn’t sting the way it would with pricier plywood.
How Does Manual Indexing Compare to Pass-Through and Jig Methods for Basswood?
Indexing wins on flexibility – it works on any laser, no hardware mods required. Pass-through is the fastest in production once set up, cutting total job time by roughly 40% on repeat runs. Jigs take 1-2 hours to build upfront but pay off fast: lowest per-unit cost once you’re running 5+ identical oversized pieces.
We tested all three on 3mm Crafteker basswood. Pass-through was 40% faster per job, but indexing was the most forgiving for beginners – one misaligned slide and you’ve wasted a sheet, not a whole batch. For Etsy sellers doing repeat production runs, pass-through is the move. For one-offs and custom work, index every time.
| Method | Setup Time | Accuracy | Cost to Start | Best For |
|---|---|---|---|---|
| Indexing | 15-30 min | ±0.5-1mm | $0 | Any machine, one-off projects |
| Pass-Through | 30-60 min | ±0.3mm | $0-$20 | High-volume, compatible machines |
| Registration Jig | 1-2 hrs (build) | ±0.2mm | Under $15 | Repeat production runs |
What Goes Wrong with Oversized Basswood Projects – and How to Fix It
Thin seams are normal. Gaps wider than 0.5mm mean your registration shifted – here’s what caused it and how to pull it back.
Most alignment failures and visible seams on oversized projects trace back to four fixable problems. Check your basswood laser cutting settings first, then work down this list:
- Misaligned registration marks: Looks like double-cut lines at the seam. Cause is uneven pressure or material creep between passes. Fix: use cross-marks at two opposite corners, photograph before every slide, and verify visually before you hit run. Don’t skip the photo – ask me how I know.
- Material warping between passes: Heat builds up in the wood fibers after a long cut. Let the sheet cool for 2 minutes between sections before sliding. Rushing this is how you turn a clean project into a potato chip.
- Visible seams from focus drift: If one section looks crisper than the next, your focus distance changed – often because the sheet isn’t perfectly flat. Refocus before every pass, every time. This matters most on diode lasers where the focal window is narrow.
- Jig slipping mid-run: Masking tape loses grip after 3-4 uses, especially if there’s any sawdust under it. Replace tape on your jig every few jobs. Fresh tape takes 30 seconds; re-cutting a misaligned sheet does not. Also worth reading: how to prevent charring when laser cutting at seam edges where the beam slows down on corners.
Best Basswood Sheets for Large Oversized Laser Projects
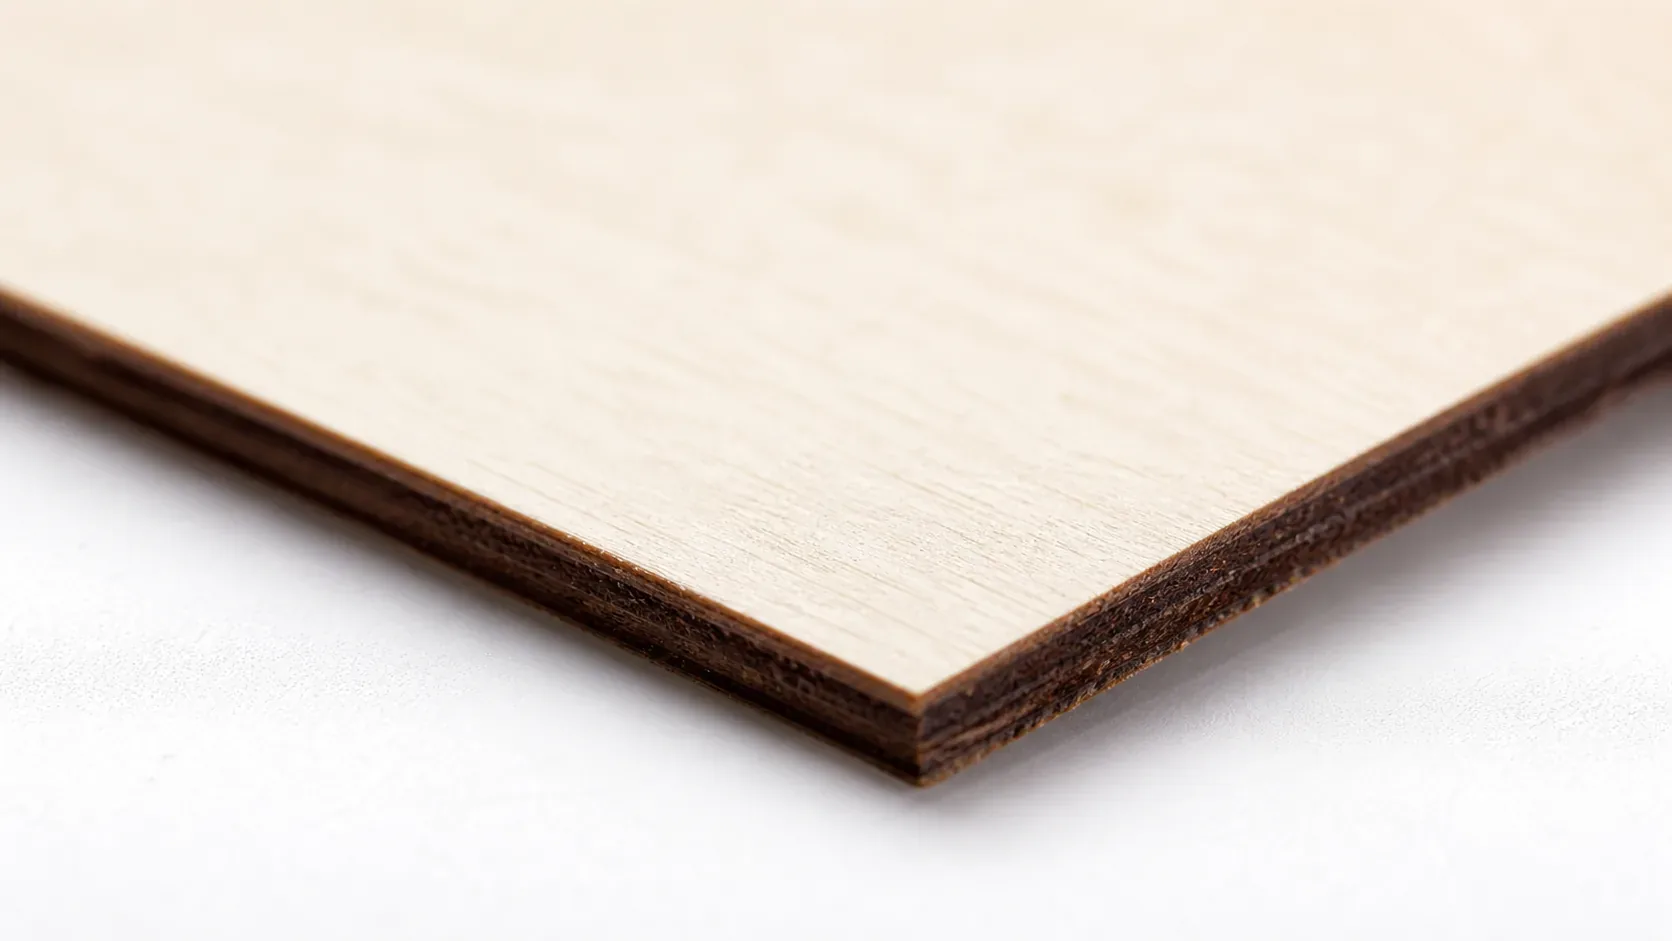
Crafteker 3mm basswood sheets are the right call for multi-pass oversized work – 12×12 inch, laser-grade, void-free, and flat enough that your registration marks actually stay where you put them. Voids in cheap sheets throw alignment off by 2-3mm mid-project. That’s a ruined piece, not a minor inconvenience.
At $24.99 for 12 sheets ($2.08/sheet), the 12-pack is the best value for indexing projects where you’ll burn 1-2 test sheets per job getting registration dialed in. The consistent density means your laser settings calculator values hold across every sheet in the pack – no re-tuning mid-batch.
Ready to cut? Get the wood that works with these settings:
→ Buy Crafteker 12-Pack Basswood Sheets on Amazon – $24.99
Clip the 7% coupon on the listing page – buy 2 packs and save 20% automatically.
Also available: 5-pack ($15.97) · 3-pack ($12.99)
Frequently Asked Questions
How do I align registration marks for oversized basswood projects?
Mark two corner points at opposite ends using a fine-tip marker through holes in your design file. Photograph the marks before each pass. Use masking tape to hold marks in place and verify alignment visually before cutting. Misalignment over 0.5mm means material shifted – stop and reset.
Can I use pass-through cutting on any laser for basswood?
No – not all machines support true pass-through. Check if your laser has a removable bottom panel or pass-through slot. CO2 lasers with rear exhaust are easiest to modify. Diode lasers are trickier but doable with a cardboard jig. We tested this on 3mm Crafteker basswood – seams are invisible at 8mm/s, 60% power.
What is the best wood for multi-section laser projects?
3mm laser-grade basswood from Crafteker. Low resin content means clean edges across all sections, and consistent density keeps registration marks accurate. Avoid plywood (delamination at seams) and solid hardwoods (thick char that obscures registration marks).
How much does a registration jig cost to build?
Under $15. Use scrap basswood or cardboard, masking tape, and a craft knife. One jig is reusable for 50+ projects. Time investment is 1-2 hours upfront – ROI breaks even after 3-4 large projects. I ruined 3 sheets before I figured out 90% power was too hot for jig-held material; dial it back and let the passes do the work.
Where can I buy 3mm basswood sheets for large projects?
Crafteker on Amazon: 3-pack $12.99, 5-pack $15.97, 12-pack $24.99 ($2.08/sheet – best value for production and testing). All sheets are 3mm, 12×12 inch, void-free, laser-grade. Clip the 7% coupon on the listing page.
About the author: Mike Dolan is a laser maker and wood materials specialist with 8+ years cutting basswood, birch, and MDF on diode and CO₂ machines. He tests every Crafteker basswood batch before listing.
This saved me $2k on a bigger laser. I built the jig method for a 24-inch sign panel using Crafteker sheets – registration held solid across all 4 passes, seams are basically invisible. Took me 2 failed attempts to get the tape placement right, but now it’s my go-to for anything oversized.