
Why Tabs Don’t Fit After Painting: 3 Fixes (2026)
A tab-and-slot joint that slides together perfectly as a dry fit can jam, chip its edges, or refuse to seat at all once paint, stain, or sealer adds thickness to the mating surfaces – 3 fixes solve this: assemble before finishing, test-coupon your actual finish buildup, or mask the joint faces. This article covers when to use each approach.
By Mike Dolan ·
Quick Answer: Assemble before finishing whenever the design allows it – finish buildup never becomes a fit problem for a joint that’s already glued. If you must finish first, cut a test coupon with your exact finish schedule and measure real clearance before cutting the full project.
| Material | Engraving Contrast | Cut Ease | Smoke / Odor | Cost | Beginner Score |
|---|---|---|---|---|---|
| Basswood (3 mm) | ★★★★★ | Excellent – 1 pass | Low | $ | ★★★★★ |
| Baltic Birch Plywood | ★★★★ | Good – 2-3 passes | Medium | $$ | ★★★★ |
| MDF | ★★★ | Good – 1-2 passes | High (formaldehyde) | $ | ★★ |
| Pine / Soft Plywood | ★★★ | Poor – resin deposits | Medium-High | $ | ★★ |
The Dry Fit Was Perfect. Then I Painted It.
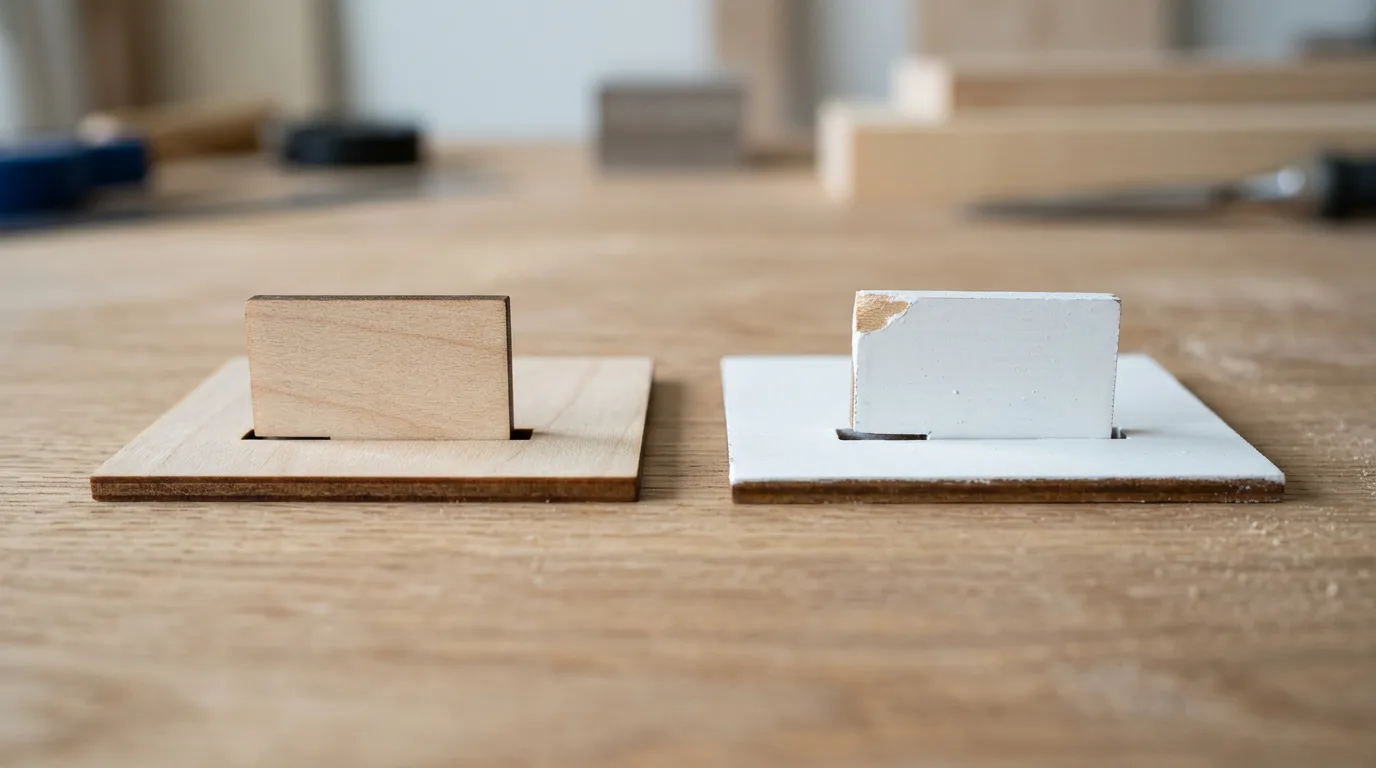
I test-fit a box design dry, every tab sliding into its slot with just the right amount of resistance. Satisfied, I primed and painted all the pieces, let them cure, and went to assemble the real thing. Half the tabs wouldn’t seat fully, and the one that did left a visible scrape where paint scuffed off against the slot edge.
Nothing about the cut had changed between the dry fit and the failed assembly. What changed was a thin layer of primer and paint on every mating surface – just enough added thickness on a tab, and just enough lost clearance in a slot, to turn a good fit into a fight.
This is a different problem from basic kerf compensation, which our kerf compensation guide covers for raw, unfinished cuts. This article is specifically about the clearance you need on top of that once a finish schedule enters the picture.
- Low resin – finish goes on evenly without fighting sticky patches that build up unevenly
- Consistent density – predictable finish absorption, so buildup is similar sheet to sheet
- Minimal char – clean kerf edges give finish an even surface to coat
- Light, workable surface – takes paint, stain, and sealer cleanly with basic prep
- No toxic fumes – unlike MDF or treated plywood, safe for indoor use with basic ventilation
According to USDA Forest Products Laboratory data, basswood’s fine, even pore structure means finish absorbs consistently across a sheet, which makes finish-buildup thickness more predictable than it would be on a more variable-grained wood.
Fix 1: Assemble Before You Finish (the Easiest Answer)
When your design allows it, glue the joint together first and finish the assembled piece afterward. A joint that’s already locked together with glue doesn’t care how much paint or sealer you add on top – there’s no clearance left to lose because the parts aren’t moving relative to each other anymore.
This isn’t always possible. If your design calls for different colors on surfaces that would be hidden once assembled, or you need to paint inside a box before closing it, finishing fully assembled pieces doesn’t work. That’s where the next two fixes come in.
Fix 2: Cut a Test Coupon With Your Real Finish Schedule
If parts must be finished before assembly, don’t guess at clearance – measure it. Cut a small test coupon with the same joint geometry as your real project, finish it exactly the way you plan to finish the final piece (same primer, same number of coats, same application method), and try the fit once it’s fully cured.
Kerf compensation itself is material-, machine-, lens-, and setting-dependent, so start from a kerf value you’ve already measured for your current setup, then add whatever extra clearance the test coupon shows you actually need once finish is involved. A thin single coat of sealer needs less compensation than two coats of primer plus paint – there’s no universal number, which is exactly why the test coupon step isn’t optional.
Fix 3: Mask the Mating Surfaces
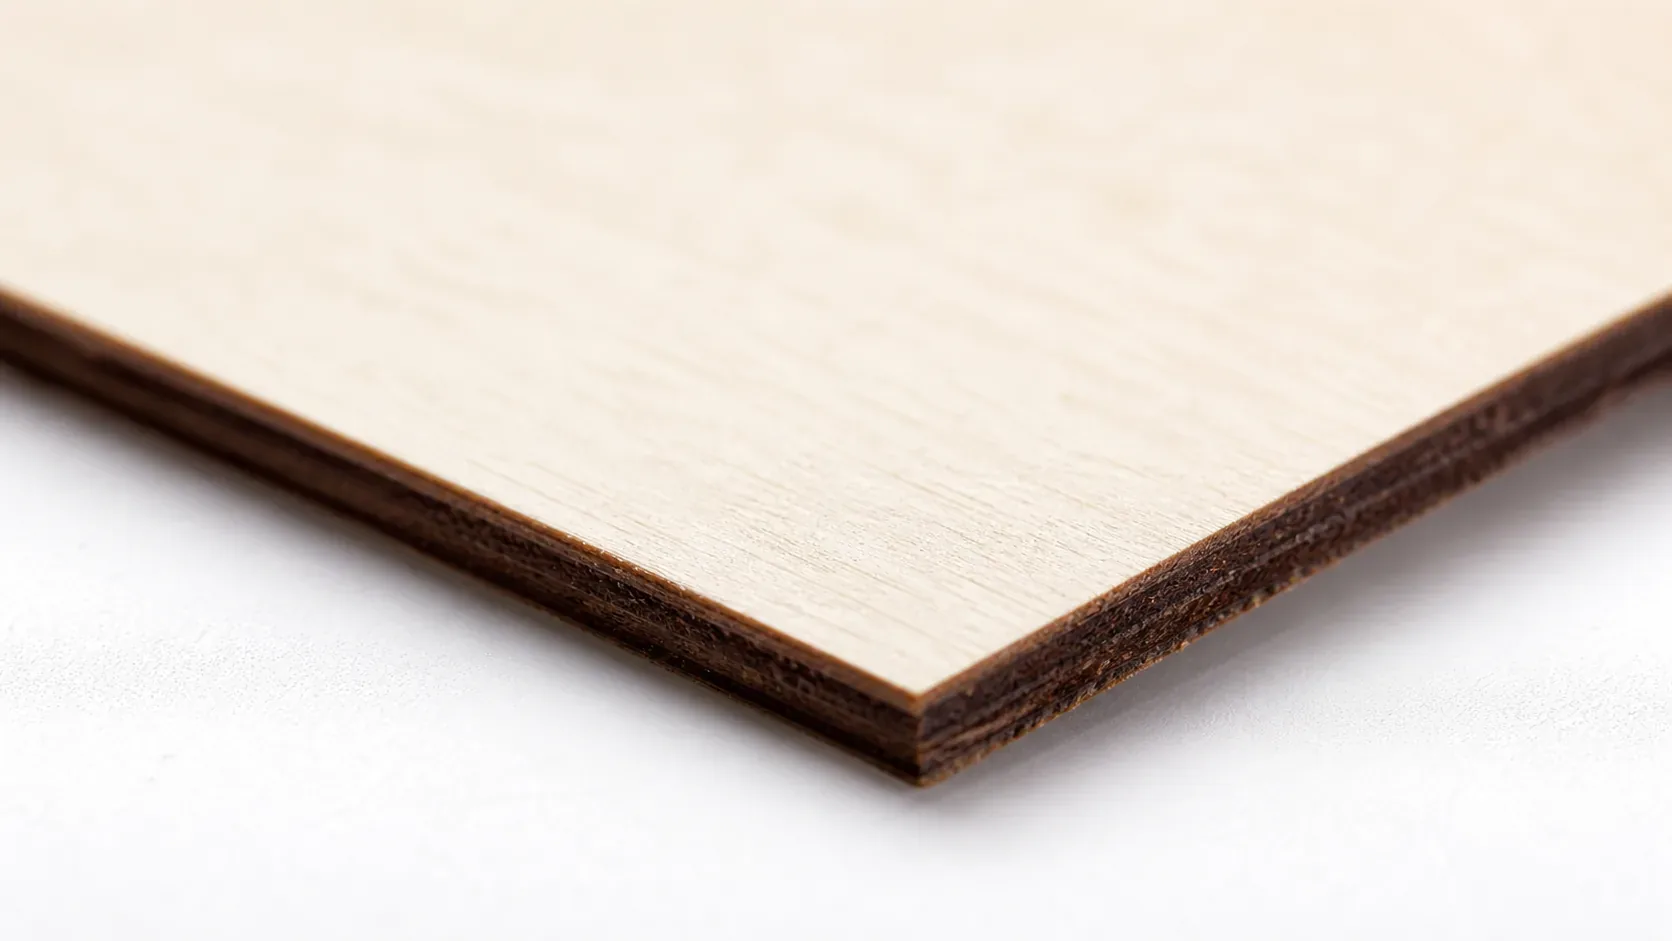
If you want finish everywhere except the joint faces themselves, mask the tabs and slot edges with tape before painting, then peel the mask off right before assembly. This keeps the mating surfaces at their original, unfinished dimensions while the rest of the piece gets full color coverage – the joint goes together exactly as dry-fitted, and the finish line sits just outside where the parts actually touch.
This takes more prep time than the other two fixes, so it’s worth reserving for projects where the visual result genuinely needs finish right up to a joint line that must still fit precisely.
Where to Buy Basswood for Predictable Finished Fits
Crafteker 3mm basswood sheets hold consistent thickness sheet to sheet, which means a test coupon’s measured clearance actually applies across your whole project instead of becoming a per-sheet guessing game.
At $24.99 for 12 sheets ($2.08/sheet), it’s the most cost-effective option for basswood sheets where finish-safe joints need to work the same way every time.
Ready to cut? Get wood that keeps its dimensions predictable:
→ Buy Crafteker 12-Pack Basswood Sheets on Amazon – $24.99
Also available: 5-pack ($15.97) · 3-pack ($12.99)
Frequently Asked Questions
Why did my laser-cut joint fit perfectly before painting but not after?
Paint, stain, primer, and sealer all add thickness to the mating surfaces of a joint – a tab gets thicker and a slot gets narrower by however much finish builds up on each side. Even a thin coat can turn a snug dry-fit into a joint that won’t go together.
Should I assemble a laser-cut project before or after painting it?
Assemble before finishing whenever the design allows it – a glued joint doesn’t care about finish buildup because it’s already together. Finish after assembly if the look allows it, and reserve pre-finish-then-assemble for projects where you genuinely need separate colors on surfaces that would be hidden once joined.
How much extra clearance do I need for a painted joint?
There’s no universal number – it depends on your finish type, how many coats, and application method. Cut a small test coupon with the same joint design, finish it exactly like the real project, and measure the actual fit before committing to a full-size cut.
Can I mask the mating surfaces of a joint before painting?
Yes – masking tape over tabs and slot edges before finishing keeps paint or sealer off the surfaces that need to stay dimensionally exact, then you peel it before assembly. This works well when you want color everywhere except the joint faces themselves.
Where can I buy basswood with consistent thickness for finish-safe joints?
Crafteker on Amazon: 3-pack $12.99, 5-pack $15.97, 12-pack $24.99 ($2.08/sheet best value) – consistent 3mm thickness sheet to sheet, so your test-coupon clearance holds across the whole project.
About the author: Mike Dolan is a laser maker and wood materials specialist with 8+ years cutting basswood, birch, and MDF on diode and CO₂ machines. He tests every Crafteker basswood batch before listing.
Learned this the hard way on a batch of painted keepsake boxes – started gluing before finishing instead of after, and stopped losing pieces to chipped paint from forcing tight joints. Should’ve done a test coupon from the start.