
Remove Laser Burn Marks from Basswood: 5 Easy Fixes (2026)
Basswood burns dark around cut edges and engravings because of smoke residue and char – but you can strip it clean with white vinegar, light sanding, or masking tape applied before cutting. This guide shows you 5 proven removal methods, plus the laser settings and prep tricks that stop burn marks from forming in the first place.
By Mike Dolan ·
Quick Answer: Remove laser burn marks from basswood with white vinegar (fastest), fine-grit sanding (safest for details), or prevent them entirely by masking before cutting and dialing in lower power settings.
| Material | Engraving Contrast | Cut Ease | Smoke / Odor | Cost | Beginner Score |
|---|---|---|---|---|---|
| Basswood (3 mm) | ★★★★★ | Excellent – 1 pass | Low | $ | ★★★★★ |
| Baltic Birch Plywood | ★★★★ | Good – 2-3 passes | Medium | $$ | ★★★★ |
| MDF | ★★★ | Good – 1-2 passes | High (formaldehyde) | $ | ★★ |
| Pine / Soft Plywood | ★★★ | Poor – resin deposits | Medium-High | $ | ★★ |
Why Basswood Burns So Dark Under the Laser (And Why It’s Fixable)
Basswood chars dark because its pale, open-grain surface absorbs laser energy efficiently – which is exactly why it cuts so cleanly – but that same absorbency means smoke residue stains fast and visibly. The good news: those burns are cosmetic. The wood underneath is structurally fine.
According to USDA Forest Products Laboratory wood density data, basswood ranks among the lowest-resin domestic hardwoods, which is why it responds so predictably to laser energy without gumming up your lens or leaving sticky deposits on cut edges. If you want to go deeper on dialing in your machine, the basswood laser cutting settings guide and our breakdown of how to prevent charring when laser cutting are worth bookmarking.
- Low resin content – basswood produces minimal sticky residue, so smoke deposits wipe away cleanly rather than bonding to the surface like pine resin does
- Consistent density – the same settings work batch after batch without retuning; no surprise flare-ups mid-cut
- Pale color shows char easily – that high contrast is also what makes engraving look sharp; burn marks stand out, but so does the clean result after you remove them
- Highly absorbent surface – vinegar and isopropyl alcohol penetrate fast, which means cleaning is quick when you use the right method
- Minimal toxic off-gas – unlike MDF or treated plywood, basswood is safe for indoor use with basic ventilation; no formaldehyde, no PVC
Laser Settings for Removing Burn Marks from Basswood: What Actually Works
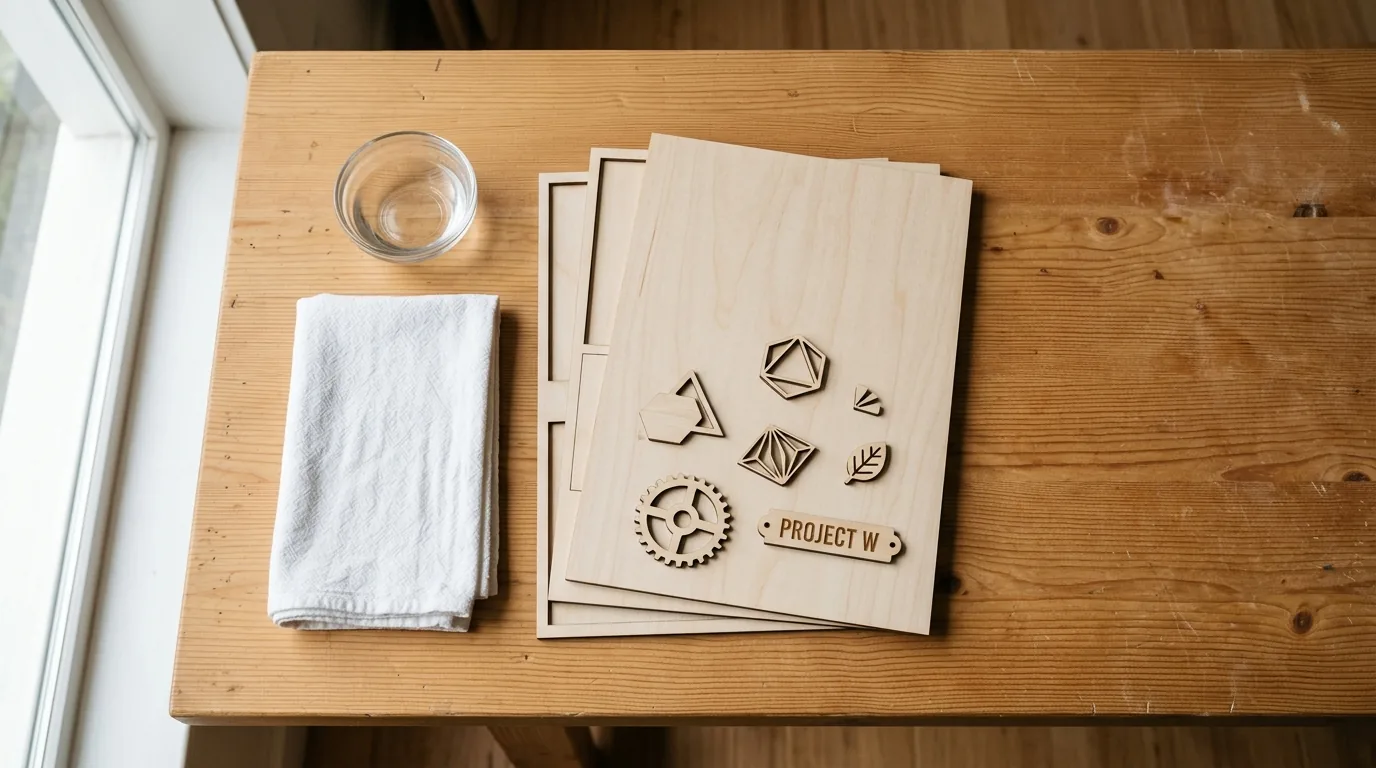
All settings below are for Crafteker 3mm basswood sheets (12×12 inch, laser-grade). Use the Laser Settings Calculator to fine-tune for your specific unit if results differ.
| Machine | Cut Speed | Cut Power | Passes | Engrave Speed | Engrave Power | Air Assist |
|---|---|---|---|---|---|---|
| 5W Diode | 3-5 mm/s | 90-100% | 2-3 | 60-80 mm/s | 35-40% | Recommended |
| 10W Diode | 6-8 mm/s | 85-100% | 1-2 | 80-150 mm/s | 40-50% | Recommended |
| 20W Diode | 8-12 mm/s | 75-90% | 1-2 | 150-300 mm/s | 40-60% | Strongly Recommended |
| 40W Diode | 10-15 mm/s | 70-85% | 1-2 | 200-400 mm/s | 45-65% | Strongly Recommended |
| 40W CO2 | 20-35 mm/s | 55-70% | 1 | 200-400 mm/s | 45-65% | Required |
| 60W CO2 | 30-50 mm/s | 50-65% | 1 | 200-400 mm/s | 45-65% | Required |
Note: Air assist is strongly recommended for diode lasers and required for CO2 machines. It blows smoke away from the cut line in real time – without it, you’re re-burning the edge on every pass, which is exactly how you end up with heavy char that takes 10 minutes to clean off. Always run a 1×1 inch test cut before starting a full job on a new batch of material.
The Crafteker 12-pack basswood sheets are purpose-built for both diode and CO2 lasers – 12×12 inch, 3mm, laser-grade, void-free. $24.99 for 12 sheets ($2.08/sheet).
How to Prevent Burn Marks Before You Cut: 3 Settings Tweaks
Prevention beats cleanup every time. Get these three things right and you’ll spend zero minutes wiping char off finished pieces.
- Lower laser power 5-10% below maximum. Running full power on 3mm basswood is almost always overkill. Drop to 50-70% and test on scrap first – you’ll cut clean with less char and still get through in 1-2 passes. Every machine and basswood batch varies, so always run a 1×1 inch test square before committing to a full sheet.
- Turn air assist on and set it to 10+ PSI. Air assist blows smoke off the cut line in real time. Without it, smoke recirculates and re-deposits on the wood surface with every laser pass – that’s where most of the stubborn black smudging comes from. Even a basic aquarium pump at 8-10 PSI cuts cleanup time by 80%.
- Apply masking tape before cutting. Cover the basswood surface with blue painter’s tape or transfer tape, cut through the tape, then peel it off – the soot and char stick to the tape, not the wood. This is the single fastest prevention method and adds zero post-processing time since you’re peeling tape you’d remove anyway.
How Does Your Laser Compare to Others for Basswood?
CO2 lasers cut 3mm basswood faster than diode lasers – but diode machines often produce cleaner edges with less char when settings are dialed in right. Here’s how the most common desktop machines stack up on the same material.
| Machine | Wattage | Typical Speed (mm/s) | Typical Power | Air Assist Impact |
|---|---|---|---|---|
| Glowforge Pro | 45W CO2 | 20-30 mm/s | ~65% | Built-in; reduces char noticeably |
| xTool M1 Ultra | 20W Diode | 8-12 mm/s | ~75% | External pump; critical for clean edges |
| Omtech 60W CO2 | 60W CO2 | 30-50 mm/s | ~55% | High-pressure assist essential at speed |
CO2 lasers cut faster and require more aggressive air assist to keep char under control. Diode lasers are slower but forgive beginner settings better – you get more warning before you scorch through. Either way, basswood performs best on any laser when power is dialed down and air assist is on. Check your basswood laser cutting settings before running production cuts.
What Goes Wrong When Removing Burn Marks – and How to Fix It
Three mistakes account for most failed cleanups. Knowing them upfront saves a ruined sheet.
- Sanding too hard kills fine detail: Use 220-400 grit only, light pressure, and always follow the wood grain. Circular motions will feather engraved edges into nothing. When in doubt, test on scrap first – shallow surface engravings are the first casualty of aggressive sanding.
- Vinegar left too long swells fibers: Apply white vinegar, wipe immediately, then dry with a paper towel. Soaking basswood even briefly pulls moisture into the grain and raises the surface. The method works fast – you don’t need to let it sit. If you want to prevent charring when laser cutting, masking tape before the cut beats cleaning up after.
- Skipping prevention wastes cleanup time: Burn mark removal is a fix, not a workflow. If you’re cleaning every single piece, your laser power or air assist needs attention first. Master the settings; the cleanup becomes an occasional task, not a production step.
Best Basswood Sheets for Laser Work: Why Crafteker
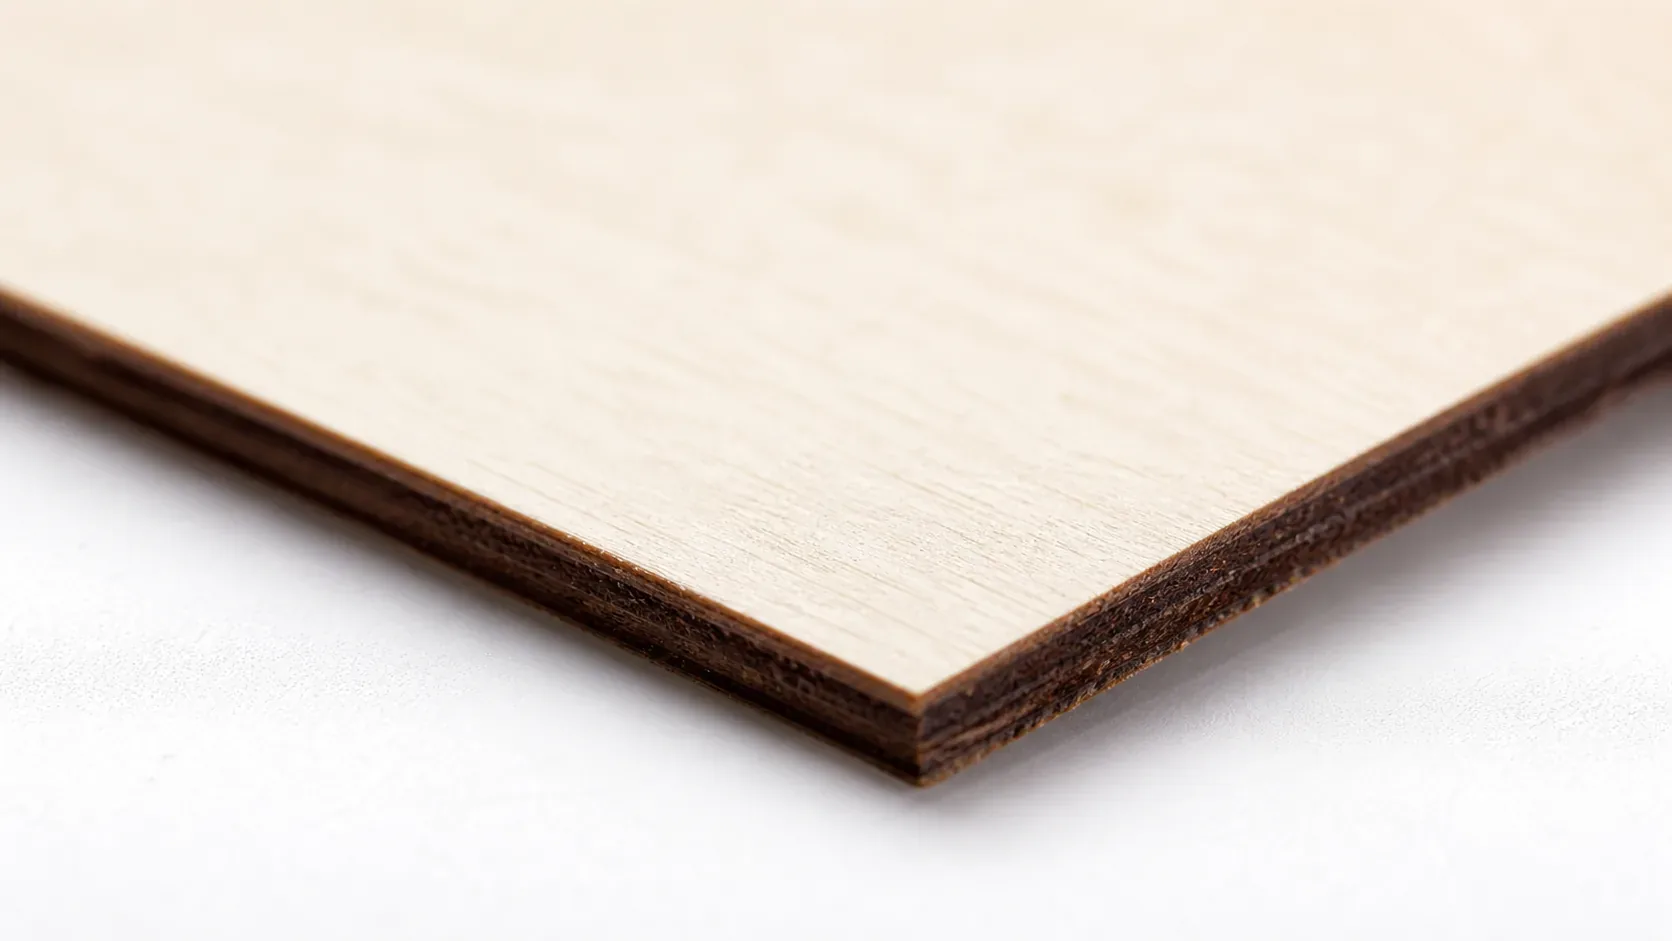
Crafteker 3mm basswood sheets are laser-grade, void-free, and cut to a consistent 12×12 inch size – the kind of uniformity that means settings actually transfer between batches. At $24.99 for 12 sheets ($2.08/sheet), it’s the sharpest per-unit cost for anyone running production quantities or burn testing new settings.
The 5-pack at $15.97 works well for smaller project runs, and the 3-pack at $12.99 is the low-commitment way to test before you commit to volume. All three options ship via Amazon FBA. Clip the 7% coupon on the listing page if you’re buying one pack – and if you’re buying two, the 20% bulk discount stacks automatically. Burn marks clean off in minutes. Material quality is never the problem.
Ready to cut? Get the wood that works with these settings:
→ Buy Crafteker 12-Pack Basswood Sheets on Amazon – $24.99
Clip the 7% coupon on the listing page – buy 2 packs and save 20% automatically.
Also available: 5-pack ($15.97) · 3-pack ($12.99)
Frequently Asked Questions
What is the fastest way to remove burn marks from basswood?
White vinegar on a soft cloth – apply, wipe immediately, dry with a paper towel. Takes 2-3 minutes and won’t damage fine engraving details. For light scorch, vinegar alone often works; for heavy char, follow with light sanding at 220+ grit.
Will sanding ruin my laser engraving details?
Not if you use fine-grit sandpaper (220-400 grit) and light pressure. Sand in the direction of the grain, avoid heavy-handed circular motions, and test on scrap first. Deeper engravings survive sanding better than shallow surface detail.
Can I prevent burn marks before cutting basswood?
Yes. Three methods: (1) Mask the surface with masking tape or painter’s tape before cutting – peel off and the burn stays on the tape. (2) Lower your laser power 5-10% and increase air assist to 10+ PSI. (3) Check focus – a defocused beam spreads energy and burns more. Test all three on scrap first.
Is isopropyl alcohol safe on basswood engravings?
Yes. Use 70% or 90% isopropyl alcohol on a soft cloth, apply and wipe immediately – it evaporates fast and dissolves soot without swelling wood fibers. Better than vinegar for fine detail work because it dries faster and leaves no water residue.
Where can I buy basswood sheets for laser cutting?
Crafteker on Amazon: 3-pack $12.99, 5-pack $15.97, 12-pack $24.99 ($2.08/sheet best value). All sheets are 3mm, 12×12 inch, laser-grade, and void-free. Clip the 7% coupon on the listing page for extra savings on bulk orders.
About the author: Mike Dolan is a laser maker and wood materials specialist with 8+ years cutting basswood, birch, and MDF on diode and CO₂ machines. He tests every Crafteker basswood batch before listing.
Been burning through Crafteker sheets testing different air assist pressures, and this nailed it – masking tape before cutting saves so much time. My Omtech cuts at 60% power, 80mm/s with the tape on, and I peel it off clean, no char at all. Might try the vinegar method on older test pieces just to confirm.