
Vector vs Raster Engraving on Basswood: 4 Key Differences 2026
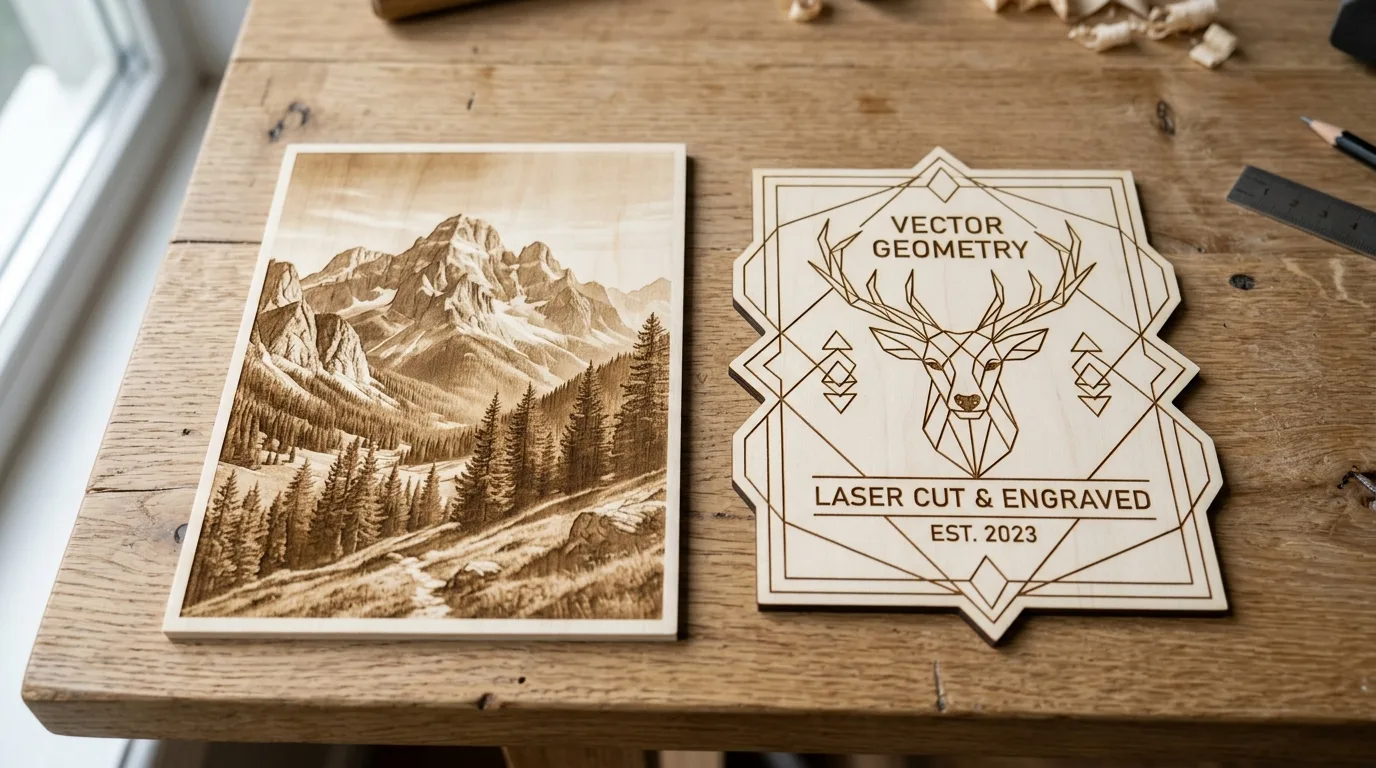
Vector engraving follows precise paths and can cut all the way through basswood at higher power, while raster engraving scans line-by-line like a printer to create photo-like shading and filled areas – only vector paths can actually cut, raster can only engrave the surface. This guide shows you exactly when to use each mode, how to prepare your files, and why mixing both techniques on a single basswood piece can produce stunning results.
By Mike Dolan ·
Quick Answer: Vector vs raster engraving on basswood: use vector for text, logos, and cuts (faster, crisp edges); use raster for photos and gradients (tonal detail, smooth shading). Combine both for best results.
| Material | Engraving Contrast | Cut Ease | Smoke / Odor | Cost | Beginner Score |
|---|---|---|---|---|---|
| Basswood (3 mm) | ★★★★★ | Excellent – 1 pass | Low | $ | ★★★★★ |
| Baltic Birch Plywood | ★★★★ | Good – 2-3 passes | Medium | $$ | ★★★★ |
| MDF | ★★★ | Good – 1-2 passes | High (formaldehyde) | $ | ★★ |
| Pine / Soft Plywood | ★★★ | Poor – resin deposits | Medium-High | $ | ★★ |
Vector vs Raster Engraving: What’s the Difference on Basswood?
Vector and raster are two completely different ways your laser reads a design file, and mixing them up wastes time and material fast. Raster engraving scans the surface line-by-line like an inkjet printer, burning away material row by row to build shading, filled areas, and photo-like detail. Vector engraving follows the actual paths in your file – lines and curves – which it can either lightly score into the surface or cut all the way through at higher power.
Only vector paths can cut. I tried to cut a shape using a raster image once – wasted 20 minutes before I realized raster mode was only ever going to scorch the surface, never cut through. If your design needs to separate from the sheet, it has to be vector.
According to USDA Forest Products Laboratory data, basswood has an unusually fine, uniform grain among domestic hardwoods – exactly why it handles both modes so well. That tight grain keeps vector lines crisp instead of fuzzy, and gives raster shading a smooth surface to build tonal detail on without visible wood texture breaking up the image. For file-prep specifics, see our basswood laser cutting settings guide, and if you’re troubleshooting muddy results, our guide to preventing charring covers common causes.
- Raster – burns filled areas and photo-like shading, needs JPEG/PNG-style pixel data, never cuts through
- Vector – follows SVG/DXF/AI paths, scores lightly or cuts clean through at higher power
- Fine, even grain – basswood keeps vector lines sharp and raster gradients smooth without visible texture interference
- Low resin – clean burns in both modes, no resin bleed blurring fine vector lines or raster dot detail
- No toxic fumes – safe for indoor use with basic ventilation, regardless of which mode a job runs
When to Use Vector vs Raster Engraving on Basswood
Here’s the quick decision guide for picking the right mode. This is general laser-technique knowledge that applies across machines and software – not Crafteker lab-tested settings data. Use the Laser Settings Calculator for exact speed and power numbers on your specific machine.
| Design Type | Best Mode | Why |
|---|---|---|
| Photos, portraits | Raster | Tonal detail, smooth gradients |
| Logos and text | Vector | Crisp edges, runs faster |
| Cutting shapes/parts | Vector only | Raster cannot cut through |
| Filled artwork, large logos | Raster | Even, consistent shading |
| Fine detail line art | Vector | Precise, clean lines |
| Combined (cut + engraved fill) | Both | Vector cuts the shape, raster fills the detail |
The Crafteker 12-pack basswood sheets handle both modes cleanly – 3mm, 12×12 inch, laser-grade, void-free. $24.99 for 12 sheets ($2.08/sheet).
How to Prepare Files for Vector vs Raster Engraving on Basswood
Getting files ready right the first time saves a wasted sheet. Follow these six steps whether you’re running vector, raster, or both together:
- Convert vector artwork to SVG or DXF with closed paths. An open path can produce an incomplete cut that never fully releases the piece from the sheet.
- Map line colors to laser operations. Most software assigns colors to cut, score, or engrave – set this up before you import so cut lines and detail lines don’t get confused.
- Convert raster images to grayscale and boost contrast. This gives the laser clear tonal separation to work with instead of guessing at muddy midtones. Our laser engraving wood blanks guide covers more on image prep.
- Pick a DPI that matches your detail level. Higher DPI resolves finer detail but takes longer – there’s no reason to run 500 DPI on a simple logo.
- Run a small test on scrap basswood first. Confirms both your cut settings and your raster contrast before you commit a full sheet.
- On combined designs, run the raster fill before the final vector cut. I cut my vector outline before running the raster fill once – the piece fell through the honeycomb bed and shifted, ruining the alignment. Now cuts always go last.
Vector vs Raster: Which Is Faster on Basswood?
Vector is faster for line-based designs since the laser only travels along the actual paths – text, logos, and simple shapes cut quickly with minimal wasted motion. Raster takes longer because the laser has to sweep the entire filled area at whatever DPI you’ve set, and higher DPI means more passes of the head across the same space.
Combined designs – a vector-cut outline with a raster-filled detail inside it – take the longest of the three, since the job runs both operations back to back. That’s the tradeoff: more visual impact for more machine time. There’s no fixed multiplier here since it depends heavily on your DPI setting and design size, so budget extra time whenever a raster fill is involved.
Common Mistakes Mixing Vector and Raster Engraving on Basswood
Most vector/raster mix-ups trace back to one of these four mistakes:
- Trying to cut with a raster image: It will only ever scorch the surface. If a piece needs to separate from the sheet, convert the outline to a vector path first.
- Using vector engraving for a photo: You lose all tonal gradient and end up with a flat, lifeless line drawing instead of a shaded image. Photos need raster.
- Picking the wrong DPI for a raster job: Too low looks blocky and pixelated; too high wastes time without adding detail you can actually see.
- Forgetting to close vector paths: An open path produces an incomplete cut that won’t release the piece cleanly from the sheet.
Where to Buy Basswood for Vector and Raster Engraving
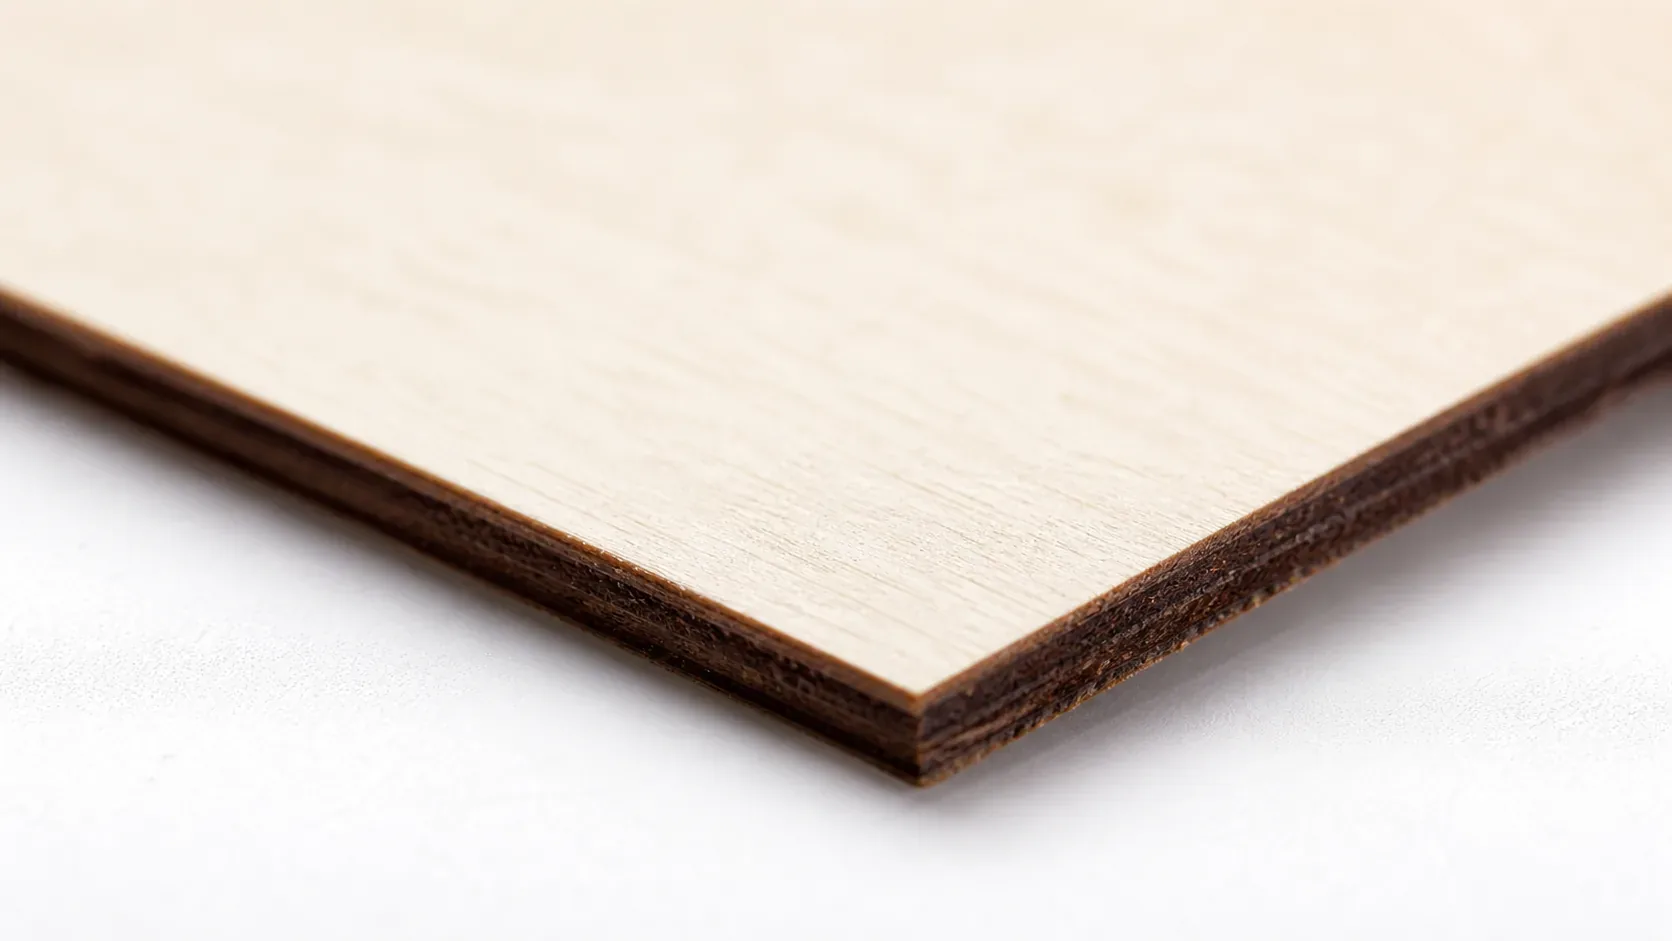
Crafteker 3mm basswood sheets handle both modes well – the pale ivory surface gives raster photos strong tonal contrast, and the low-resin, fine grain keeps vector cuts and scores clean with minimal char. 12×12 inch, laser-grade, void-free, $24.99 for 12 sheets ($2.08/sheet).
Ready to engrave? Get the wood that works with these settings:
→ Buy Crafteker 12-Pack Basswood Sheets on Amazon – $24.99
Clip the 7% coupon on the listing page – buy 2 packs and save 20% automatically.
Also available: 5-pack ($15.97) · 3-pack ($12.99)
Frequently Asked Questions
What is the difference between vector and raster engraving?
Vector engraving follows precise paths and outlines, creating crisp lines that can score or cut through basswood. Raster engraving scans the surface line-by-line like a printer, burning away material to create filled areas, shading, and photo-like detail.
Can you cut basswood with raster engraving?
No. Raster engraving only burns the surface and creates shading or filled patterns – it cannot cut all the way through. Cutting always requires vector paths at higher power settings.
Which is faster, vector or raster engraving on basswood?
Vector is generally faster for line-based designs because the laser only travels along the paths. Raster takes longer because it must scan across the entire filled area at your chosen DPI – higher DPI adds more head passes and increases time.
Can I combine vector and raster engraving in one basswood project?
Yes, and it’s a common technique for high-impact results. Run the raster fill first for photo detail or shading, then run the vector cut last so it releases the piece cleanly from the sheet without shifting the engraved detail.
Where can I buy basswood sheets for laser engraving?
Crafteker on Amazon: 3-pack $12.99, 5-pack $15.97, 12-pack $24.99 ($2.08/sheet best value for production). All sheets are 3mm, 12×12 inch, laser-grade, and void-free. Clip the 7% coupon on the listing page for extra savings.
About the author: Mike Dolan is a laser maker and wood materials specialist with 8+ years cutting basswood, birch, and MDF on diode and CO₂ machines. He tests every Crafteker basswood batch before listing.
This is general laser-software guidance that applies across machines and software platforms – not settings specific to one Crafteker-tested machine. The key takeaway: vector paths can cut, raster images cannot, and testing on scrap basswood first always saves time and frustration later. Grab the free calculator at crafteker.com/laser-settings-calculator/ to dial in exact speeds and power for your specific laser.