

Reading the Cut in Real Time: 3 Cues Your Laser Tells You (2026)
Sound, a small transient glow, and smoke plume behavior during a cut are real diagnostic signals for whether your laser settings are dialed in on 3mm basswood – not something to ignore or panic over, but a skill worth learning alongside settings tables. This guide shows you how to read each cue, what’s normal versus a sign to adjust, and how routine sensory diagnostics differ from an actual fire emergency.
By Mike Dolan ·
Quick Answer: Reading the cut in real time on 3mm basswood plywood means listening for sound changes, distinguishing normal transient glow from sustained flame, and watching smoke behavior to catch settings issues mid-job before ruining material.
| Material | Engraving Contrast | Cut Ease | Smoke / Odor | Cost | Beginner Score |
|---|---|---|---|---|---|
| Basswood (3 mm) | ★★★★★ | Excellent – 1 pass | Low | $ | ★★★★★ |
| Baltic Birch Plywood | ★★★★ | Good – 2-3 passes | Medium | $$ | ★★★★ |
| MDF | ★★★ | Good – 1-2 passes | High (formaldehyde) | $ | ★★ |
| Pine / Soft Plywood | ★★★ | Poor – resin deposits | Medium-High | $ | ★★ |
Your laser is talking – you just need to know what it’s saying
Sound, a small transient glow at the kerf, and how your smoke plume moves are all real-time diagnostic signals for whether your settings match the sheet you’re cutting. They work alongside basswood laser cutting settings tables, not instead of them – a table gives you the starting point, these cues tell you when something’s drifted.
I ran the same settings on a new sheet last month and halfway through the cut, something sounded different. Harsher. More popping. I paused, dropped the power slightly, and the rest of the sheet came out clean. Caught the problem before ruining the whole job.
Every machine sounds a little different depending on enclosure design, exhaust setup, and air assist nozzle position. You’re not listening for an absolute threshold – you’re listening for a change from your normal.
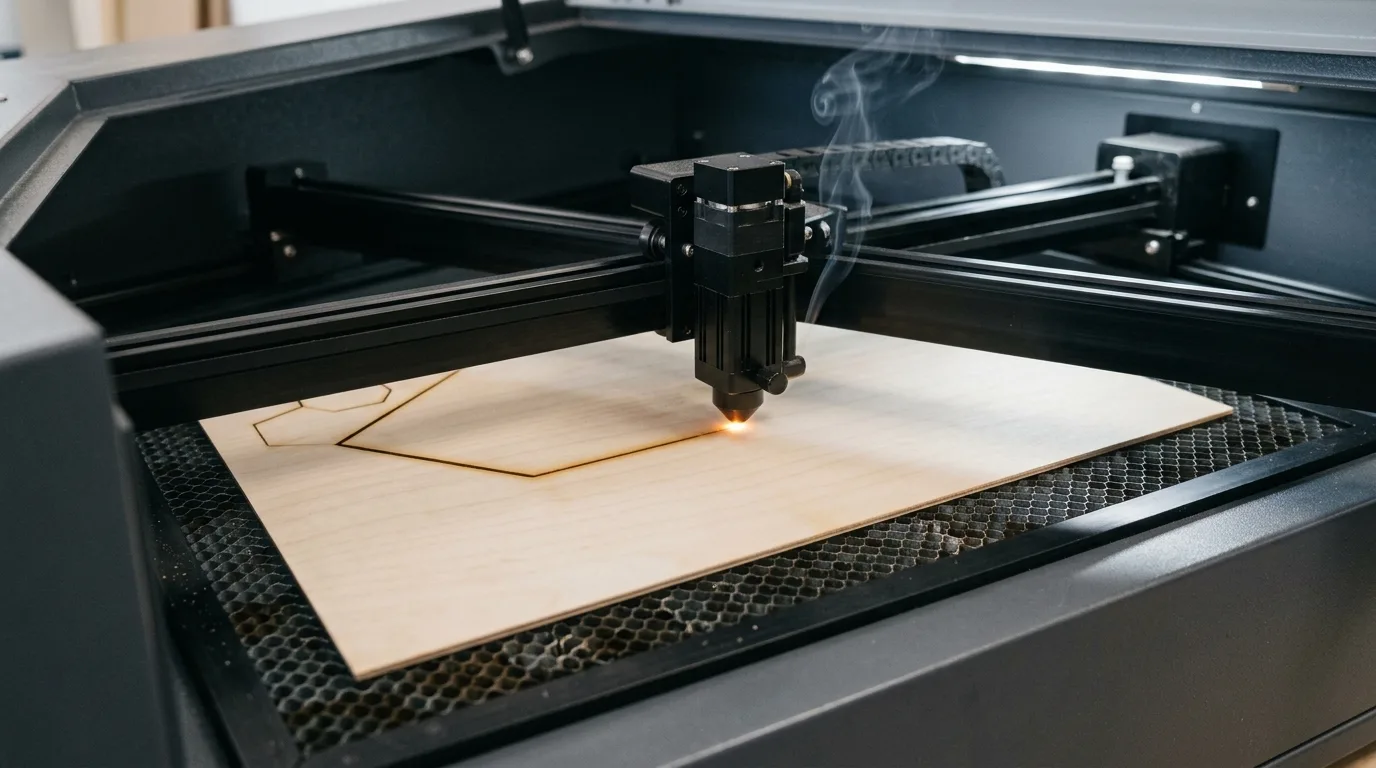
The same goes for glow and smoke. A brief orange spark at the beam point is routine on wood; it’s vaporized resin igniting momentarily. Dense, dark smoke that lingers or a flame that sticks around after the beam moves? That’s your cue to stop and adjust before you prevent charring when laser cutting turns into preventing a fire.
Learning to read these cues takes a few sheets, but once you’ve got them dialed in, you can catch a lens that’s starting to foul, an air assist nozzle that’s drifted, or a batch of stock with heavier glue lines before they cost you material.
What a dialed-in cut sounds like versus too much power or too slow a speed
A dialed-in cut on 3mm basswood typically produces a steady, soft hiss or light crackle – think gentle sizzle, not fireworks. That’s the sound of wood vaporizing cleanly as the beam moves through at the right power-speed balance.
Louder popping, pronounced crackling, or a harsher tone usually means too much power or too slow a speed driving deeper thermal breakdown in the material. The beam is dwelling too long or hitting too hard, and you’re hearing resin and glue ignite in small bursts instead of vaporize smoothly.
I ruined three sheets before I figured out my power was set too high – the cuts sounded angry and left black, flaky edges. Dropped the power a notch, same speed, and suddenly it was just a quiet hiss and clean kerf walls.
Every machine and enclosure sounds different, so you’re not listening for a fixed decibel threshold. You’re listening for change from your normal. Run the same job twice and the second time it’s popping more? Something shifted – focus drifted, lens got dirty, or the sheet has a resin-heavy glue line.
This is pattern recognition, not acoustic analysis. Once you’ve burned a few sheets, you’ll know what your machine’s happy hum sounds like. Anything harsher or louder is your cue to pause and check settings before you commit the whole job.
Normal transient glow versus a flame that needs your attention
A brief, localized orange glow or tiny spark at the kerf while the beam is firing is common on wood and usually routine if it stays small and disappears quickly. That’s momentary ignition of vaporized resin or glue – a tiny combustion event that self-extinguishes as the beam moves on.
A flame that persists in one spot, grows, or continues after the beam moves on has crossed into sustained combustion and needs action. That’s no longer a diagnostic signal; that’s an emergency. For fire prevention and active flame response, see our guide to preventing flame-ups and edge fires – this article is about the routine, non-emergency skill of reading normal cues.
The difference feels obvious once you’ve seen both, but it confuses beginners: is that glow okay or not? Here’s the test: if it winks out the moment the beam passes, it’s routine. If it stays lit, spreads, or you see actual flame geometry (a teardrop shape, flickering), stop the cut.
Transient glow is more common on resin-rich areas – knots, glue lines, or the first few millimeters of a cut where the beam punches through both face veneers. It’s also more visible in dim lighting, which is why some people panic when they see their first cut in a darkened room.
Light brown edges with a small spark or glow during the cut are normal. Jet-black, flaky char and a flame that won’t quit mean your settings are too aggressive or your air assist isn’t doing its job. Slow down, reduce power, or check nozzle aim before the next pass.
What smoke plume color and thickness tell you about the cut
Thin white or light grey smoke that rises steadily and clears toward your exhaust means efficient extraction and a stable cut. Dense, dark, or lingering smoke usually points to excess power, too-slow speed, resin-heavy glue lines, or weak air assist.
This assumes you already have a working ventilation and air-assist setup in place. If you’re still building that baseline, start with laser cutter ventilation and indoor fume safety – we’re talking diagnostics here, not installation.
Watch for changes mid-job. If smoke suddenly turns thick or starts hanging around the kerf instead of clearing, something shifted – power crept up, speed dropped, or your air assist nozzle drifted off-angle. Catch it early and you save the rest of the sheet.
Practical mid-cut corrections when your cues tell you something’s off
Sensory feedback works alongside basswood laser cutting settings and calibration, not as a replacement. Tables give you the starting point; reading the cut tells you when a specific sheet or machine condition needs a tweak.
When you catch a problem mid-job, here’s how to adjust:
- Sound turns harsh or starts popping: Pause, then resume with reduced power or increased speed. If you’re already near the edge of single-pass capability, switch to two lighter passes instead of forcing it.
- Glow trends toward sustained flame: Halt immediately. Check for resin or soot buildup on the material surface, clean your lens and mirrors, and verify air assist aim and strength. A flame that grows or persists after the beam moves on has crossed into combustion territory.
- Smoke turns thick, dark, or starts lingering: Stop and confirm air assist and extraction are both working. Wipe accumulated resin from the material surface and nozzle tip – resin-heavy spots burn hotter and produce denser smoke.
I noticed smoke hanging heavier than usual mid-job once, paused to check the air assist nozzle, and found it had drifted out of position. Re-aimed it, and the rest of the cut ran clean – catching it halfway through saved the second half of the sheet.
Why consistent basswood makes these cues easier to trust
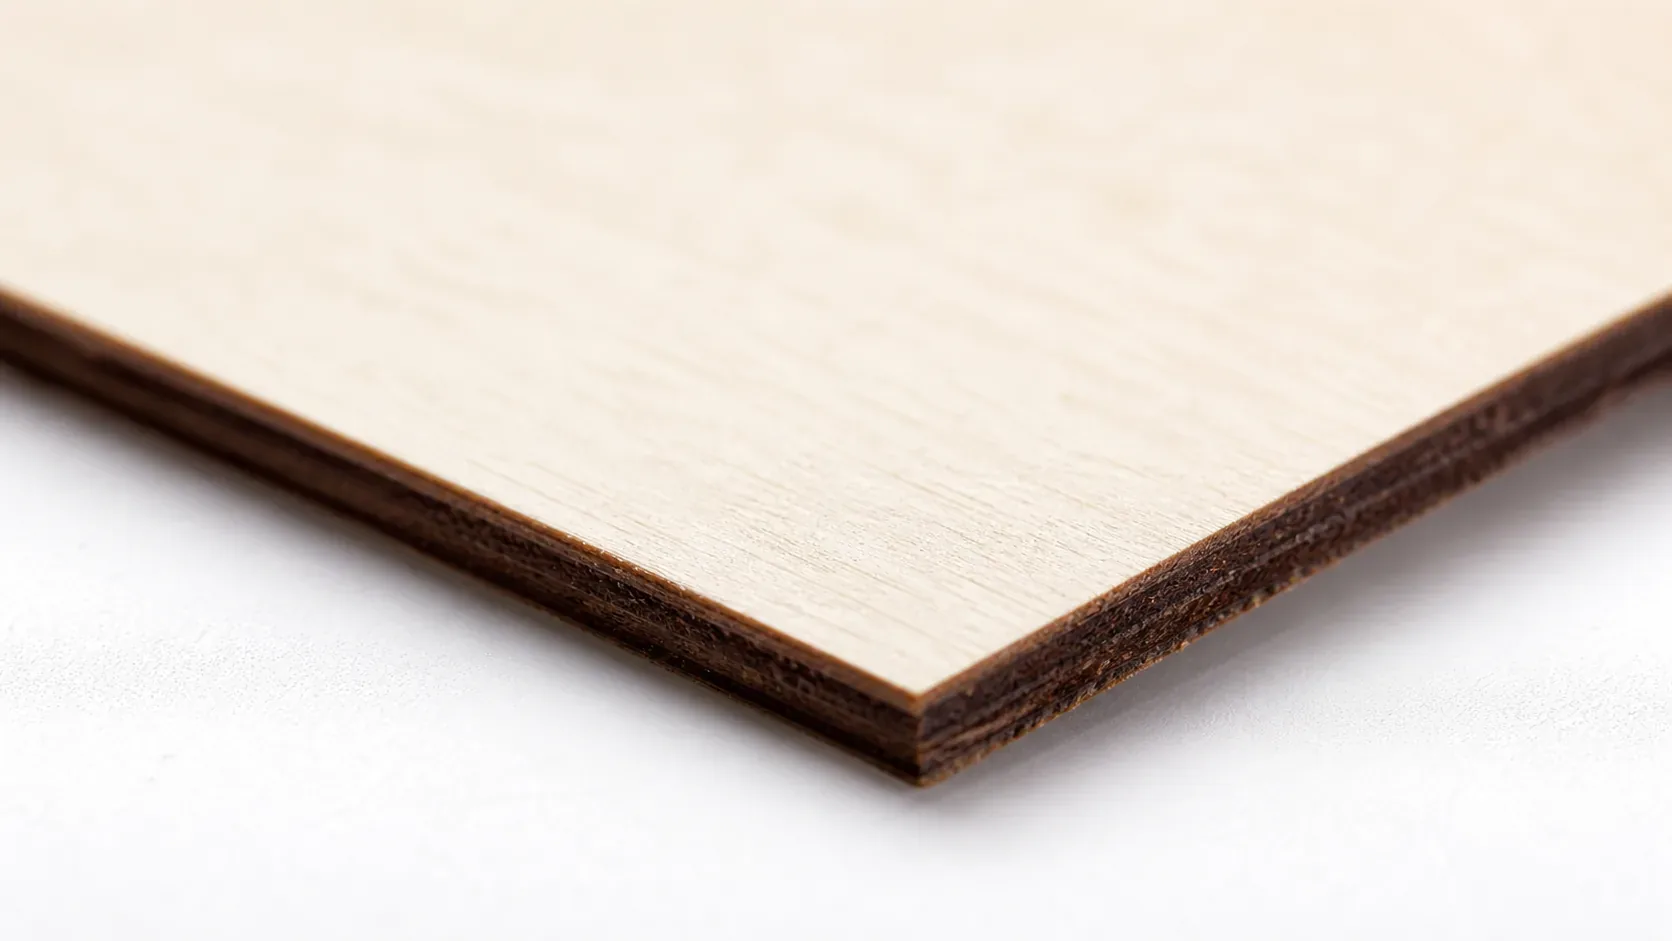
Crafteker 3mm basswood sheets are laser-grade, void-free, and consistent in thickness and resin content. That consistency matters for reading sensory cues because inconsistent stock – varying resin, glue voids, or thickness swings – makes sound, smoke, and glow behavior unpredictable.
When the wood behaves the same sheet to sheet, you can trust that a change in sound or smoke means your settings need adjustment, not that you hit a random bad spot. At $24.99 for 12 sheets ($2.08/sheet), it’s the most cost-effective option for reliable diagnostic feedback.
Ready to cut? Get the wood that works with these settings:
→ Buy Crafteker 12-Pack Basswood Sheets on Amazon – $24.99
Also available: 5-pack ($15.97) · 3-pack ($12.99)
Frequently Asked Questions
Is it normal to see a small flame or glow when laser cutting basswood?
A brief, localized orange glow or tiny spark at the kerf is common on wood and usually routine if it stays small and disappears quickly. A flame that persists, grows, or continues after the beam moves on has crossed into sustained combustion and needs attention. For emergency response to active flame-ups, see our flame prevention guide.
What does a change in cutting sound tell me about my laser settings?
A dialed-in cut on thin plywood typically sounds like a steady, soft hiss or light crackle. Louder popping or pronounced crackling often means too much power or too slow a speed. Listen for a change from your normal sound rather than a fixed threshold – every machine and enclosure sounds different, so you’re tracking deviation from your baseline.
What does the color and thickness of smoke during cutting mean?
Thin white or light grey smoke that clears steadily usually means efficient extraction and a stable cut. Dense, dark, or lingering smoke often points to excess power, too-slow speed, resin-heavy glue lines, or weak air assist. This assumes you already have working ventilation and air assist – if you’re setting that up, start with our ventilation guide.
Should I rely on sound and smoke instead of settings tables?
No – sensory feedback works alongside settings tables and calibration, not as a replacement. Tables give you a starting point; reading the cut helps you adapt to a specific sheet or machine condition in real time. I ruined 2 sheets before I learned that harsh popping meant my power was too high, even though the table said it should work.
Where can I buy consistent basswood that makes these cues easier to read?
Crafteker 3mm basswood on Amazon: 3-pack $12.99, 5-pack $15.97, 12-pack $24.99 ($2.08/sheet). Laser-grade, void-free, consistent thickness and low resin sheet to sheet. When your material behaves predictably, changes in sound or smoke signal a settings issue, not a bad spot in the wood.
About the author: Mike Dolan is a laser maker and wood materials specialist with 8+ years cutting basswood, birch, and MDF on diode and CO₂ machines. He tests every Crafteker basswood batch before listing.
I caught a problem mid-job last week because the cutting sound got harsher and started popping more – paused, dropped power a bit, and the rest of the sheet came out clean. Using Crafteker sheets helps because the thickness and resin are so consistent that when something sounds or looks off, I know it’s my settings, not a random bad spot in the wood.