
Conditioning Laser-Cut Basswood Edges for Strength (2026)
The charred laser-cut edge on a thin tab or box-joint finger in 3mm basswood plywood is structurally weaker than the rest of the sheet – it crumbles and rounds over under repeated friction-fit insertion – but wicking in thin CA glue, sanding carefully without rounding the fit, and sealing the edge against moisture swings can condition that edge to hold up. You’ll learn why the laser-cut edge fails first, how to harden it before it gets stressed, and when none of this conditioning is even necessary.
By Mike Dolan ·
Quick Answer: Laser-cut basswood edge conditioning for structural strength means wicking thin CA glue into tabs and box-joint fingers, sanding lightly without rounding the fit, and sealing against moisture – but only for repeatedly-stressed joints, not glued decorative pieces.
| Material | Engraving Contrast | Cut Ease | Smoke / Odor | Cost | Beginner Score |
|---|---|---|---|---|---|
| Basswood (3 mm) | ★★★★★ | Excellent – 1 pass | Low | $ | ★★★★★ |
| Baltic Birch Plywood | ★★★★ | Good – 2-3 passes | Medium | $$ | ★★★★ |
| MDF | ★★★ | Good – 1-2 passes | High (formaldehyde) | $ | ★★ |
| Pine / Soft Plywood | ★★★ | Poor – resin deposits | Medium-High | $ | ★★ |
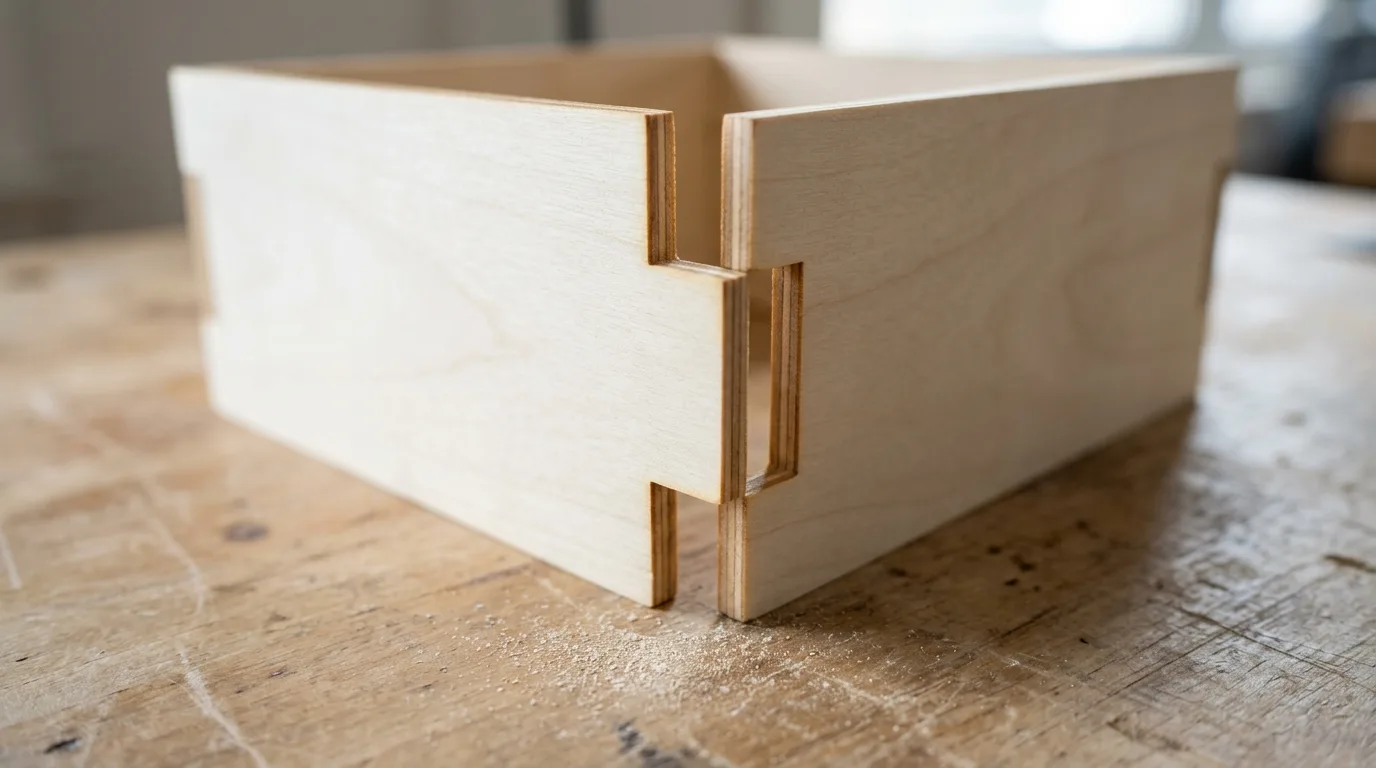
The laser-cut edge on a tab or joint is the weakest point, not the flat face
The charred kerf edge on a thin tab or box-joint finger is structurally weaker than the intact face because the laser both shortens and heat-damages the cross-grain fibers at the tab root while turning the surface into a brittle carbon layer. Under repeated insertion and removal, this carbonized layer flakes away, fibers break across the grain, and the edge gradually rounds off.
That rounding reduces contact area and clamping pressure even though the piece’s overall dimensions haven’t changed. I built a friction-fit box-joint lid that felt snug on day one but was visibly loose after a couple weeks of regular opening and closing – the tab edges had gone from sharp and square to fuzzy and rounded over.
The problem is mechanical, not cosmetic. The laser vaporizes wood at the cut line, leaving behind a thin char layer and exposing shortened fiber ends that run perpendicular to the edge. Those short cross-grain fibers at the tab root have almost no tensile strength, so repeated friction stress splinters them off bit by bit.
You can see this happening if you look closely at a well-used friction-fit joint. The edge goes from dark brown and crisp to gray-brown and soft, with visible fiber damage concentrated right where the tab enters the slot. That’s the carbonized surface failing first, then the weakened grain structure underneath giving way.
Basswood plywood’s fine, consistent grain actually makes this problem more visible than it would be in a coarser wood like birch. The pale cream face contrasts sharply with the dark laser-cut edge, so you can watch the degradation happen in real time as the joint gets used. Clean basswood laser cutting settings help minimize the initial char depth, but they don’t eliminate the structural weakness at the edge.
When This Actually Matters: Repeated-Stress Tabs and Joints, Not Glued Decorative Pieces
Most laser-cut basswood boxes, ornaments, and puzzle joints are glued once and never disassembled, so they never need any edge conditioning. The glue does the structural work, and the edge just sits there.
This only matters for parts that see real repeated mechanical stress: removable lids with friction-fit tabs, laser-cut living hinges, structural fixtures that get taken apart for adjustment, or jigs you reuse across projects. Those edges experience actual wear cycles.
This is also distinct from sizing a delicate feature so it survives handling at all – that article is about dimensioning a tab correctly in the first place. This one assumes you already cut the right size and now want to condition that edge to hold up under repeated use.
If you’re gluing it permanently, skip all of this and just glue it. If you’re taking it apart every week, keep reading.
Hardening the Edge with Thin CA Glue Before It Ever Gets Stressed
Wicking thin CA glue into a freshly cut tab or finger edge soaks into the porous char and exposed fiber ends, then polymerizes into a rigid matrix that binds the carbon residue and reinforces the short grain at the tab root.
This reduces flaking and edge erosion through repeated assembly and disassembly. The glue doesn’t add material to the outside – it fills the structure that’s already there and locks it together.
I started running a thin bead of CA along the tabs of anything meant to be taken apart and reassembled, and stopped seeing that telltale rounded, fuzzy tab edge after regular use. The difference shows up after a dozen cycles, not immediately.
Apply the glue right after cutting, while the char is still loose and porous. Let it wick in for a few seconds – you’ll see the surface go from matte to glossy as the glue soaks through. Don’t flood it; you’re filling voids, not coating the surface.
Once cured, the edge feels harder and looks slightly shinier than bare wood. It won’t flake when you rub it with your fingernail, and it holds its geometry under friction better than an untreated edge.
Sanding without ruining the fit you designed for
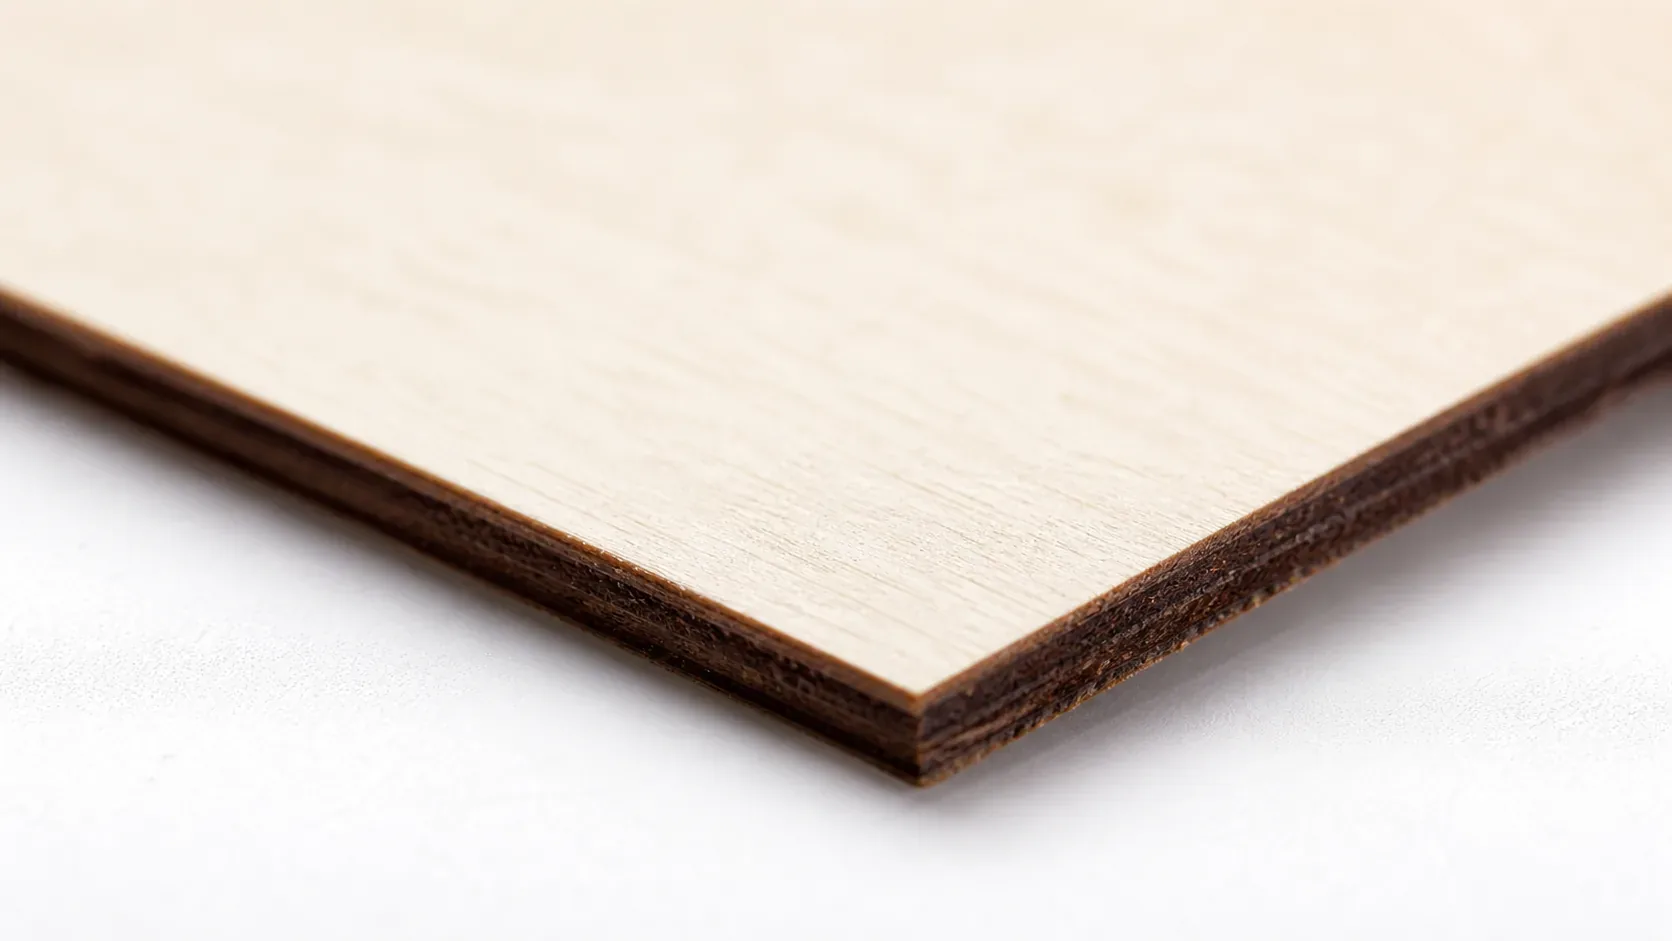
Sand only to remove loose char and high spots while keeping the edge geometry square. Rounding the edge even slightly shortens the effective bearing length of the tab and reduces contact pressure, turning a carefully tuned friction fit into a sloppy connection.
The joint was dimensioned assuming sharp, uncompromised edges. Ask me how I know that a quick pass with fine sandpaper “just to smooth things” turned a perfect interference fit into something that rattled – I spent an hour re-cutting replacement tabs.
Use light, controlled strokes parallel to the edge face rather than aggressive sweeping motions that round over the corner. The goal is to knock off carbonized flakes and CA squeeze-out without altering the tab’s working dimensions.
This is structural sanding for fit, distinct from cosmetic sanding for engraving contrast on a flat face. That article is about visual contrast on a surface, not edge geometry on a load-bearing tab.
Moisture and glue-up: sealing joint edges and knowing when to add glue instead of relying on friction
An unsealed cut edge at a joint absorbs and releases moisture faster than the factory face because it exposes end grain and glue lines. A snug interference fit can loosen as humidity cycles, or a glued joint can crack and delaminate.
Sealing just the joint edges with thin CA or a penetrating finish reduces this movement without finishing the whole piece. You’re creating a moisture barrier at the vulnerable end grain, not applying a decorative coat.
Conventional wood glue at the joint itself makes a stronger permanent bond for joints that don’t need to come apart. Friction-only fits are the ones most exposed to this wear-and-loosening cycle – they handle all the structural load through surface contact and friction alone, with no chemical bond to fall back on when the wood moves.
If the part will never be disassembled, glue it. If it needs to come apart regularly, seal the edges, harden them with CA, and accept that even conditioned friction fits have a service life.
Where to buy consistent basswood sheets that start every joint from a stronger baseline
Crafteker 3mm basswood sheets are laser-grade, void-free, and consistent in thickness sheet to sheet. That matters here because a void-free, consistent sheet gives a tab or finger joint a predictable starting fit before any edge conditioning, instead of fighting inconsistent core voids on top of char damage.
At $24.99 for 12 sheets ($2.08/sheet), it’s the most cost-effective option for reliable joints. When you’re conditioning edges for repeated stress, you want the baseline wood quality to be predictable – better basswood sheets mean fewer surprise failures mid-project.
Ready to cut joints that hold up? Get the wood that starts from a stronger baseline:
→ Buy Crafteker 12-Pack Basswood Sheets on Amazon – $24.99
Also available: 5-pack ($15.97) · 3-pack ($12.99)
Frequently Asked Questions
Why does a laser-cut box-joint tab loosen after repeated use?
The charred kerf edge is more brittle than the rest of the wood – repeated friction-fit insertion flakes off that carbon layer and breaks short cross-grain fibers at the tab root, gradually rounding the edge and reducing contact pressure even though the piece’s overall dimensions haven’t changed. I’ve had friction-fit lids that felt snug on day one but were visibly loose with rounded-over tabs after a couple weeks of daily opening and closing – ask me how I know to condition tabs before they ever see stress.
Does CA glue actually strengthen a laser-cut tab edge?
Thin CA glue wicked into the cut edge soaks into the porous char and fiber ends, then hardens into a rigid matrix that binds the carbon and reinforces the short grain, which reduces flaking and edge erosion under repeated assembly. It needs a careful, minimal sanding pass afterward so the tab geometry stays square rather than rounded – you want to remove globs and loose char without changing the bearing surface you designed for.
Should I sand a laser-cut tab or box-joint finger?
Only lightly, and only to remove loose char or high spots – rounding the tab’s edge even slightly shortens its effective bearing length and can turn a snug interference fit into a sloppy one, since the joint was sized assuming sharp edges. You’re cleaning up the surface, not reshaping the geometry.
Do I need to seal or glue every laser-cut joint?
No – most glued, non-load-bearing decorative pieces never need edge conditioning. It matters for parts that see real repeated stress, like removable tabs, laser-cut hinges, or reused fixtures, where moisture cycling and friction wear are actually a factor. If you’re gluing it once and it never moves again, skip the conditioning work.
Where can I buy consistent, void-free basswood for stronger joints?
Crafteker on Amazon: 3-pack $12.99, 5-pack $15.97, 12-pack $24.99 ($2.08/sheet best value), laser-grade and void-free with consistent thickness sheet to sheet, giving joints a predictable starting fit. Shop all packs here.
About the author: Mike Dolan is a laser maker and wood materials specialist with 8+ years cutting basswood, birch, and MDF on diode and CO₂ machines. He tests every Crafteker basswood batch before listing.
Had a small hinged box where the hinge tabs got loose and fuzzy-edged after opening it every day for a few weeks. Started wicking thin CA into the tabs right after cutting and doing a really light sanding pass to knock off any globs without rounding the edge – now those tabs stay snug. The Crafteker sheets cut cleaner than the big-box stuff I was using before, so the fit is more predictable right from the start.